Table of Contents
Advertisement
Advertisement
Table of Contents

Related Manuals for Logik LBMULX10


Summary of Contents for Logik LBMULX10
- Page 1 Built-in Electric Oven Instruction / Installation Manual LBMULX10...
-
Page 2: Table Of Contents
Contents Before Use ..............................4 Unpacking...................................... 4 Product Overview ..................................5 Operation ............................... 6 First Time Use of the Oven ............................... 6 Oven On and Off ..................................6 Setting the Clock ..................................6 Natural Convection Oven ................................. 6 Settings of the Function Control ............................7 Manual Mode .................................... - Page 3 Installation ..............................14 Installation ....................................14 Use as Competent Person or Qualified Electrician ......................14 Electrical connection ................................16 Ū Fitting guidelines................................16 Ū Connection Diagram ..............................16 Ū Wiring Instructions .................................16 Safety Warnings ............................17...
-
Page 4: Before Use
Congratulations on the purchase of your new Logik Built-in Electric Oven. We recommend that you spend some time to read this manual in order to fully understand how to install and operate it correctly. This oven must be installed by a competent person if in doubt contact a qualified electrician. -
Page 5: Product Overview
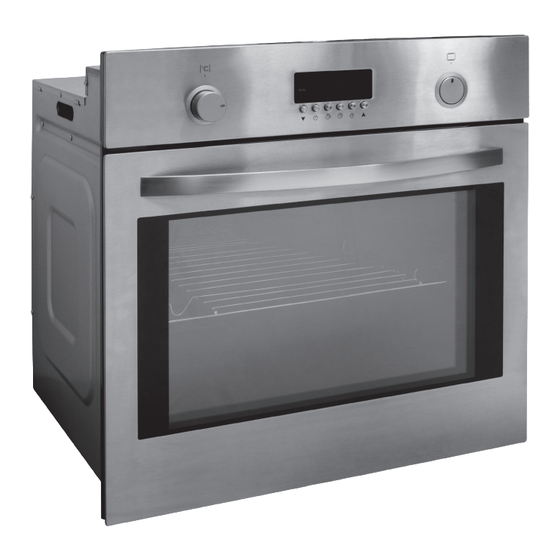
Product Overview Front View ˚C Temperature Control Oven door handle Function Control Control Panel ˚C Temperature Control Programming Delay Cooking Time button Power indicator light Manual button Decrease button Increase button Clock button Button indicator lights Programming Cooking Time button 10. -
Page 6: Operation
First Time Use of the Oven Unpack the oven. Remove any insert cards or plastic bags. Use a damp cloth to carefully wipe the interior and exterior of the oven. Clean all the detachable parts in hot, soapy water before using. Heat the oven on maximum for 30mins. -
Page 7: Settings Of The Function Control
Settings of the Function Control Separate oven lighting By setting the Function Control to this position the lighting inside the oven is switched Bottom and top heaters on Setting the Function Control to this position allows the oven to be heated conventionally. -
Page 8: Manual Mode
Manual Mode Set the Function Control to the selected heating mode, (see the chapter “Baking”). Press the Manual button to start the oven. The blue lamp above the button will illuminate, and after 5 seconds the RED RUN lamp will light to show the oven is operating. Set the Temperature Control to the required temperature, •... -
Page 9: Ū Baking
Baking • We recommend using the baking trays which were provided with your cooker; • It is also possible to bake in cake tins and trays bought elsewhere which should be put on the wire shelf; for baking it is better to use black trays which conduct heat better and shorten the baking time; •... -
Page 10: Programming Your Cooking
Programming Your Cooking Select a cooking mode and temperature before programming. (refer to the "Manual Mode" section on Page 8 – 9) Programming Cooking Time Press the Programming cooking time button two times then press the button to set the programming hour, press the Programming cooking time button again and then press button to set minutes if needed. -
Page 11: Cleaning And Maintenance
Operation in Case of Emergency In the event of an emergency, you should: • Switch off the oven and disconnect it from the mains supply. Make sure all controls are set to the OFF position. • Call the service centre •... -
Page 12: Replacement Of The Oven Lamp
Replacement of the Oven Lamp Ensure that the oven is switched off before replacing the lamp to avoid the possibility of electric shock. • Set all controls to the off position “ ” / “0”. • Unscrew and wash the lamp cover and then wipe it dry. •... -
Page 13: Specification
Specification Model LBMULX10 Voltage rating 230V–240V ~ 50Hz Power rating 2900 – 3150 W Cooker dimensions H/W/D 595(W) x 575(D) x 595(H) (in mm) Usable capacity of the oven 56 litres Energy rating Weight Approx. 32kg Features and Specification are subject to change without prior notice. -
Page 14: Installation
Installation Before using the appliance, please read the instruction manual carefully. By following these instructions carefully you will be able to avoid any problems in using the appliance. It is important to keep the instruction manual and store it in a safe place so that it can be consulted at any time. - Page 15 A dedicated power circuit is recommended for the unit. Additional electrical appliances on the same circuit may exceed the current (amperage) rating for that circuit. If after the installation of your unit the circuit breaker trips or the fuse fails on a repeated basis, then a dedicated circuit will likely be required. If a new socket is required to be installed then this must be performed by a qualified electrician.
-
Page 16: Electrical Connection
Electrical connection Fitting guidelines The oven is manufactured to work with single-phase alternating current (230V – 240V/50Hz).The connection diagram is also found next to the cover of the connection box. All electrical work should be carried out by a suitably qualified and authorised electrician. -
Page 17: Safety Warnings
Safety Warnings Installation • Only authorized personnel should carry out • The appliance must be installed by a servicing. (Certificate of Compliance to be competent person or a qualified electrician retained) in compliance with the instructions provided. Incorrect installation may cause harm to • This appliance must be earthed. - Page 18 • This appliance is not intended for use by persons (including children) with reduced physical, sensory or mental capabilities, or lack of experience and knowledge, unless they have been given supervision or instruction concerning use of the appliance by a person responsible for their safety.
- Page 20 If you require a replacement for any of the items listed below, please quote their corresponding part numbers: Replacement Part Part Number Baking Tray VBH-29BM4CBA.FJ-03 Wire Shelf VBH-29BM4CBA.FJ-01 Grill Pan Handle VBH-29BM4CBA.FJ-05 Grill Pan Trivet VBS-22FB4CBA.FJ-03 Fixing Screws ST4x35-C-H Visit Partmaster.co.uk today for the easiest way to buy electrical spares and accessories.
Need help?
Do you have a question about the LBMULX10 and is the answer not in the manual?
Questions and answers