
Related Manuals for BodyCraft OWNER'S MANUAL


Summary of Contents for BodyCraft OWNER'S MANUAL
-
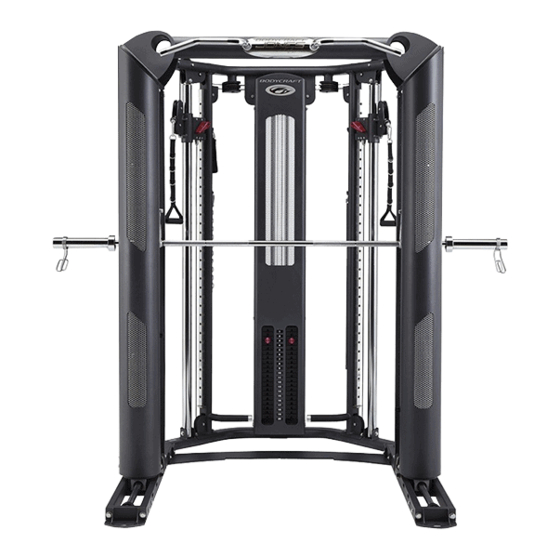
Page 1: Owners Manual
Jones Platinum Strength Training System OWNERS MANUAL MA9052A Recreation Supply Inc. Jones Platinum P.O. BOX 181 Model No. BODYCRAFT Sunbury, OH 43074 is a division of Recreation Supply... -
Page 2: Parts List
PARTS LIST NO. DESCRIPTION QTY. BASE FRAME TOP FRAME 203R RIGHT CABLE ADJUSTER 203L LEFT CABLE ADJUSTER CABLE ADJUSTING CONNECTOR 205R RIGHT HEIGHT TRACK (pre-assembled in Right Upright) 205L LEFT HEIGHT TRACK (pre-assembled in Left Upright) GUIDE ROD LONGER WEIGHT SHROUD SHORTER WEIGHT SHROUD NON SLIP 210R... - Page 3 PARTS LIST NO. DESCRIPTION QTY. STACK SPACER 217R RIGHT LOCK ADJUSTING LEVER 217L LEFT LOCK ADJUSTING LEVER CAP (pre-assembled) HINGE (pre-assembled) 217R 217L LINK PLATE 2 HOLES HINGES (pre-assembled) 3 HOLES HINGES (pre-assembled) ADJ. KNOB SNAP HOOK 5 D RING SINGLE HANDLE SHAFT SPRING ADJUSTER SELECTOR PIN 114mm PULLEY...
- Page 4 STEP 1 Base Frame Assembly To Ease the assembly process, DO NOT tighten bolts until instructed. You need two people to help you assemble Jones Functional Trainer. 1. Insert two 1" ID Guide Rod Holders (234) into the holes on the Base Frame (201). Insert the Guide Rods (206) into the 1"...
- Page 5 STEP 2 Top Frame Assembly 1. Attach the Right Upright (203R) to the threaded bolts welded on the Base Frame (201), using four 3/8" Washers (261) and four 3/8" Nylon Nuts (267). Please do same procedures to assemble the Left Upright (203L).
- Page 6 STEP 3 Right & Left Cable Adjusting Connector Assembly 1. Slide the Right Cable Adjuster (210R) onto the Right Cable Adjusting Connector (204). Make sure the pulley block at front side. Insert the Right Cable Adjusting Connector (204) onto the bracket welded on the Base Frame (201), using two 3/8"...
- Page 7 STEP 4 Hi / Low Cable Assemble Make certain long Pin Bolt is inserted completely through both holes in the pulley bracket. Failure to do so will result in improper alignment and the pulley will rub on steel. Assemble cables and pulleys simultaneously. 1.
- Page 8 STEP 4 ASSEMBLE CABLE AND PULLEY SIMULTANEOUSLY HI/LO CABLE (231) Steel Head End Ball End P1,P2 P5,P9...
- Page 9 STEP 5 Weight Shroud Assembly 1. Attach the Longer Weight Shroud (207) to the Base Frame (201), using two 5/16" Washers (262) and two 5/16" X 1/2" Round Set Screws (250). Then to the Top Frame (202), using two 5/16" Washers (262) and two 5/16" X 1/2" Round Set Screws (250), then to the Top Frame (202).
- Page 10 STEP 6 STEP 6 Assembly Assembly 1. Remove the rear Link Plate (11) on the Jones Base Frames (1) as figure Shown. 1. Remove the rear Link Plate (11) on the Jones Base Frames (1) as figure Shown. Attach Functional Trainer Base Frame (201) to the Jones Base Frame (1), using Attach Functional Trainer Base Frame (201) to the Jones Base Frame (1), using two 1/2"...
Need help?
Do you have a question about the OWNER'S MANUAL and is the answer not in the manual?
Questions and answers