Advertisement
Quick Links
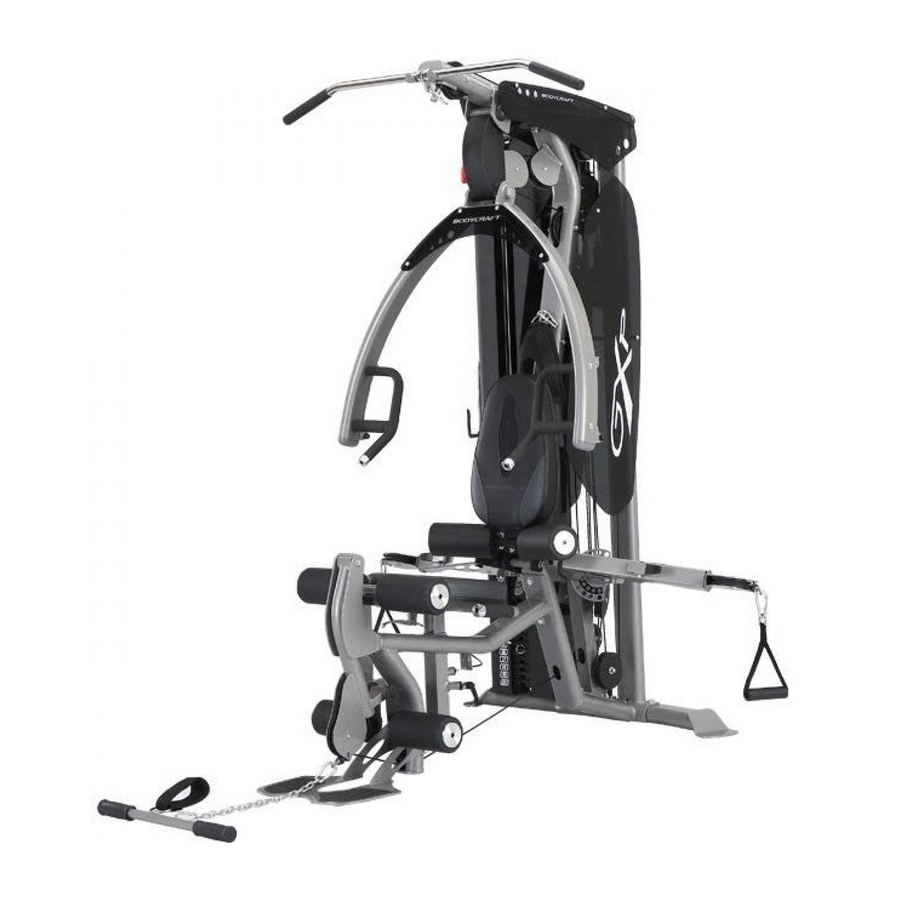
BODYCRAFT
TIIE GXP STRENGTII TRAINING SYSTEM
ASSEMBLY INSTRUCTION
QUESTION?
..., 0 _ _
'''~
''fl'!'" '" ""
,,,,~"«l
"""'" ,_,
,,"i,!~
1_
1>2"
"",,,',,,,,, '" Ind Mi"i"" '" _ _ pat'.
w,
wiU _ " , . " , . . , _ ,
,~i,p_,_",..
oulvriud"'"',, ,....., ""u,., '" """ _,
'l!!i" ,"',"'"
""i" _".. P""",,
,oil,."..
""'ol _':'"
""''',n,, '"
~CJ-¢
at
,""<W,,,.
(I'."'.AM- "''''PM)
a.r
>'ai"'d
"'_ _
wi~
,..",,.,J,
;,,~«J"',
""''',n,, '" ,"" ""
if
,/<r,..
Bodycnft
i,.
divi,;on of Roc.-e.tion Supply Inc
PO BOX 181
Sunbury, OH 43074
MA709
Advertisement

Related Manuals for BodyCraft GXP


Summary of Contents for BodyCraft GXP
- Page 1 BODYCRAFT TIIE GXP STRENGTII TRAINING SYSTEM ASSEMBLY INSTRUCTION QUESTION? ''fl'!'" '" "" '''~ ..., 0 _ _ "",,,',,,,,, '" Ind Mi"i"" '" _ _ pat'. oulvriud"'"',, ,..., ""u,., '" """ _, ""''',n,, '" ""'ol _':'" ~CJ-¢ ,..",,.,J, ;,,~«J"', "'_ _ Bodycnft divi,;on of Roc.-e.tion Supply Inc...
-
Page 2: Before You Begin
7 Make certain all cables are seated within the pulleys before every use 8 Exerci'" with care to avoid injury 9 If unsure about the proper u'" of the Bodycraft GXP strength training system call your local BodyCraft dealer or our customer "'Mce... - Page 3 EXPLODED '"...
- Page 4 wwwwwwwww ~ ~ o o ~ m ~ ~ w ~ '3'0, r;ucrO~Iom~~~r~~~rm~o~r;uroo~o~rmmm~r;U~Q~m;U4~ m6Z~CX004_;u;um 'xcm~~02m6m~~~~mmmmm;U~6;ucommO~ ' I T ;urorm rmT):m"l moo ~rno ;ur~mm~~ ;u~o~ 00'" • ~~!~~m;U ;ur): ° ;U~5'xi:fTi -i5~~;u ~~~~~~~~~ ""'""" :::(" t:l "'II "":~ ;; I: "~ . / "~ '~o \ 'rt.\ w w ~ ~ ~ ~ ~ ~ ~ ~ ~ ~ ~ ~ ~ ~ ~ o ~ o o ~ m ~ ~ w ~ ~ o o ~ o o ~ m ~ ~ w ~ ~ o _...
- Page 5 DESCRIPTION '~MT O~, ,oemc ' ' ' " ' '" "" ,oe"'l~ l"T """ '~'T TO' ... ' " " l"T'OJ' ' ' ' f l m. ,...,m lull"- 'ooo ""'0 "' " " LO.' " m " " 000"" '"...
-
Page 6: Parts List
DESCRIPTION '''''H('' • ""' 0 ...) 'EI\Flh'J ""' 0 ...) " 'EI'<':lh'J (" • ,.,.om_) 'EI\Flh'J COVERC" • SEI\lI<G """ (" "",om_) LO>03E" REO '0' ,IN '" '>OJ"TE" REO '0' 'IN nGH'fE" "NO' ,a".,· W"0_11<'" HEJ( 'OCT 'OCT HEJ( ,,, X 1_1"" HEJ( T""El'ffO 3£""_111'"... - Page 7 STEP 1 ASSEMBLE MAIN FRAME To "". th. =.mlJiy p"""s', DJ You n"d",o p<opi. 10 h'ip you =,mblt GXP /ym 1 Attach Rear Stabli, .. (3) to Man F r,.,., (1), lJSinQ two 111' X 1-112" Bolts (1 05), two 112" Smaller Washe<s (136) 2.
- Page 8 STEP 2 ASSEMBLE CABLE ARM ASSEMBLY ""p &m,mlJ" to ail BOLTS Ioos, 10 ,nsUrt th, CableArmAsserriJ~ Attach the Main Frame (1) lJSinQ two 111' SmalerWashers (136) ,.,d two 1!Z' Nylrn Nuts (144) CableArmAsserriJ~ 2. Attach Threaded Bolts (111) ,.,d two (18) to M <in Small", 3 Insert the <o<le...
- Page 9 " • • ~... '" '" ~~I~0)~3'''~2-~ c»o;U-~- ~~ ,"\u~~_~~",,"~o_~,,,"oo~"'~ $"'~"'~~~ W~~"-"'~oo'" ".~~~~"-"-o!;9o o~<il ,.-~~~~ _ ",0""'"_"_""" ",,,,,,o-<_~o"'''' 0 _ 0 _ " , 0 ' " ";000," _ " , , , , 0 ,,-rn~ "''''~o3~~'''"",=4 oQ~D~~i_03" ",-~~~a",f;u~ "-&S-"'O~~~w"",~3'''~c~ ~~",_ "'40)3'~_9~.~~~rr ".
- Page 10 ~""03""~ >< ~~""'"~ ;;0.<;: ~ill ~ ;;j.il'" S-9'~ ",.3g~~ o xX ~-..,~ ""--<~ o_:::-~ o <l c ~""::< ",,,,~,,, .§ "'. <D ., "''''''''3."''' 03g "ill 'l 100' 0 0 1 00 ~S-~~3 ~",3 g 00 ",,,,oc;u 0000 00 ""'~~o 3.~~ ",,·_0 o x o...
- Page 11 STEP 4 ASSEMBLE PRESS ARMAND SEAT & BACK PAD '"...
- Page 12 STEP 5 INSTALL TOP CABLE --"OOOo~~~====~_x:@ TO,.. , ... Eo' onop Insert the threaded end T1 ,.,d pell8\' T2 rmlJ1ted on the Top Fr""'" (2), usintJ one ?Iff X 109.5"- Flat Set Screw (11 ,.,d 0'"' M6 X 12L Male Set Screw (1 2() each 2 Roel"...
- Page 13 STEP 5 INSTALL TOP CABLE...
- Page 14 STEP 6 INSTALL AB CRUNCH CABLE <OC RL<1 Unodod em olthe All CrlnOh Coble !!ill Lndemeoth Exlffi~on km (1 9\ uode< >Uley K< m outed ot the 3ti'f' X 30.51.- flo! SeI Screw(122) om one M6 X 1 2l 2. RoUe col>e om orcu1d pUley 5SL f ..
- Page 15 STEP 7 INSTALL CONNECT CABLE '_"F~~~~~~~=_ n" ... ' Eo' CONNECT CABLE Screw one trreaded em of the Connect Cable (68) leia theMj. Floatit>;l Pulle¥ 810ck (23) "brut halfway as FiQ. C1 batt"" rmwted on the clthe Double Pul.,y Bock (22), usit>;l 3i8" X lJ.5 LFlat Set Screw (122) am one M6 X 12l Male Set Screw (12() as FiQ.
- Page 16 STEP 8 INSTALL CABLE ARM CABLE «C B,' End Tr.. Calle Arm Cable (69) is atea<l,' rl.01 trrou(j1 the Calle Arm (15). Mow! PLlley P3,.,d P7 alOt>;l with ther PLlIe'j' Gud" 8rackets (26) to the CalleArmAsserrtty (17) as lJSinQ me 3i8"...
- Page 17 5. Attach Puley C",er Pan .. (0) on the rear top cI Mall Fr""'" (1), lJSinQ fOlX M6 X 12l Male S.. ScreW3 (12() 6. Attach Lit Bar (37), ClXl Bar (36), Sin"e Hardie ('JJ) andAB Cruro:h Belt «(8) to the GXP Stren"h TrairinQ System (Oll to the trreaded tube welded on the Man Fr,.,.,...
- Page 18 STEP 9 WEIGHT STACK SHROUD & ACRYLIC PANEL...
- Page 19 '1¥Y' oouseool:l bJ"r.nt(,och '"' ,ilico",) to .nyodj",lo.ble mIlS am to the Guide Rot. (ik 7 Enjoy rmny l"= of. Fit Lifestyle Thank you for purrhasini the BodyCrnft GXP Strength Trainiq: System. you have any qrnstions, please ral! your local BodyCrnft dealer, ral! our rustomer 800-990-5556 or at htip:/iwwwbodycrnft,com.
Need help?
Do you have a question about the GXP and is the answer not in the manual?
Questions and answers