WAGNER Power Painter Max Owner's Manual
Hide thumbs
Also See for Power Painter Max:
- Owner's manual (44 pages) ,
- Owner's manual (16 pages) ,
- Owner's manual (34 pages)
Table of Contents
Advertisement
EZ TILT
™
powEr paInTEr
Owner's Manual
Read this manual for complete instructions
Français - page 19 / Español - página 37
Contents
2 Important Safety Information
•
Form No. 0525658E
Patent pending
0312
®
56 Parts List
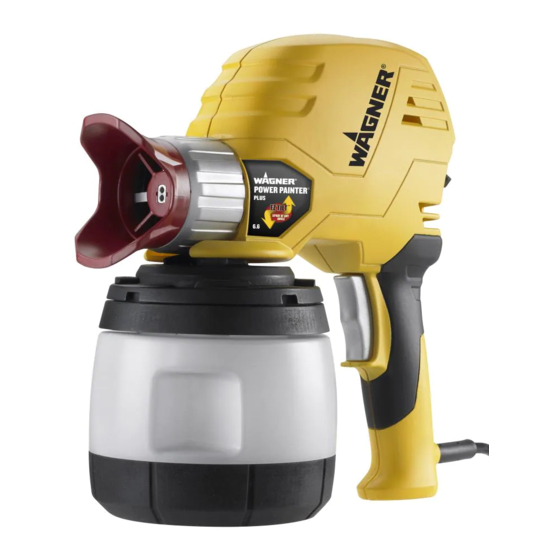
POWER
PAINTER
PLUS
Call Wagner Technical Service at:
1-800-328-8251
POWER
PAINTER
PRO
POWER
PAINTER
MAX
Register your product online at:
www.wagnerspraytech.com
Proper registration will serve as proof of
purchase in the event your original receipt
becomes misplaced or lost.
Advertisement
Table of Contents


Need help?
Do you have a question about the Power Painter Max and is the answer not in the manual?
Questions and answers