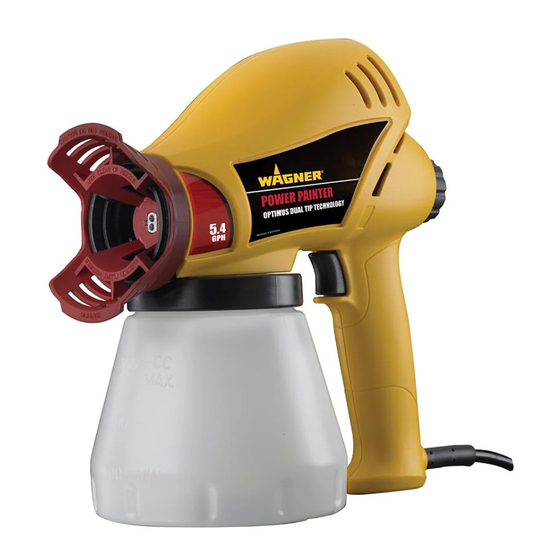
WAGNER Power Painter Owner's Manual
Hide thumbs Also See for Power Painter:

Advertisement

Power Painter
Contents
2
4
5
6
7
8
9
10
11
12
14
43
44
Warranty
• Form No. 0518646A
0613
Owner's Manual
Read this manual for complete instructions
Français (page 15) / Español (página 29)
/ Stainer
®
Questions?
Call Wagner Technical Service at:
1-800-328-8251
Register your product online at:
www.wagnerspraytech.com
®

Advertisement

Table of Contents
loading

Summary of Contents for WAGNER Power Painter

  • Page 1: Table Of Contents

    / Stainer ® ® Contents Important Safety Information Before You Begin Features Questions? Setup Practice Spraying Call Wagner Technical Service at: Spraying Technique 1-800-328-8251 Spraying Troubleshooting Cleanup Reassembly / Maintenance Register your product online at: Troubleshooting www.wagnerspraytech.com Replacement Parts Parts List Warranty •...
  • Page 2: Important Safety Information

    No adapter should be 11. Fire extinguisher equipment shall be present used with this product. and working. Grounded Outlet Cover for grounded outlet box Grounding Pin English © Wagner Spray Tech - All Rights Reserved...
  • Page 3 2. Never immerse electrical parts in water or any other liquid. Wipe the exterior of the sprayer with a damp cloth for cleaning. Always make sure the sprayer is unplugged before taking it apart for cleaning. English © Wagner Spray Tech - All Rights Reserved...
  • Page 4: Before You Begin

    Drop Cloths: Be sure to protect your floors and furnishings with drop cloths or other coverings during spraying and cleanup. English © Wagner Spray Tech. - All Rights Reserved...
  • Page 5: Features

    - Atomizer valve Suction tube with filter c1 - Filter g3 - Pump housing g4 - Spring 1 quart container Flow control knob g5 - Piston Trigger Cleaning brush Lubricant English © Wagner Spray Tech. - All Rights Reserved...
  • Page 6: Setup

    If you are going to be spraying down, point the suction tube opening (d) toward the front of the gun. 6. Thread the container securely to the sprayer. Plug in the sprayer. English © Wagner Spray Tech - All Rights Reserved...
  • Page 7: Practice Spraying

    Always test spraying without thinning the material. Thin as required to achieve optimum spraying performance (refer to #4). • If you are spraying a material that needs to be thinned, make sure to follow the manufacturer’s recommendations. English © Wagner Spray Tech - All Rights Reserved...
  • Page 8: Spraying Technique

    3. Put the atomizer valve back in place, making sure it can seat properly without any obstruction. 4. Thread on the spray tip by turning it clockwise and tighten firmly by hand. English © Wagner Spray Tech - All Rights Reserved...
  • Page 9: Spraying Troubleshooting

    Tipping the sprayer too far in one direction. RECOMMEnDaTIOn: Keep your arm even and steady when spraying. adjust the spray tip to change spraying direction. English © Wagner Spray Tech - All Rights Reserved...
  • Page 10: Cleanup

    (a) on the pump housing clean and unblocked or a vacuum can build up in the container and cause damage to the sprayer. a toothpick or straightened paper clip can be used to clean it. English © Wagner Spray Tech. - All Rights Reserved...
  • Page 11: Reassembly / Maintenance

    2 to 3 seconds while sprayer is still inverted. 7. Reassemble and reattach the filter and suction tube assembly. Replace the cup. English © Wagner Spray Tech. - All Rights Reserved...
  • Page 12: Troubleshooting

    4. Worn atomizer valve 4. Replace atomizer valve 5. Worn spray tip 5. Replace if worn 6. Control knob needs adjusting 6. Adjust 7. Worn piston 7. Clean and oil, or replace English © Wagner Spray Tech - All Rights Reserved...
  • Page 13 This unit has no servicable electrical parts. Do not attempt to service this unit yourself. Questions? Call Wagner Technical Service at: 1-800-328-8251 Register your product online at: www.wagnerspraytech.com English © Wagner Spray Tech - All Rights Reserved...
  • Page 14: Replacement Parts

    To replace either the atomizer valve or the piston and spring, follow the Cleanup instructions on page 9, and replace the old parts with new ones. When replaced, follow Reassembly instructions, page 10. English © Wagner Spray Tech. - All Rights Reserved...
  • Page 15: Parts List

    Replacement atomizer Soupapes atomiseur de Válvula en atomización valves (2) remplacement (2) de repuesto (2) 0516913 Oil lubricant Lubrifiants Lubricante 0525115 Optimus™ spray tip Buse à Optimus™ Punta de Optimus™ Français Español English © Wagner Spray Tech - All Rights Reserved...

This manual is also suitable for:

Stainer

Table of Contents