Table of Contents
Advertisement
Advertisement
Table of Contents

Subscribe to Our Youtube Channel
Related Manuals for Wincor Nixdorf TA85


Summary of Contents for Wincor Nixdorf TA85
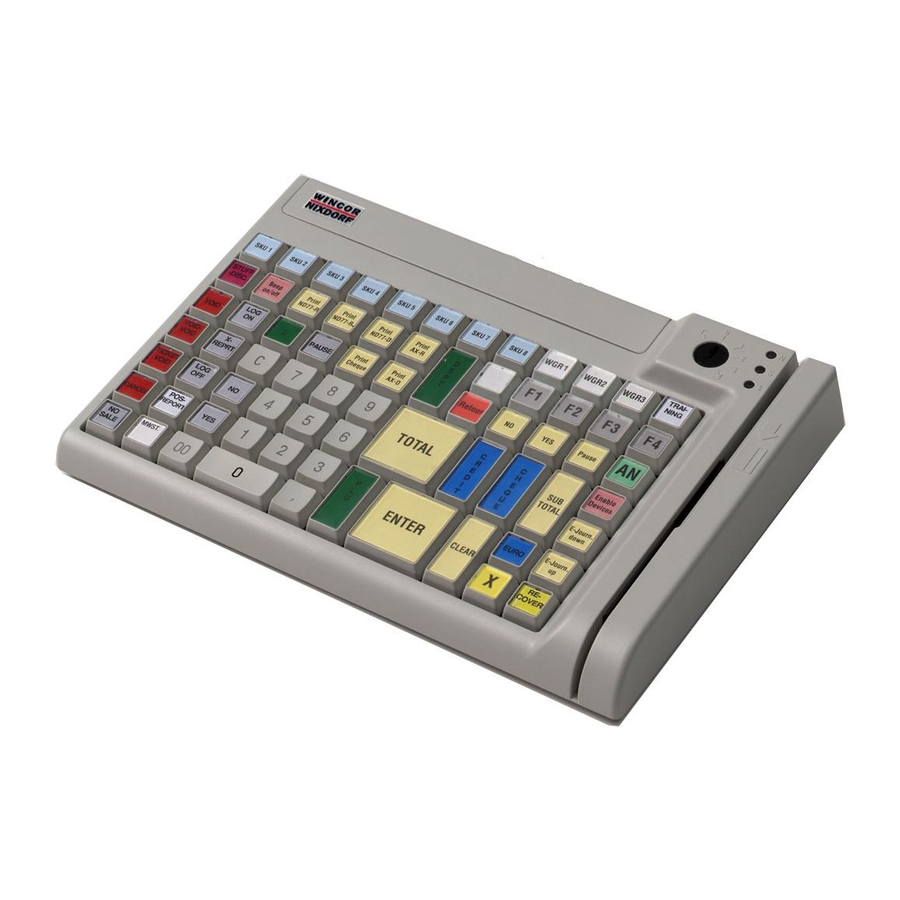
- Page 1 TA85/TA85P POS Keyboard User Manual...
- Page 2 TA85/TA85P POS Keyboard User Manual Edition September 2002...
- Page 3 ® ® BEETLE and SINIX are registered trademarks of the Wincor Nixdorf International GmbH. Copyright © Wincor Nixdorf International GmbH, 2002 The reproduction, transmission or use of this document or its contents is not permitted without express authority. Offenders will be liable for damages.
-
Page 4: Table Of Contents
Scope of supply................... 3 Mounting keys ................... 5 Exchanging the Keys .................. 5 Inserting Key Labels..................6 Inserting Key Caps ..................7 The TA85/TA85P keyboard............... 8 General......................8 Keypad ......................9 Key switch ....................9 LEDs......................10 Swipecard reader (SCR) ................10 Using the Swipecard reader .............. - Page 5 Creating Tables ..................20 Sending and Receiving Tables ..............22 Useful Hints ....................22 Appendix....................24 Technical data ...................24 Keyboard layout..................25 Keyboard Codes (Default) .................27...
-
Page 6: Manufacturer's Declaration And Approval
Manufacturer’s Declaration and Approval General Authorization This device fulfills the requirements of the EEC standard 89/336/EWG “Electromagnetic Compatibility”. Therefore, you will find the CE mark on the device or packaging. FCC-Class A Declaration This equipment has been tested and found to comply with the limits for a Class A digital device, pursuant to part 15 of the FCC Rules. -
Page 7: User Information
User Information User Information User Information Wincor Nixdorf International GmbH (WN) does not accept responsibility for radio and TV interference and faults that are caused by unauthorized changes that have been made to the devices. Furthermore, cables or other devices that have not been approved by WN may not be connected to the device. -
Page 8: Scope Of Supply
Scope of supply Scope of supply Scope of supply The product includes one TA85 or TA85P keyboard, one user guide and one accessories kit containing the following: TA85P 1 * triple “0" key cap 1 * double “0" key cap 1 * single “00"... - Page 9 12 single variable keys Depending on your order, the keyboard may have a swipe- card reader. If damage has occurred during shipping or if the package contents do not match the delivery note, promptly notify your Wincor Nixdorf sales outlet. GB - 4...
-
Page 10: Mounting Keys
Mounting keys Exchanging the Keys You can remove each of the key caps using the key removal device enclosed, pulling the key upwards. Place the key removal device on the selected key until you hear a click. GB - 5... -
Page 11: Inserting Key Labels
Mounting keys Now remove this key from the key- board by pulling upwards. If the key that has been removed carries a number or character, you can change the lettering as follows: Using a thin object (e.g. paper-clip etc.), press upwards against the plastic cover through the opening on the underside of the key. -
Page 12: Inserting Key Caps
Inserting Key Caps The labels are replaced as follows: Remove the key cap from the keyboard (see removing the key cap) and pull the transparent key cap upwards. ‚ The transparent key cover is then released and the label can be removed. -
Page 13: The Ta85/Ta85P Keyboard
The TA85/TA85P keyboard is equipped with a key switch with 6 switch positions and is available with or without a swipecard reader. -
Page 14: Keypad
Keypad Keypad In the TA85/TA85P keypad, two keys can be combined to form a double key and four keys to form a quadruple key, either horizontally or vertically. Only one key code is generated by each double or quadruple key. -
Page 15: Leds
CAPS. The other characters are output normally, e.g. numerics. Scroll Lock Scrolling is inactive, when this LED lights up. The scrolling function is only used by few software programs. Swipecard reader (SCR) Swipecard reader The TA85/TA85P is optionally equipped with a swipecard reader. GB - 10... -
Page 16: Using The Swipecard Reader
In order to ensure that the quality of reading results is maintained, clean the swipecard reader at least once a week. To do this, use the special cleaning card that can be ordered from Wincor Nixdorf. Connection method Connection method The connector for the keyboard is a standard 6-pin mini-DIN connector. -
Page 17: Releasing The Cable Connection
Releasing the Cable Connection Releasing the Cable Connection Releasing the Cable Connection Never remove a cable from a connector socket by simply pulling on the cable. Always remove the cable by the connector housing. Please follow the instructions below when removing cables: Turn off all switches to the mains and electrical equipment. -
Page 18: Mounting The Ba69
Mounting the BA69 Mounting the BA69 Turn round the keyboard. There is a gap in the top, which is stuck on the keyboard. Lift up the top with a coin. Connect the cashier display into the key- board. GB - 13... -
Page 19: Mounting The Ba63/Ba66
Mounting the BA66 Mounting the BA63/BA66 Mounting the BA66 Before installing, make sure that the mains supply has been pul- led out. Clip the key- board cable that is connected to a BEETLE or a PC into the rail at the backside of the keyboard. - Page 20 Mounting the BA66 Fasten the BA63/BA66 with the two screws at the keyboard (see arrows). Connect the keyboard cable and the screen cable to your BEETLE system and then switch on the power. GB - 15...
-
Page 21: Connecting A 2Nd Keyboard To Theta85P
Connecting a 2. Keyboard Connecting a 2nd Keyboard to theTA85P Connecting a 2. Keyboard The TA85P has a connection for a second keyboard for example to plug in an additional PC-keyboard for text input or for programming the TA85P. At the backside of the keyboard the- re is the connection for the second keyboard, marked “second key- board”. -
Page 22: Programmable Keyboard Ta85P
Programmable Keyboard TA85P By programming the TA85P you have the possibility to flexibly adjust the keyboard to your special needs. You can design the keyboard layout according to your needs by - for example - moving the numeric block to any place on the keyboard, define several levels for the keycodes, thus using the same key as a functional key on one level and for text input on another level, port your existing software application with less effort, as you can... -
Page 23: Mode
The DOS Mode is primarily used by RDI, the Windows Mode is used by the OPOS components. A description of this protocol can be sent to you by Wincor Nixdorf on request. When developing new software you should generally use the Windows Mode. -
Page 24: Main Functions
Programmable Keyboard TA85P Main functions The dialogue utility KBUTI.EXE serves to: programming the codes for the keys and the components key lock, magnetic stripe reader send a keyboard table to the keyboard receive a table from the keyboard and to store it in a file reset a keyboard into its default state, i.e. -
Page 25: Help
Programmable Keyboard TA85P transferred to the secondary interface. A reaction of the system to a key stroke, is transmitted to the keyboard, whose key became operated - thus pressed or released. Help The dialogue utility KBUTI.EXE has a context sensitive help, which is acti- vated as usual with the F1 key. - Page 26 Programmable Keyboard TA85P {Shift+F8} {Alt+F1} {Alt+#123} {Ctrl+f}{Alt+#240} For a number of codes symbolic names are available, like F1, .., F12, Shift, Ctrl, Alt, AltGr, Enter, Return, Left, PgUp etc. Specification of codes not only may be done in symbolic form like above, but also as hexadecimal 8042 scan codes.
-
Page 27: Sending And Receiving Tables
Programmable Keyboard TA85P Sending and Receiving Tables The codes assigned are stored in a file with default extension .KBT. Such files can be loaded by the dialogue utility KBUTI.EXE and the tables sent to the keyboard. They also can be sent directly from such files by the batch utility SENDKBT.EXE. - Page 28 Programmable Keyboard TA85P Take care, that there must not be any keyboard activity when they are executed! This has to be strongly observed, if such a utility is run automat- ically at start of the system! This at least requires proper error handling rsp.
-
Page 29: Appendix
/ Weight Height: 54mm; Weight: 1.16 kg Cable length Optional: 0.8 m, 1.5 m or 3.0 m TA85: 5V +/- 20%, max. 140mA Power supply TA85P: 5V +/- 10%, max. 170mA Protocol PC AT interface, bidirectional, serial, synchronous TA85: Mini-DIN connector (6-pin.) -
Page 30: Keyboard Layout
Keyboard layout *Only two keys pressed at the same time are accepted. With the simulta- neous operation of more than two keys the third and all further keys are suppressed. Keyboard layout Keyboard layout This is the keyboard layout delivered ex works. It is the same for both key- boards. - Page 31 Keyboard layout A useful assignment of the TA85/TA85P in the default setting: Note In these cases only the key “0" as ASCII-Code is given from the keyboard. Other keys (”0") must be evaluated before application. GB - 26...
-
Page 32: Keyboard Codes (Default)
Keyboard Codes Keyboard Codes (Default) Keyboard Codes GB - 27...
Need help?
Do you have a question about the TA85 and is the answer not in the manual?
Questions and answers