
Related Manuals for Genius G-Shot P510


Summary of Contents for Genius G-Shot P510
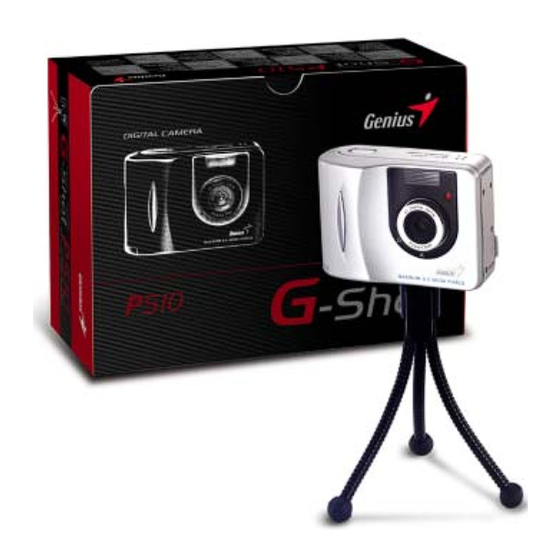
- Page 1 Service Manual G-Shot P510 Service Manual G-Shot P510 Version K01A Version: K01A...
-
Page 2: Table Of Contents
Service Manual G-Shot P510 Contents ………………………………...…………..2 1.Function Test ………………………………………3 2.Troubleshooting ……………………………………4 3.Disassemble Procedure ……………………………5 4.Firmware Update Procedure ………………….…..6 5.Parts List ……………………………………………7 6. Tools …..……………………………………………13 Version: K01A... -
Page 3: Function Test
Service Manual G-Shot P510 1. Function Test TOOL/EQUIPMENT SM card*2, TV, AC adapter*2, lens-wiping paper USB cable, flower, accessory, computer OPERATION DESCRIPTION ITEM OPERATON DESCRIPTION Put the AA battery into the camera, press power key to power on, then you enter an image as the one on the right side. Check whether the image (Status Icon on LCD could not be covered or partly covered by the rear cover) and the indication symbols are normal or not. -
Page 4: Troubleshooting
Service Manual G-Shot P510 2. Troubleshooting Item NG point NG Analyzing solution Power system Power on fail(without Changing the fuse on MCU PCB. current ) Power on fail(with Changing the MCU PCB. 100uA current ) Power on fail, with Changing the MCU PCB. -
Page 5: Disassemble Procedure
Service Manual G-Shot P510 3. Disassemble Procedure Step Figure Description Remark Tools Examine if there's Finished Product any scratch on the surface. Do not scratch the Remove all the screws camera surface Screw driver on the camera housing. while removing the screws. -
Page 6: Firmware Update Procedure
Service Manual G-Shot P510 4. Firmware Update Procedure Product : G-Shot P 510 To update this camera firmware, you will need to have 1. The new firmware file. 2. One SD card. 3. One card reader. Please follow the steps below to perform the update process: 1. -
Page 7: Parts List
Service Manual G-Shot P510 5. Part List (G-Shot P510) Item Part Name Part Number Front Cover Assy 9H544-2000 Rear Cover Assy 9F644-3000 Battery Cover 9D134-460-98 USB Jack Cover 9D134-019*2BF Flash PCB 9F647-4100 5 Way Buttons 9D234-005-3AG 1. Front Cover Assy... - Page 8 Service Manual G-Shot P510 2. Rear Cover Assy Version: K01A...
- Page 9 Service Manual G-Shot P510 3. Battery Cover Version: K01A...
- Page 10 Service Manual G-Shot P510 4. USB Jack Cover Version: K01A...
- Page 11 Service Manual G-Shot P510 5. Flash PCB Version: K01A...
- Page 12 Service Manual G-Shot P510 6. 5 Way Button Version: K01A...
-
Page 13: Tools
Service Manual G-Shot P510 6. Tooling Item Description Mark Screw Driver (2.0m/m) Tweezers Soldering iron 1. Screw Driver Version: K01A... - Page 14 Service Manual G-Shot P510 2. Tweezers Version: K01A...
- Page 15 Service Manual G-Shot P510 3. Soldering iron Version: K01A...
Need help?
Do you have a question about the G-Shot P510 and is the answer not in the manual?
Questions and answers