
Subscribe to Our Youtube Channel
Related Manuals for Linkcom Link IP iDP


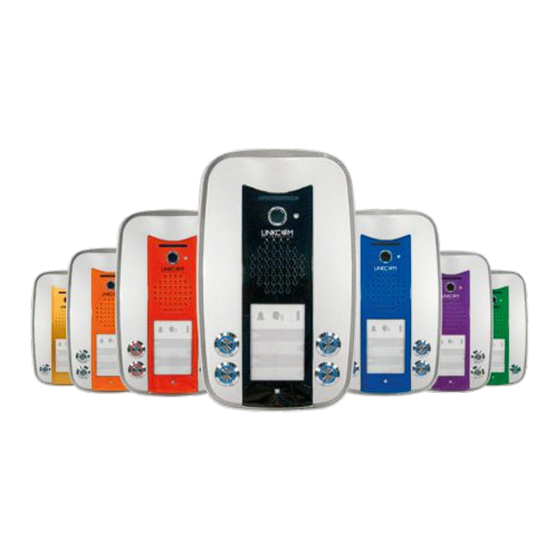
Summary of Contents for Linkcom Link IP iDP
- Page 1 Link IP iDP Quick User Guide Please find the latest version of the manual and firmware at : www.linkcom.fr...
- Page 2 Index 1.#Physical#install#........................# 3 ! 1.1.#Opening#the#door#phone#.......................#3 1.2.#Dismounting#of#nameplate# ....................#3 2.#Wall#mounting# ........................# 3 ! 2.1.#Dimension# ..........................#3 2.2.#Surface#mounting#........................#4 2.3.#Flush#mounting#........................#4 3.#Description#of#components# ....................# 5 ! 3.1.#Power#Wiring# ..........................#6 3.2.#Relais#:#Mode#and#wiring# .......................#6 4.#Setting#...........................# 7 ! 4.1.#IP#setting#............................#7 4.2.#SIP#setting#..........................#8 4.3.#Call#buttons#setting# .........................#8 4.4.#Opening#code#..........................#9 5.#Factory#reset# ..........................#9...
-
Page 3: Wall Mounting
1. Physical install 1.1. Opening the door phone Using the tool provided, unscrew the screw, as shown below and remove the cover: 1.2. Dismounting of nameplate Remove the 4 screws of the transparent protection. Make the appropriate changes on the nameplate and mount the protection using 4 screws. -
Page 4: Surface Mounting
2.2. Surface mounting Using 3 screws and plugs, fix the doorphone to the wall: 2.3. Flush mounting The dimensions of the flush part are: Height: 182mm • Width: 104mm • Depth: 22mm • Using 3 screws and plugs, fix the doorphone to the wall: p.4$|$9$... -
Page 5: Description#Of#Components
3. Description of components LAN port Speaker connector 12V Power supply Relais Disabled norm « JP1 » jumper : Reset and IP button Relais Mode Button 2 Button 4 Button 1 Button 3 LED for nameplate Micro connector Description of Reset and IP buttons: IP button IP (#) : Used to determine the IP address of doorphone. -
Page 6: Power Wiring
3.1. Power Wiring The Link IP iDP can be supplied in 2 different ways : PoE (802.3at Class 3) • External power supply 12V DC • 3.2. Relais : Mode and wiring The relay has two different mode depending on the configuration « JP1 » jumper (see description of components): «... -
Page 7: Setting
4. Setting 4.1. IP setting Open the web browser and enter the IP address of the IP Link iDP, in default "http://192.168.1.250". Enter the user name and password and click "Logon"» : User = admin Password = admin Go to the "Network / WAN" menu. You can configure the IP address automatically (DHCP) or fixed. Configure the IP settings according to your network and click on "Apply": p.7$|$9$... -
Page 8: Sip#Setting
4.2. SIP setting The SIP registration is not required if the doorphone call in P2P. Go to the "VoIP / SIP" menu to enter the SIP registration settings (Server Address, server port, Authentication User and password, Password, SIP User) and click on "Apply" : If the SIP registration settings are correct, "Status"... -
Page 9: Opening#Code
4.4. Opening code The opening code (DTMF) to trigger the relay and open the door is "55" by default. This code can be modified in the "DoorPhone / DoorPhone / Remote Password" menu. The Opening time , 5 seconds by default, can also be changed in the menu "DoorPhone / DoorPhone / opening time"...
Need help?
Do you have a question about the Link IP iDP and is the answer not in the manual?
Questions and answers