Table of Contents
Advertisement
Quick Links
Advertisement
Table of Contents

Related Manuals for Ledj Colour Burst LEDJ01


Summary of Contents for Ledj Colour Burst LEDJ01
-
Page 1: User Manual
www.prolight.co.uk Colour Burst Order code: LEDJ01 USER MANUAL... -
Page 2: Safety Instructions
WARNING FOR YOUR OWN SAFETY, PLEASE READ THIS USER MANUAL CAREFULLY BEFORE YOUR INITIAL START-UP! CAUTION! Keep this equipment away from rain, moisture and liquids. SAFETY INSTRUCTIONS Every person involved with the installation, operation & maintenance of this equipment should: Be competent Follow the instructions of this manual CAUTION! TAKE CARE USING THIS EQUIPMENT! -
Page 3: Operating Determinations
IMPORTANT: The manufacturer will not accept liability for any resulting damages caused by the non-observance of this manual or any unauthorised modification to the equipment. • Never let the power-cable come into contact with other cables. Handle the power-cable and all mains voltage connections with particular caution! •... -
Page 4: Control Features
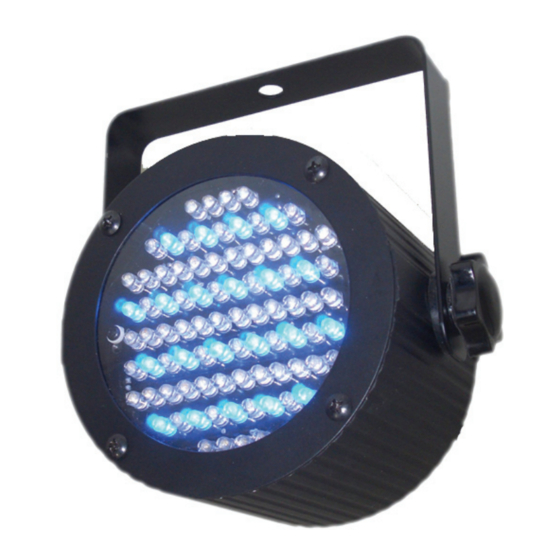
Introduction CONTROL FEATURES • 4-channel DMX-512 LED can • Blackout/Dimmer/Strobe/sound activation • Individual control of Red, Green and Blue LED’s Features • 84 LEDs: - 27 red, 27 green, 30 blue • Ultra bright 5mm LED’s • RGB colour mixing •... - Page 5 Product Overview Setup Operating Instructions The Colour Burst is a DMX-512 controllable, full RGB colour mixing Par Can made up of high effi ciency and super bright LED’s. There are three colour groups (red, blue and green) whose intensity can be controlled individually allowing the creation of an unlimited range of colours. The Colour Burst will operate in stand-alone, Master/Slave, sound activated and via DMX-512 control.
-
Page 6: Sound Activation
Master/Slave The Master/Slave mode will allow you to link up as many units as you want in a daisy chain fashion. In this mode, the first unit in the daisy chain will control the following units. 1) Connect all units in a daisy chain as described in the section following. 2) For master unit in Auto mode: Set dip switch 8 to ON and all others to OFF 3) For master unit in Sound Activation mode: Set dip switch 8+9 to ON and all others to OFF 4) For Slave mode: set dip switches 10+1 to ON and all others to OFF... -
Page 7: Colour Selection
Manual Control Options Colour Selection • With Dip Switch 1 only set to ON you obtain static RED • With Dip Switch 2 only set to ON you obtain static GREEN • With Dip Switch 3 only set to ON you obtain static BLUE You can have any combination of switches 1,2,3 to obtain static colour mix. - Page 8 DMX Control Mode Set the start address using the group of dip switches located usually on the back of the fixture. Each dip switch has an associated value. Adding the value of each switch in the ON position will provide the start address. Determining which switches to toggle ON given a specific start address can be accomplished in the following manner.
- Page 9 DMX-512: • DMX (Digital Multiplex) is a universal protocol used as a form of communication between intelligent fixtures and controllers. A DMX controller sends DMX data instructions form the controller to the fixture. DMX data is sent as serial data that travels from fixture to fixture via the DATA “IN”...
- Page 10 Notice: • Be sure to follow figures 2 & 3 when making your own cables. Do not connect the cable’s shield conductor to the ground lug or allow the shield conductor to come in contact with the XLR’s outer casing. Grounding the shield could cause a short circuit and erratic behaviour. Special Note: Line termination: •...
-
Page 11: Dip Switch Position
DMX Dip Switch Quick Reference Chart Dip Switch Position... - Page 12 DMX Channel Values Technical Specifications Weight & Dimensions • Length…............125mm • Width..............125mm • Height……………………………………………..200mm • Weight………………………………………..1.5kgs Power • AC input……………………………………..240V/50hz Fuse • Main……………………………………………….20mm Glass 0.5A Fast Blow Control & Programming • Data input………………………………………...Locking 3-pin XLR male socket • Data output……………………………………….Locking 3-pin XLR female socket •...
Need help?
Do you have a question about the Colour Burst LEDJ01 and is the answer not in the manual?
Questions and answers