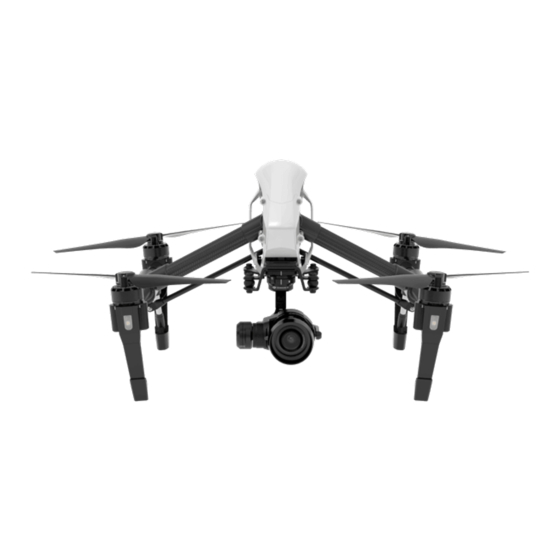
dji Inspire 1 PRO Quick Start Manual
Hide thumbs
Also See for Inspire 1 PRO:
- User manual (70 pages) ,
- Quick start manual (11 pages) ,
- Quick start manual (10 pages)
Table of Contents
Advertisement
Quick Links
Download this manual
See also:
User Manual
Advertisement
Table of Contents

Related Manuals for dji Inspire 1 PRO


Summary of Contents for dji Inspire 1 PRO
- Page 1 INSPIRE Quick Start Guide V1.2...
- Page 2 Through the DJI GO app, the camera focus, shutter speed, aperture and ISO can be manually adjusted. The DJI Focus, a wireless follow focus system, can be linked to the remote controller of the Inspire 1 Pro for seamless and tactile camera control across the entire flight range.
-
Page 3: Remote Controller
Remote Controller The maximum transmission distance of the Inspire 1 Pro remote controller is 16,400 feet (5 km)*. The built-in LiPo battery powers the device for up to four hours in between charges. An ergonomic design puts photo and video capturing, playback and gimbal control functions within comfortable reach, crucial when the aircraft is being operated. -
Page 4: No Fly Zones
Be very careful when flying 14,700 feet (4,500 meters) or more above sea level as the battery and aircraft performance may be reduced. ● The Inspire 1 Pro’s compass and GPS will not work in Polar Regions. The aircraft will auto switch to ATTI Mode and use the VPS for positioning. ●... -
Page 5: Specifications
Camera (Name/Model: Zenmuse X5 / FC550) ● Sensor Type 4/3 CMOS sensor; Effective pixels: 16M Lens DJI MFT 15mm f/1.7 ASPH, 72° FOV, 35 mm (30 mm format equivalent) ISO Range 100-25600 Electronic Shutter Speed 8 to 1/8000 s Max Resolution 4608×3456... - Page 6 The Intelligent Flight Battery must be fully charged before using it for the first time. ● Only use the official DJI Inspire 1 Pro charger for your Intelligent Flight Battery and remote controller. Power off the Intelligent Flight Battery ●...
-
Page 7: Prepare The Remote Controller
You will need to link the Master and Slave remote controllers. Place your mobile device and adjust the On the Master RC, launch the DJI GO clamp to secure. app and enter Camera View. Tap Press the button to the top of your screen to bring up the RC release the clamp. -
Page 8: Preparing For Takeoff
The stick mode is set to Mode 2 by default (left hand throttle). The left stick controls the aircraft's elevation and heading. The right stick controls the aircraft's forward, backward and lateral movements. The gimbal dial controls camera tilt. Right Stick Gimbal Dial Left Stick You can change the stick mode in the DJI GO app. ●... -
Page 9: Return-To-Home
11. Flight Before taking off, ensure the Aircraft Status Bar in the DJI GO app Safe to Fly (GPS) indicates ‘Safe to Fly (GPS)’. In the DJI GO App: Auto Takeoff Auto Landing The aircraft will take off and hover at The aircraft will land vertically and stop its an altitude of 4 feet (1.2 meters). - Page 10 INSPIRE Creativity Unleashed www.dji.com...
Need help?
Do you have a question about the Inspire 1 PRO and is the answer not in the manual?
Questions and answers