Advertisement
Quick Links
Advertisement

Subscribe to Our Youtube Channel
Related Manuals for Falco HEE89-900MM


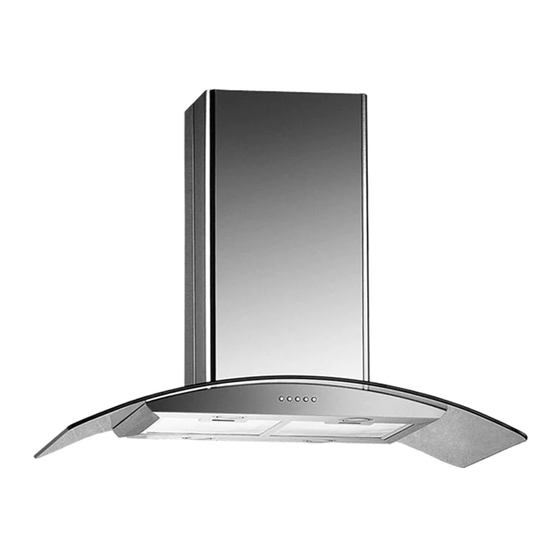
Summary of Contents for Falco HEE89-900MM
- Page 1 USE AND CARE GUIDE ISLAND HOOD...
- Page 2 Fig.1 Fig.2...
- Page 3 Fig.3 Fig.4...
- Page 4 Fig.5 Fig.6...
- Page 5 Fig.7 Fig.8...
- Page 6 Fig.9 Fig.10...
- Page 7 Fig.11 Fig.12...
- Page 8 Fig.13 Fig. 14 Fig. 15...
- Page 9 Fig.16 Fig. 17...
-
Page 10: Safety Precaution
Fig. 18 GENERAL Carefully read the following important information regarding installation safety and maintenance. Keep this information booklet accessible for further consultations. The appliance has been designed for use in the ducting version (air exhaust to the outside – Fig.1B), filtering version (air circulation on the inside – Fig.1A) or with external motor (Fig.1C). -
Page 11: Installation Instructions
doubt ask a qualified electrician. 2. WARNING ! In certain circumstances electrical appliances may be a danger hazard. A) Do not check the status of the filters while the cooker hood is operating B) Do not touch bulbs or adjacent areas, during or straight after prolonged use of the lighting installation. - Page 12 The connection to the mains is carried out as follows: IEC227 North America L=live Brown Black N=neutral Blue White E=earth Green/Yellow Green If not provided, connect a plug for the electrical load indicated on the description label. Where a plug is provided, the cooker hood must be installed in order that the plug is easily accessible.
- Page 13 the lower part. - Please attention that the arrow is positioned on the same side as the appliance controls. Make 4, Ø8 holes in the ceiling and drive in 3 screws without completely tightening them(Fig2). Pay attention not to insert the screw into the hole marked with an X on the hole template (the screws and expansion plugs must be suitable for the type of wall).
-
Page 14: Use And Maintenance
- If the cooker hood is supplied with a lower chimney piece that must be fixed to the hood body with screws, remove the anti-grease filters from the hood by acting on the relevant handles (Fig.12). Then screw the lower chimney piece pipe to the inside of the hood, using screws P(Fig.13). - Page 15 every four months. The saturation of the active carbon filter depends on the frequency of use of the appliance, by the type of cooking and the regularity of cleaning the antigrease filters. (Fig.14) To remove the charcoal filters place on hand on one filter at a time and turn it toward the front part. The charcoal filter can now be removed.
- Page 16 The “automatic stop timer” delays stopping of the hood, which will continue functioning for 15 minutes at the operating speed set at the time this function is activated. •COMANDS PATTERN :( Fig.18) A= Filtering system / Set clock B= Delay Timer C= Speed S1/ “-”...
-
Page 17: Troubleshooting
Troubleshooting Problem Possible reason Solution Hood doesn’t work No electric supply Check the plug is connected Check the main switch is turned on Poor airflow Aluminum grease Clean the filters and replace when filters clogged Charcoal filters Replace the charcoal filters clogged Motor running but no Butterfly valve jammed Contact technician... - Page 18 This appliance is marked according to the European directive 2002/96/EC on Waste Electrical and Electronic Equipment (WEEE). By ensuring this product is disposed of correctly, you will help prevent potential negative consequences for the environment and human health, which could otherwise be caused by inappropriate waste handling of this product.
Need help?
Do you have a question about the HEE89-900MM and is the answer not in the manual?
Questions and answers