Sign In
Upload
Download
Table of Contents
Contents
Add to my manuals
Delete from my manuals
Share
URL of this page:
HTML Link:
Bookmark this page
Add
Manual will be automatically added to "My Manuals"
Print this page
×
Bookmark added
×
Added to my manuals
Manuals
Brands
Arctic Cat Manuals
Offroad Vehicle
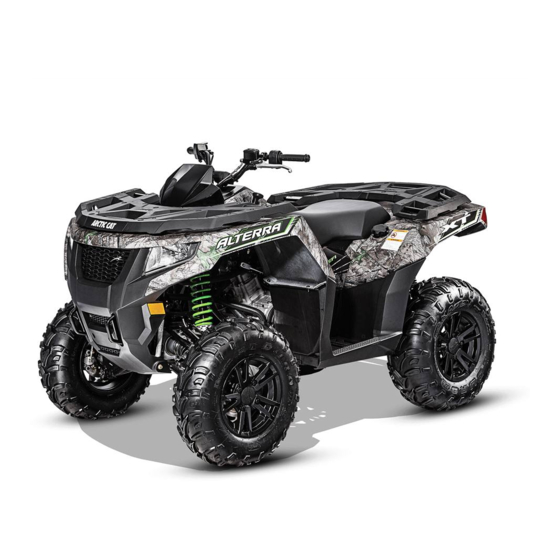
2016 Alterra 500
Service manual
Arctic Cat 2016 Alterra 500 Service Manual
Hide thumbs
1
2
3
4
5
6
7
8
9
10
11
12
13
14
15
16
17
18
19
20
21
22
23
24
25
26
27
28
29
30
31
32
33
34
35
36
37
38
39
40
41
42
43
44
45
46
47
48
49
50
51
52
53
54
55
56
57
58
59
60
61
62
63
64
65
66
67
68
69
70
71
72
73
74
75
76
77
78
79
80
81
82
83
84
85
86
87
88
89
90
91
92
93
94
95
96
97
98
99
100
101
102
103
104
105
106
107
108
109
110
111
112
113
114
115
116
117
118
119
120
121
122
123
124
125
126
127
128
129
130
131
132
133
134
135
136
137
138
139
140
141
142
143
144
145
146
147
148
149
150
151
152
153
154
155
156
157
158
159
160
161
162
163
164
165
166
167
168
169
170
171
page
of
171
Go
/
171
Contents
Table of Contents
Troubleshooting
Bookmarks
Table of Contents
2016 Alterra 500/550/700 Service Manual
Table of Contents
General Information/Foreword
Specifications
Torque Specifications
Torque Conversions (Ft-Lb/N-M)
Gasoline - Oil - Lubricant
Preparation for Storage
Preparation after Storage
Periodic Maintenance/Tune-Up
Air Filter
Valve/Tappet Clearance
Testing Engine Compression
Spark Plug
Muffler/Spark Arrester
Engine/Transmission Oil - Filter
Front Differential/Rear Drive Lubricant
Shift Lever
Hydraulic Brake Systems
Burnishing Brake Pads
Checking/Replacing V-Belt
Steering/Body/Controls
Front Body Panel/Side Panels/Rack
Rear Body Panel/Rack
LCD Gauge
Steering Post/Tie Rods
Handlebar Grip
Throttle Control
Steering Knuckles
Measuring/Adjusting Toe-Out
Shift Lever
Front Bumper
Belly Panel
Muffler
Seat
Headlights - Taillights/Brakelights
Troubleshooting
Engine/Transmission
Specifications
Troubleshooting
Removing Engine/Transmission
Servicing Engine (500)
Removing Top-Side Components
Top-Side Components
Servicing Top-Side Components
Installing Top-Side Components
Rocker Arms
Left-Side Components
Removing Left-Side Components
Servicing Left-Side Components
Installing Left-Side Components
Right-Side Components
Removing Right-Side Components
Servicing Right-Side Components
Driven Pulley Assembly
Installing Right-Side Components
Center Crankcase Components
Disassembling Crankcase Half
Separating Crankcase Halves
Servicing Center Crankcase Components
Assembling Crankcase Half
Joining Crankcase Halves
Servicing Engine (550/700)
Removing Top-Side Components
Top-Side Components
Servicing Top-Side Components
Installing Top-Side Components
Left-Side Components
Removing Left-Side Components
Servicing Left-Side Components
Installing Left-Side Components
Removing Right-Side Components
Right-Side Components
Servicing Right-Side Components
Installing Right-Side Components
Center Crankcase Components
Disassembling Crankcase Half
Separating Crankcase Halves
Servicing Center Crankcase Components
Crankshaft Assembly
Assembling Crankcase Half
Joining Crankcase Halves
Installing Engine/Transmission
Fuel/Lubrication/Cooling
Throttle Body
Throttle Cable Free-Play
Gas Tank
Oil Pump
Liquid Cooling System
Troubleshooting
Electrical System
Battery
Electronic Power Steering (EPS)
Ignition Switch
Ignition Coil
Ignition Timing
Accessory Receptacle/Connector
Switches
Fan Motor
Front Differential Actuator System
Lights
Power Distribution Module (PDM)
EFI Sensors/Components
Speed Sensor
Tilt Sensor
RPM Limiter
Stator Coil
Regulator/Rectifier
Starter Motor
Starter Relay
Electronic Control Module (ECM)
EFI Diagnostic System
Troubleshooting
Drive System/Brake System
Front Drive Actuator/Differential Lock
Front Differential
Drive Axles
Rear Gear Case
Hub
Hand Brake Lever/Master Cylinder Assembly
Hydraulic Brake Caliper
Troubleshooting Drive System
Troubleshooting Brake System
Suspension
Shock Absorbers
Front A-Arms
Rear A-Arms
Rear Sway Bar
Wheels and Tires
Troubleshooting
Advertisement
Quick Links
1
Gasoline - Oil - Lubricant
Download this manual
SERVICE MANUAL
www.arcticcat.com
www.arcticcat.com
Table of
Contents
Previous
Page
Next
Page
1
2
3
4
5
Advertisement
Chapters
2016 Alterra 500/550/700 Service Manual
2
Servicing Engine (500)
34
Servicing Engine (550/700)
70
Table of Contents
Troubleshooting
Troubleshooting
28
Troubleshooting
30
Troubleshooting
116
Troubleshooting
139
Troubleshooting Drive System
161
Troubleshooting
169
Need help?
Do you have a question about the 2016 Alterra 500 and is the answer not in the manual?
Ask a question
Questions and answers
Related Manuals for Arctic Cat 2016 Alterra 500
Offroad Vehicle Arctic Cat 2016 Alterra 550 Service Manual
(171 pages)
Offroad Vehicle Arctic Cat 2016 Alterra 700 Service Manual
(171 pages)
Offroad Vehicle Arctic Cat 2016 90 Utility Service Manual
(84 pages)
Offroad Vehicle Arctic Cat 2016 Wildcat Sport Service Manual
Mid-sized performance utv (168 pages)
Offroad Vehicle Arctic Cat 2014 400 ATV Service Manual
Atv (124 pages)
Offroad Vehicle Arctic Cat 2010 366 Service Manual
2010 arctic cat 366 atv (139 pages)
Offroad Vehicle Arctic Cat 2011 Prowler HDX Service Manual
2011 arctic cat prowler hdx (164 pages)
Offroad Vehicle Arctic Cat 450 H1 2010 Operator's Manual
(100 pages)
Offroad Vehicle Arctic Cat 2015 Wildcat Operator's Manual
(64 pages)
Offroad Vehicle Arctic Cat 2012 WildCat Operator's Manual
Arctic cat 2012 wildcat (60 pages)
Offroad Vehicle Arctic Cat 2012 350 Service Manual
(123 pages)
Offroad Vehicle Arctic Cat 2010 700 Diesel SD Service Manual
(180 pages)
Offroad Vehicle Arctic Cat 700 PS EFT Operator's Manual
Atv (64 pages)
Offroad Vehicle Arctic Cat 2015 XR Service Manual
(177 pages)
Offroad Vehicle Arctic Cat 2011 CFR 800 Operator's Manual
(76 pages)
Offroad Vehicle Arctic Cat Diesel SD 700 2011 Service Manual
(164 pages)
This manual is also suitable for:
2016 alterra 550
2016 alterra 700
Table of Contents
Save PDF
Print
Rename the bookmark
Delete bookmark?
Delete from my manuals?
Login
Sign In
OR
Sign in with Facebook
Sign in with Google
Upload manual
Upload from disk
Upload from URL


Need help?
Do you have a question about the 2016 Alterra 500 and is the answer not in the manual?
Questions and answers