
Subscribe to Our Youtube Channel
Related Manuals for Perfect Aire PASC10000


Summary of Contents for Perfect Aire PASC10000
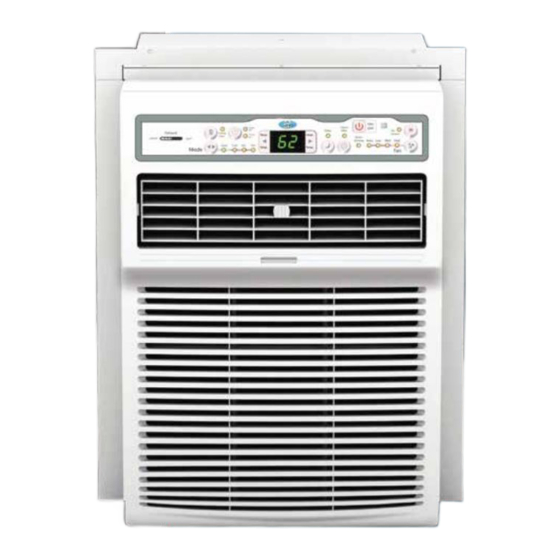
- Page 1 Your Source for Home Comfort (10,000 & 12,000 BTU) CASEMENT/SLIDER AIR CONDITIONER USER MANUAL FOR MODELS: PASC10000 PASC12000 Before using your casement/slider air conditioner, please read this manual carefully and keep it for future reference, along with your receipt.
-
Page 2: Table Of Contents
CONTENTS SAFETY PRECAUTIONS ..................2 IMPORTANT SAFETY INSTRUCTIONS ...............4 NORMAL SOUNDS ....................5 AIR CONDITIONER FEATURES................6 INSTALLATION INSTRUCTIONS ...............10 CARE AND CLEANING..................18 TROUBLESHOOTING TIPS ................19 This manual provides the information needed for proper use and maintenance of this air conditioner. -
Page 3: Safety Precautions
SAFETY PRECAUTIONS To prevent injury to the user or other people and property damage, the following instructions must be followed. Incorrect operation due to ignoring of instructions may cause harm or damage. The seriousness is classified by the following indications. WARNING This symbol indicates the possibility of death or serious injury. - Page 4 ! CAUTION When removing air filter, do not Ensure proper ventilation touch metal parts of the unit. especially in rooms with a stove or other appliances. Doing so may cause an injury. Water may enter the unit and Failure to do so may result in an degrade the insulation causing an oxygen shortage.
-
Page 5: Important Safety Instructions
IMPORTANT SAFETY INSTRUCTIONS For Your Safety WARNING! NOTE The power supply cord with this air conditioner contains a current DO NOT store or use gasoline or other flammable vapors or liquids in detection device designed to reduce the vicinity of this or any other appliance. the risk of fire. -
Page 6: Normal Sounds
NORMAL SOUNDS High Pitched Chatter High efficiency compressors may have a high pitched chatter during the cooling cycle. Vibration Sound of Rushing Air Unit may vibrate and make noise At the front of the unit, the sound of because of poor wall or window rushing air being moved by the fan construction or incorrect installation. -
Page 7: Air Conditioner Features
AIR CONDITIONER FEATURES ELECTRONIC CONTROL OPERATING INSTRUCTIONS Thoroughly familiarize yourself with the control panel as shown below and all of its functions. Afterwards, follow the symbol for the functions you desire BEFORE operating the unit. This unit can be controlled by the unit control or with the remote control. - Page 8 AIR CONDITIONER FEATURES (CONTINUED) TO SELECT THE OPERATING MODE: NOTE: To choose operating mode, press the Mode button. Each time the button is pressed, a mode is selected in a sequence that goes from “Auto”, “Cool”, “Dry” and “Fan”. The indicator light will be illuminated and remain on once the mode is selected.
- Page 9 AIR CONDITIONER FEATURES (CONTINUED) SLEEP FEATURES: NOTE: In this mode the selected temperature will increase by 2 F/1 C 30 minutes after the mode is selected. The temperature will then increase by another 2 F/1 C after an additional 30 minutes. This new temperature will be maintained for 6 hours before it returns to the originally selected temperature.
- Page 10 AIR CONDITIONER FEATURES (CONTINUED) NOTE: This feature can ONLY be activated from the FOLLOW ME FEATURE remote control. The remote control serves as a remote thermostat allowing for precise temperature control at its location. To activate the Follow Me feature, point the remote control towards the unit and press the “Follow Me”...
-
Page 11: Installation Instructions
INSTALLATION INSTRUCTIONS NOTE: These instructions describe installation in a typical wood framed window with a wood SLIDE-BY sash, or installation in a metal CASEMENT window. Modification may be necessary when installing in windows made differently than those shown in these instructions. A high window accessory kit is available for window heights up to 62”... - Page 12 INSTALLATION INSTRUCTIONS (CONTINUED) NOTE: Use scale below to measure length of your screws. The scale will be helpful when separating screws for installation. (25mm) (44mm) (63mm) Identify Screws 1” 1 3/4” 2 1/2” By Length 3/8” 3/4” (10mm) (19mm) 16 1/4 inches 2.
- Page 13 INSTALLATION INSTRUCTIONS (CONTINUED) Installing Unit in a Sliding Window Fig. 1 1. Attach support brace to platform (Fig. 1). Use adjustment bolt and hex flange nut to complete assembly. Choose slot and adjustment bolt hole locations that will create a 45 degree angle between platform and support brace.
- Page 14 INSTALLATION INSTRUCTIONS (CONTINUED) Installing Unit in a Sliding Window (Continued) 6. Place platform assembly. (Fig. 7) With platform tab against inside of window track, place platform assembly and attach it to window jamb. Use appropriate length screws (Items 9-11 in Preparing For Installation). 7.
- Page 15 INSTALLATION INSTRUCTIONS (CONTINUED) Installing Unit in a Sliding Window (Continued) 14. To Remove Front (Fig. 12) Fig. 12 1. Remove the two front retaining screws from the front frame. 2. Gently pull the front out and lift up to release it from the case. 3.
- Page 16 INSTALLATION INSTRUCTIONS (CONTINUED) Installing Unit in a Casement Window NOTE: Open the window the maximum amount to allow for clearance of the cabinet. The crank handle should be removed to allow the platform to be fastened to the jamb. If the window cannot open far enough (more than 15 1/2 inches) for the cabinet to clear the window, remove the window entirely by drilling out the rivets.
- Page 17 INSTALLATION INSTRUCTIONS (CONTINUED) Installing Unit in a Casement Window (Continued) 5. Adjust the platform assembly properly. (Fig. 5) Rear is at least 5/16” Adjust the platform assembly so that the rear lower than front of the air conditioner will be 5/16 inches lower than the front.
- Page 18 INSTALLATION INSTRUCTIONS (CONTINUED) Installing Unit in a Casement Window (Continued) 12. To remove front: (Fig. 10) Fig. 10 Remove the two front retaining screws from the front frame. Gently pull the front out and lift up to release it from the case. Release the coupler plugs.
-
Page 19: Care And Cleaning
CARE AND CLEANING CAUTION Clean air conditioner occasionally to keep it looking and operating like new. Be sure to unplug the unit before cleaning to prevent shock or fire hazards. Air Filter Cleaning The air filter should be cleaned at least every two weeks or as necessary. -
Page 20: Troubleshooting Tips
TROUBLESHOOTING TIPS Before calling for service, please review the chart below. Issue Possible Solutions • Be sure unit is not too large or too small for the area of the room. • Verify that all doors, windows, curtains and any other openings are closed off. Verify nothing is obstructing the front grille of unit, such as curtains, etc. - Page 21 Your Source for Home Comfort Distributed by: Perfect Aire, LLC 5151 Belt Line Rd. Suite 878 Dallas, TX 75254 877-365-6274 www.perfectaire.us Specification and performance data is subject to change without notice. Printed in PRC...
Need help?
Do you have a question about the PASC10000 and is the answer not in the manual?
Questions and answers