Table of Contents
Advertisement
Quick Links
1/3" CCD
BLACK-AND-WHITE
HIGH RESOLUTION
CAMERA (EIA)
USER MANUAL
Ultrak Corporate Headquarters & Eastern Regional Office:
1301 Waters Ridge Drive Lewisville, TX 75057
(800) 796-2288 (972) 353-6400 FAX (972) 353-6670
Ultrak Western Regional Office:
6252 West 91st Avenue Westminster, CO 80030
(800) 846-8884 (303) 428-9480 FAX (303) 429-6609
KC6300
Advertisement
Table of Contents

Related Manuals for Ultrak KC6300


Summary of Contents for Ultrak KC6300
-
Page 1: User Manual
1/3" CCD BLACK-AND-WHITE HIGH RESOLUTION CAMERA (EIA) USER MANUAL Ultrak Corporate Headquarters & Eastern Regional Office: 1301 Waters Ridge Drive Lewisville, TX 75057 (800) 796-2288 (972) 353-6400 FAX (972) 353-6670 Ultrak Western Regional Office: 6252 West 91st Avenue Westminster, CO 80030... - Page 2 (303) 428-9480 ALL RIGHTS RESERVED. NO PART OF THIS PUBLICATION MAY BE REPRODUCED BY ANY MEANS WITHOUT WRITTEN PERMISSION FROM ULTRAK. THE INFORMATION IN THIS PUBLICATION IS BELIEVED TO BE ACCURATE IN ALL RESPECTS. HOWEVER, ULTRAK CANNOT ASSUME RESPONSIBILITY FOR ANY CONSEQUENCES RESULTING FROM THE USE THEREOF.
- Page 3 AND COMPLYING WITH ALL FEDERAL, STATE, AND LOCAL LAWS AND STATUTES CONCERNING THE MONITORING AND RECORDING OF VIDEO AND AUDIO SIGNALS. ULTRAK SHALL NOT BE HELD RESPONSIBLE FOR THE USE OF THIS PRODUCT IN VIOLATION OF CURRENT LAWS AND STATUTES.
-
Page 4: Important Safeguards
IMPORTANT SAFEGUARDS READ INSTRUCTIONS - Read all safety and operating instructions before operating this product. RETAIN INSTRUCTIONS - Retain the safety and operating instructions for future reference. CLEANING - Unplug all equipment before cleaning. Do not use liquid cleaners or aerosol cleaners. -
Page 6: Table Of Contents
TABLE OF CONTENTS PURPOSE ..................1 SYSTEM INSTALLATION ............1 MANUAL-IRIS LENS ADJUSTMENT ...........4 VIDEO-TYPE AUTO-IRIS LENS INSTALLATION AND ADJUSTMENT ................4 DC-IRIS LENS INSTALLATION AND ADJUSTMENT ....5 BACK FOCUS ADJUSTMENT .............7 PHASE ADJUSTMENT ..............8 TROUBLESHOOTING ..............9 PREVENTIVE MAINTENANCE............9 SPECIFICATIONS............Back Cover... -
Page 7: Purpose
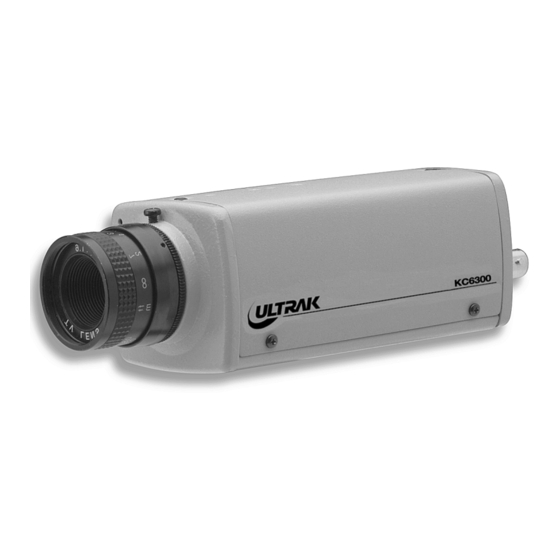
SECTION 1 KC6300 CCD BLACK & WHITE HIGH RESOLUTION CAMERA PURPOSE The KC6300 CCD high resolution black & white camera provides a low-cost solution to closed circuit television and security surveillance applications. The KC6300 camera features: • 1/3" interline transfer CCD image sensor •... - Page 8 FIGURE 1. KC6300 CAMERA...
- Page 9 C-mount lens. E. Connect a video coaxial cable from the VIDEO OUT connector on the back of the KC6300 camera to the input port of the monitor. F. Wire the 24V ac power supply to the green ac power connector on the back of the camera.
-
Page 10: Manual-Iris Lens Adjustment
VIDEO-TYPE AUTO-IRIS LENS INSTALLATION AND ADJUSTMENT The KC6300 camera supports video-type auto-iris lenses to adjust for changing light levels. Perform the following steps to install and adjust a video-type auto iris lens. -
Page 11: Dc-Iris Lens Installation And Adjustment
3. Reset the level control as noted in step E. DC IRIS LENS INSTALLATION AND ADJUSTMENT The KC6300 camera supports dc-iris lens. Perform the following steps to install and adjust a dc-type auto-iris lens. A) Thread the dc-iris lens to the lens mount on the front of the camera. - Page 12 C) Plug the connector into the DC IRIS jack on the back of the camera. The connector is polarized and can only be inserted into the jack one way. FIGURE 3. CAMERA SIDE AND BACK VIEW D) The EI switch should be in the OFF position. E) Apply power to the KC6300 camera.
-
Page 13: Back Focus Adjustment
F) Adjust the dc iris lens for an optimum picture. Use the IRIS LEVEL control on the back of the camera for optimum picture quality. BACK FOCUS ADJUSTMENT For best results, perform back focus adjustments at night or while using a #6 or #8 welder's glass in front of the lens. The focus of the camera will change slightly if the camera iris was adjusted on a light scene, then changes to a dark scene. -
Page 14: Phase Adjustment
PHASE ADJUSTMENT Phase adjustment is used in multi-camera systems when power is supplied from different sources, causing the cameras to be out of phase. This situation affects auto switching of the cameras by causing a vertical flip or roll during the switch interval. The vertical phase adjustment allows the camera’s line lock sync to by adjusted from 0 to 260 degrees with reference to the zero line crossing the ac frequency. -
Page 15: Troubleshooting
SECTION 3 TROUBLESHOOTING AND MAINTENANCE TROUBLESHOOTING If problems occur, verify the installation of the camera with the instructions in this manual and with other operating equipment. Isolate the problem to the specific piece of equipment in the system and refer to the equipment manual for further information. Problem Possible Solution No Video... -
Page 16: Specifications
SPECIFICATIONS Video Output 1.0Vp-p, EIA, 525 Lines Output Impedance 75 ohms unbalanced Pick Up Device 1/3" CCD Picture Element 768 X 494 Scanning System 2:1 Interlace Scanning Frequency H: 15.75 KHz V: 60 Hz Sync System Line lock (only ac model) Resolution S/N Ratio 46 dB (AGC off)
Need help?
Do you have a question about the KC6300 and is the answer not in the manual?
Questions and answers