
Related Manuals for Rongta Technology RP80


Summary of Contents for Rongta Technology RP80
- Page 1 Thermal Receipt Printer Operating Manual 80 X 80 mm Thermal Printer Use only approved consumables. Any problems or faults caused by the use of similar products will void the warranty.
-
Page 2: Safety Warning
Safety Warning: In order to operate our printer correctly and prevent any danger or damage, please be sure to follow instructions while operating our products: Warning Infringing the instructions below my cause severe injury or death. Do not simultaneously connect power plugs of When detected suspicious smells, smokes or different products on one power bar. -
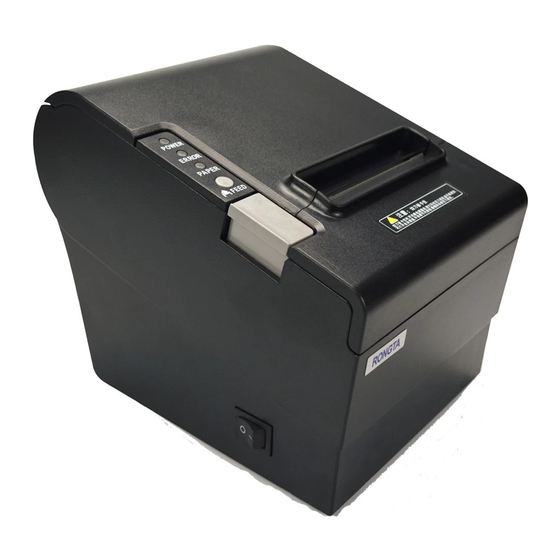
Page 3: Product Introduction
To avoid this kind of damage, please power off the printer before connecting or switching off behind cable. Once static damage happens, please contact the nearest maintenance center. Product Introduction RP80 printer is compatible with electronic instrument, such as ECR、POS、cash register、receipt bill、 computer peripheral equipment etc. Main Features of the Printer: 1.High Speed: 250mm/s. -
Page 4: Table Of Contents
Directory Chapter 1. Printer Setup and Operation Contents in the Package........................05 Connect Cable............................05 Load and Replace Paper Roll.......................06 Paper Roll Recommendation........................07 Connect to computer..........................07 Connect to Cash Drawer........................07 Connect to Power..........................08 Printer Control Panel..........................09 Setting Printer Mode..........................09 Chapter 2.Printer Management Self-Checking............................10 Printer Maintenance..........................10 Fix Paper Jam............................11... -
Page 5: Contents In The Package
Note:The packing style above is subject to change without notice.If you have any questions please contact your local dealer. Connect Cable RP80 printer comes with the USB cable in addition to the selected interface cable upon purchasing. Parallel Port Cash Box Port Power Port If connecting to ECR,... -
Page 6: Load And Replace Paper Roll
Load and Replace Paper Roll Press the Button to Open Paper Roll Cover Remove the used paper roll to replace with a new roll Press the Button 1. Load the paper roll as shown in the image below: 2.Make sure the paper roll is loaded in the correct direction. Correct Direction Wrong Direction 3.Pull out the roll paper to the bottom front of the printer and then close the cover as shown in image... -
Page 7: Paper Roll Recommendation
1 Connect the other end of parallel cable to printer port on the computer. printer port of computer. Connect to RP80 Connect to Computer Connect to Cash Drawer Connect cash drawer cable to cash drawer port which is behind the printer... -
Page 8: Connect To Power
Connect to Power 1.Make sure the power is unplugged and the printer is powered off before connecting the power cord. 2.Connect to power AC adapter Power Cable 3.Turn on the power switch on the printer side to connect to the power supply. -
Page 9: Printer Control Panel
Feed key-Press feed key to generate a length of paper. Setting Printer Mode RP80 printer is initially setup with default value. However, the default printer mode can be reconfigured to satisfy customer’s needs through the DIP switch, which is located at the bottom of the printer. -
Page 10: Chapter 2.Printer Management Self-Checking
Chapter 2. Printer Management Self-Checking Function The Self-Checking Function allows the user to identify if the printer is operating normally. If the printer is detected with failure condition, please contact the distributor. Self-Checking Process : Self-checking Procedure: 1. Make sure the printer is powered off 2. -
Page 11: Fix Paper Jam
Fix Paper Jam The error light appears and flashes with warning prompt when paper jam happens. -
Page 12: Chapter 3.Appendix And Product Specification Specification
Chapter 3. Appendix and Product Specification Specification Printing Method Thermal Line Resolution 203X203dpi(8dots/mm) Paper Width 79.5± 0.5mm Printing Width 72mm Printing Character ASCII Font A:12X24 Printing Property ASCII Font A:9X24 Character 12X24 Printer Density 512dot/line or 576dot/line Printing Speed 250mm/s NV bitmap Flash 64kb Receipt Buffer...
Need help?
Do you have a question about the RP80 and is the answer not in the manual?
Questions and answers