Table of Contents

Subscribe to Our Youtube Channel
Related Manuals for Quality Craft M650-38A-OAK


Summary of Contents for Quality Craft M650-38A-OAK
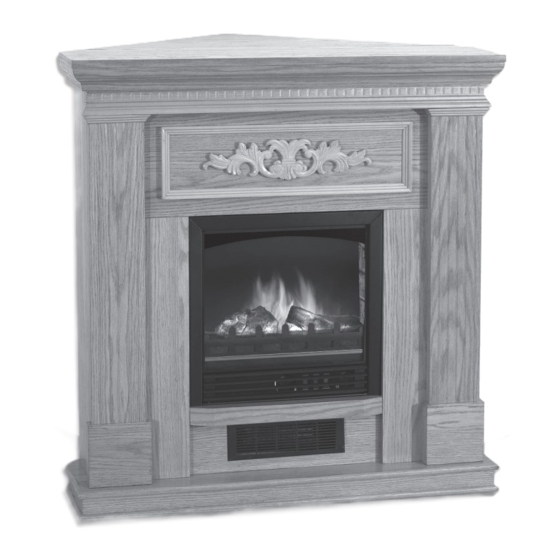
- Page 1 ELECTRIC FIREPLACE HEATER I N S T R U C T I O N M A N U A L M650-38A-OAK NDF-65NB-1 ATTENTION: 1. Find a location for the fireplace heater that is protected from direct sunlight. 2. Do not plug the unit into the power outlet before you...
-
Page 2: Important Safety Instructions
S A F E T Y I N S T R U C T I O N S IMPORTANT SAFETY INSTRUCTIONS WHEN USING ELECTRICAL APPLIANCES, BASIC PRECAU- TIONS SHOULD ALWAYS BE FOLLOWED TO REDUCE THE RISK OF FIRE, ELECTRIC SHOCK, AND INJURY TO PERSONS, INCLUDING THE FOLLOWING: IMPORTANT 1) Read all instructions before using this... - Page 3 S A F E T Y I N S T R U C T I O N S 8) Do not run cord under carpeting. Do not less than 1875 watts. The extension cord cover cord with throw rugs, runners, or shall be a 3 wire cord with a grounding type similar coverings.
- Page 4 S A F E T Y I N S T R U C T I O N S grounded outlet box. The adapter should not be used if a three-slot grounded receptacle is available. A 15 AMP circuit is required to operate this heater.
-
Page 5: Parts List
A S S E M B LY I N S T R U C T I O N S PARTS LIST: A) Top panel B) Base panel C) Decorative bar D) Upper-front panel E) Lower-front panel F) Left front panel G) Right front panel H) Left small panel J) Right small panel... - Page 6 A S S E M B LY I N S T R U C T I O N S Step 2: Attach the LEFT SMALL PANEL (H) to the LEFT FRONT PANEL(F) with 2 KD SCREWS. Attach the RIGHT SMALL PANEL (J) to the RIGHT FRONT PANEL(G) with 2 KD SCREWS.
-
Page 7: Fireplace Insert Installation
A S S E M B LY I N S T R U C T I O N S Step 7: Attach the DECORATIVE BAR (C) over Step 10: Install the TOP PANEL (A) to the unit the UPPER FRONT PANEL (D) and attach as shown with 4 KD SCREWS. -
Page 8: Safety Cable
A S S E M B LY I N S T R U C T I O N S Step 2: Carefully lift the insert into the hole and gently tap until the flange on the mantle opening. The front of the INSERT anchor is against the wall surface. -
Page 9: Operation By The Control Panel
O P E R A T I O N After reading complete instructions, confirm ON/OFF: Press this button for main power all controls on fireplace are in the OFF posi- and flame effect. The indicator light will turn tion. Plug the fireplace into a 15AMP/120Volt on. -
Page 10: Maintenance
M A I N T E N A N C E MAINTENANCE REPLACING THE LIGHT BULBS WARNING Step 1: Remove 4 screws on the back of fireplace and remove the rear cover of the unit. Disconnect power and unplug the power cord before attempting any maintenance or Step 2: You will find 2 X E12 40W Type... - Page 11 R E P A I R S E T fig. B 2. Drill the holes with diameter 3/4 inches (10 mm) and depth 3/4 inches (10mm) on fig. A the mantel. Each Plastic Connector needs 3 holes. See Fig. C. REPAIRS If any problems are found with the origi- nal parts during mantel assembly such...
- Page 12 The company’s sole obligation is to repair or replace the unit. This warranty is void if in the opinion of Quality Craft the unit has been tampered with, altered, misused, damaged, abused or used with the wrong fig.
-
Page 13: Warranty
Light bulbs are not covered by this warranty. The warranty is for homeowner use only and does not cover units used in commercial situations. Imported by Quality Craft Laval, Quebec, Canada H7S 2G7 1-800-459-4409 (EST) www.qualitycraft.com Made in China...
Need help?
Do you have a question about the M650-38A-OAK and is the answer not in the manual?
Questions and answers
No power to heater
@Tracy model nondf 65nb1
There may be no power to the Quality Craft M650-38A-OAK heater due to the following reasons:
1. The heater is not plugged in properly.
2. The power outlet is not working.
3. The circuit breaker has tripped. A 15 AMP circuit is required, and if the breaker trips, the heater may need to be moved to another location or other appliances unplugged.
4. The ON/OFF switch is in the off position. The heater functions only when this switch is on.
5. A loose or burnt-out light bulb may cause the flame effect to be dim or not work. Checking and tightening the bulb may help.
Checking these possible issues can help restore power to the heater.
This answer is automatically generated