
Related Manuals for Stewart Filmscreen Corp Visionary Electriscreen


Summary of Contents for Stewart Filmscreen Corp Visionary Electriscreen
- Page 1 Visionary Electriscreen Owner’s Manual • TO THE OWNER • INSTALLATION INSTRUCTIONS • OPERATING THE SCREEN • MAINTENANCE VE-0211 TO THE INSTALLER : BE SURE TO LEAVE THIS MANUAL WITH TH E OWNER.
- Page 2 Printed in U.S.A. ©2003–2011 Stewart Filmscreen Corporation Stewart Filmscreen reserves the right to make changes to the product specified in this document. From time to time, this document is updated. Current versions of documentation are posted on the Stewart Filmscreen website at: www.stewartfilmscreen.com...
-
Page 3: Table Of Contents
Product Warranty ....... . . 17 Visionary Electriscreen: Owner’s Manual... -
Page 4: To The Owner
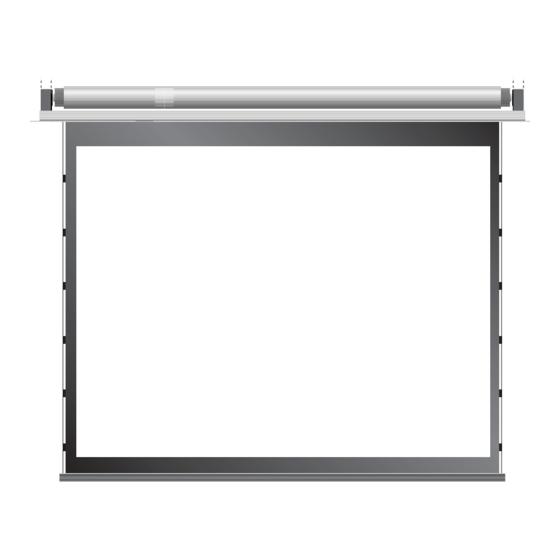
Stewart Filmscreen product. About your Visionary Electriscreen The Visionary Electriscreen is designed for ease of installation. The case can be installed separately during construction, and the screen assembly is then installed once the construction is completed. The Visionary features a seamless, self-finishing face-plate and drywall stops to accommodate various ceiling configurations. - Page 5 Caution During installation, do not place the unit on an unstable cart, stand, table, or ladder. The unit may fall, causing injury to a child or adult and damage to the unit. Visionary Electriscreen: Owner’s Manual...
-
Page 6: Step 1. Hanging The Case
Mounting the case Support Structure Follow this procedure to mount the case. The Visionary Electriscreen can be installed into the ceiling or soffit. A false ceiling is not intended to support the weight of a Visionary Electriscreen. -
Page 7: Step 2. Electrical Hook-Up
The AC connection to this pigtail should never be made on the outside of the enclosure as this would violate NEC electrical code and UL standards. Electrical Romex Source Connector Molex Connector Figure 3: Electrical connection Visionary Electriscreen: Owner’s Manual... - Page 8 Installing the high voltage switch control A standard 3-position AC wall switch is supplied. The high-voltage control is connected to standard wall jack that is installed near the unit. The switch alternates directions of screen motion by means of the hot lead, using the 3-position switch.
- Page 9 Low Voltage DOWN-Black UP-Red Switching DOWN-Black GROUND-Green Low Voltage Control Box 4 Conductor Hook-up Cable—20-24ga Recommended 3-button Category 5 Typically Used (NOT Supplied) Momentary Switch Figure 5: Low voltage 3-button switch wiring Visionary Electriscreen: Owner’s Manual Visionary Electriscreen: Owner’s Manual...
- Page 10 Installing the infrared remote control option The optional Stewart Filmscreen infrared remote control allows control of the screens from anywhere in the room. Note: The distance between the hand-held remote control and the receiver can be up to 50 feet / 15 m. It is necessary to have uninterrupted line-of- sight between the remote and the receiver.
- Page 11 9. Plug the AC power cord of the VICS into the AC outlet. Romex Connector 10. Attach the 12V trigger wire to the jack in the VICS. 4-Conductor Cable (14ga Recommended) To AC Power Source Romex Connector Terminal Block 12V Trigger Wire to Projector Figure 7: VICS connection Visionary Electriscreen: Owner’s Manual...
- Page 12 Installing the wireless remote control option The optional Stewart Filmscreen wireless remote control allows control of the screen from anywhere in the room. Note: The distance between the hand-held remote control and the receiver can be up to 50 feet / 15m. It is not necessary to have uninterrupted line-of- sight between the remote and the receiver, but there should be no metal objects between them.
-
Page 13: Step 3. Installing The Screen Assembly Into The Case
As you tighten the bolts, the screen assembly/ceiling cover will move forward and lock into place on the case. Refer to Figure 1. Case Modular Connectors Screen Assembly/ Ceiling Cover Figure 9: Installing screen assembly Visionary Electriscreen: Owner’s Manual... -
Page 14: Operating The Screen
PERATING THE CREEN The method you use to raise and lower the screen depends on the type of switch control device you have selected. When you lower or retract the screen, it will stop at its preset limit. If an obstacle (such as a person or furniture) gets in the path of the screen as it is lowered, you should use the switch control to stop the screen's motion;... - Page 15 Once you have made the adjustment, whenever you lower the screen, it will automatically stop at the new position. Note: It is recommended that you make a note of any changes made to the factory preset. Visionary Electriscreen: Owner’s Manual...
-
Page 16: Screen Care And Cleaning
CREEN ARE AND LEANING With reasonable care, you may expect many years of trouble-free use of your Stewart projection screen. We encourage you to keep your screen clean. To protect your screen when it is not in use, store it in the fully retracted position. Avoid getting any foreign material on the screen, as cleaning may prove very difficult. -
Page 17: Troubleshooting
Do not use the unit until this problem is resolved. Screen drops when up direction Drop in voltage. Screen motor requires full is activated (grinding noise voltage. Have an electrician or occurs). qualified service person check available voltage. Visionary Electriscreen: Owner’s Manual... - Page 18 Problem description Probable cause Action to take Screen continues past bottom White limit switch is out of Readjust the white DOWN limit stop position. adjustment. switch. See pp. 12-13 of this manual. Batten retracts too far into case. Yellow limit switch out of Have a qualified service person readjust the yellow UP limit adjustment.
-
Page 19: Product Warranty
Stewart Filmscreen Corporation shall not be liable for any and all consequential damage(s) occasioned by the breach of any written or implied warranty pertaining to the sale in excess of the purchase price of the product sold. Printed in USA. Rev. 12/14/10 Visionary Electriscreen: Owner’s Manual... - Page 20 800.762.4999 310.784.5300 Fax: 310.326.870 • • February 2011 Printed in U.S.A. www.stewartfilmscreen.com ©2003–2011 Stewart Filmscreen Corporation...
Need help?
Do you have a question about the Visionary Electriscreen and is the answer not in the manual?
Questions and answers