
Related Manuals for Stewart Filmscreen Corp Vertical ES EM


Summary of Contents for Stewart Filmscreen Corp Vertical ES EM
- Page 1 Electrimask Electriscreen Owner’s Manual • TO THE OWNER • INSTALLATION INSTRUCTIONS • OPERATING THE SCREEN • MAINTENANCE EM-0111 TO THE INSTALLER : BE SURE TO LEAVE THIS MANUAL WITH TH E OWNER.
- Page 2 Printed in U.S.A. ©2000–2011 Stewart Filmscreen Corporation Stewart Filmscreen reserves the right to make changes to the product specified in this document. From time to time, this document is updated. Current versions of documentation are posted on the Stewart Filmscreen website at: www.stewartfilmscreen.com...
-
Page 3: Table Of Contents
Electrimask Electriscreen Owner’s Manual Contents To the Owner ........2 Preparing the Installation . -
Page 4: To The Owner
O THE WNER Congratulations on your purchase of the finest optical viewing screen available anywhere in the world! Please take a moment to review this manual, it will help ensure you many years of trouble-free service from your new Stewart Filmscreen product. About your ElectriMask Electriscreen Stewart’s ElectriMask system is designed to integrate with the latest multi-format video projectors, which are capable of variable sizes and aspect ratios for... -
Page 5: Preparing The Installation
REPARING THE NSTALLATION Before proceeding with the installation of this screen, be sure to thoroughly read and understand all the installation and operating instructions. All electrical wiring installations must conform to local and national codes and should be performed by qualified service personnel. -
Page 6: Step 1. Hanging The Case
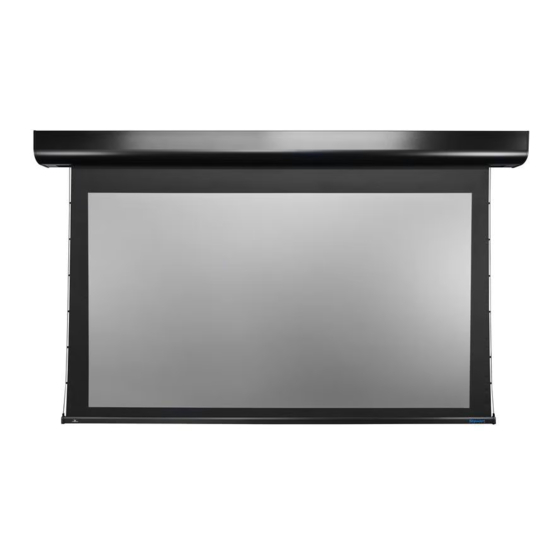
1. H ANGING THE Professional mounting techniques should be used. Stewart Filmscreen Corporation cannot be liable for substandard or faulty installations. Make sure that you mount the screen so that the electrical box is on the left side (audience left). Refer to Figure 2. In the standard configuration, the unit is installed on the ceiling. - Page 7 Suspended installation 1. Suspend the unit from the holes in the end plates on the unit using "S" hooks, chains, cables, Unistrut, threaded rod, or turnbuckles. Refer to Figure 4. 2. Make sure the unit is level. Figure 4: Suspended installation Wall installation (optional) Note: When the wall installation option is ordered, wall mount brackets are...
-
Page 8: Step 2. Electrical Hook-Up
2. E LECTRICAL The ElectriMask Electriscreen has two roller tubes within the screen unit; one for the main screen and one for the mask. Each roller has its own motor and functions independently. Caution Professional techniques need to be used when making any electrical connection. - Page 9 Installing the high voltage switch control (standard) A standard 3-position wall switch is supplied. The high-voltage control is connected to the electrical source. It alternates directions of screen motion by means of the hot lead, using the 3-position switch. Preparing the connection Before making the electrical connections, you need: ...
- Page 10 Installing the dual screen trigger interface option (vertical masking) Note: The dual screen trigger interface option is not available for the horizontal masking system. The optional 12V dual screen trigger interface enables up and down operation of the screen and mask in conjunction with a projector, tuner, VCR, cable box, or switched AC outlet.
- Page 11 Installing the low-voltage 3-button switch option The optional Stewart Filmscreen low-voltage control allows the use of low- voltage wire to connect to the supplied 3-position 24V momentary wall switch. Preparing the connection Before making the electrical connections, you need: An available AC constant power source.
- Page 12 Installing the wireless remote control option The optional Stewart Filmscreen wireless remote control allows control of the screens from anywhere in the room. Note: The distance between the hand-held remote control and the receiver can be up to 50 feet / 15 m. It is not necessary to have uninterrupted line-of-sight between the remote and the receiver, but there should be no metal objects between them.
- Page 13 Installing the infrared remote control option The optional Stewart Filmscreen infrared remote control allows control of the screens from anywhere in the room. Note: The distance between the hand-held remote control and the receiver can be up to 50 feet / 15m. It is necessary to have uninterrupted line-of-sight between the remote and the receiver.
-
Page 14: Operating The Screen
PERATING THE CREEN The method you use to raise and lower the screen and mask depends on the type of switch control devices you have selected. Use the masking screen as needed to establish the appropriate viewing format. When you lower or retract the main screen or the mask, they will stop at their preset limits. -
Page 15: Adjusting The Screen Extension
DJUSTING THE CREEN XTENSION Caution Improper adjustment of the limit switches can cause irreparable damage to the screen itself, resulting in voiding the factory warranty. Each roller tube has a set of limit switches. The extension and retraction limit switches have been preset at the factory. In general, we advise you to avoid readjusting these switches. -
Page 16: Screen Care And Cleaning
3. Activate the screen in the down direction until it reaches the newly reduced stop position. Repeat this procedure until the desired stop position is reached. Once you have made the adjustment, whenever you lower the screen or mask, it will automatically stop at the new position. Note: It is recommended that you make a note of any changes made to the factory preset. -
Page 17: Troubleshooting
ROUBLESHOOTING Refer to the following guidelines if you encounter a difficulty in the operation of your Stewart Filmscreen. Problems related to electrical or motor function may require a qualified service person or electrician. Should you have a problem that is not addressed here, call the Stewart Filmscreen Corporation. - Page 18 Problem description Probable cause Action to take Screen continues past bottom White limit switch is out of Readjust the white DOWN limit stop position. adjustment. switch. Turn the adjusting screw clockwise. Batten retracts too far into case. Yellow limit switch out of Have a qualified service person readjust the yellow UP limit switch.
-
Page 19: Product Warranty
RODUCT ARRANTY LIMITED ONE (1) YEAR WARRANTY ON STEWART FILMSCREEN CORP PROJECTION SCREENS SYSTEM STEWART FILMSCREEN CORPORATION (Stewart) warrants its screens to the original purchaser only, to be free from defects in materials and workmanship for a period of one (1) year from the date of purchase by the original purchaser... - Page 20 800.762.4999 310.784.5300 Fax: 310.326.6870 • • January 2011 Printed in U.S.A. www.stewartfilmscreen.com ©2000–2011 Stewart Filmscreen Corporation...
Need help?
Do you have a question about the Vertical ES EM and is the answer not in the manual?
Questions and answers