Table of Contents
Advertisement
Quick Links
Luxus Deluxe ScreenWall
Owner's Manual
• EZ Mount Bracket System
• Wall Mount Boards
• Stage Fly (Hanging) Mount
• T-Stand (Self-Supporting)
• Aperture Mount
SWS-0716
TO THE INSTALLER: BE SURE TO LEAVE THIS MANUAL WITH THE OWNER.
INCLUDES: MESSAGE TO THE OWNER, ASSEMBLY, INSTALLATION/MOUNTING, & MAINTENANCE INSTRUCTIONS
Advertisement
Table of Contents

Related Manuals for Stewart Filmscreen Corp Luxus Deluxe ScreenWall


Summary of Contents for Stewart Filmscreen Corp Luxus Deluxe ScreenWall
- Page 1 Luxus Deluxe ScreenWall Owner’s Manual • EZ Mount Bracket System • Wall Mount Boards • Stage Fly (Hanging) Mount • T-Stand (Self-Supporting) • Aperture Mount SWS-0716 TO THE INSTALLER: BE SURE TO LEAVE THIS MANUAL WITH THE OWNER. INCLUDES: MESSAGE TO THE OWNER, ASSEMBLY, INSTALLATION/MOUNTING, & MAINTENANCE INSTRUCTIONS...
- Page 2 Printed in U.S.A. © 2015 Stewart Filmscreen Corporation Stewart Filmscreen reserves the right to make changes to the product specified in this document. Sizes and specifications subject to change without notice at Manufacturer’s discretion. From time to time, this document is updated. Current versions of documentation are posted on the Stewart Filmscreen website at: www.stewartfilmscreen.com...
-
Page 3: Table Of Contents
Luxus Deluxe Screenwall Owner’s Manual Contents To the Owner ..........4 Preparing the Installation . -
Page 4: To The Owner
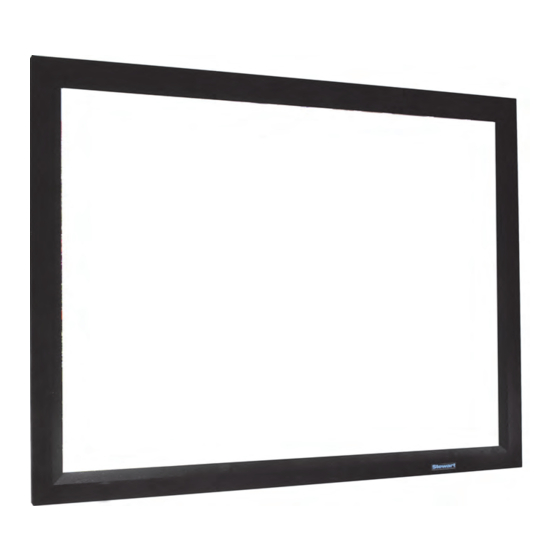
Stewart Filmscreen product. About the Luxus Deluxe ScreenWall The Luxus Deluxe ScreenWall features angled corners and a beveled edge that bring the image area closer to the frame. The Quick Snap features snaps and brackets that move on the frame to allow for adjustments. -
Page 5: Preparing The Installation
PREPARING THE INSTALLATION Before proceeding with the installation of this screen, take time to thoroughly read and understand these installation instructions. Preparation Specifications regarding the individual screen dimensions, weight, etc. are provided by the factory when the unit is ordered. Before beginning the installation: ♦... -
Page 6: Assembling The Frame
FRAME ASSEMBLY INSTRUCTIONS 1. Connect the frame members by matching the colored, numbered dots on the ends of the members. 2. Secure the frame members with the supplied 5/16-18 x 1/2” hex head bolts. Figure 1: Frame Assembly... -
Page 7: Mounting The Frame
EZ MOUNT BRACKET SYSTEM Professional mounting techniques should be used. Stewart Filmscreen can not be liable for substan- dard or faulty installations. Caution: Be careful not to touch or scratch the viewing surface To accurately position the frame, you will mount the EZ Mount hanging bar and temporarily hang the frame prior to attaching the screen material. - Page 8 EZ MOUNT BRACKET SYSTEM (CONTINUED) CENTERLINE EZ Mount Bracket EZ Mount Bracket 16 in PRESET POSITION - 16 in PRESET POSITION - ADJUSTABLE UP TO 8 in ADJUSTABLE UP TO 8 in FARTHER LEFT FARTHER RIGHT Magnet Magnet 12 in PRESET POSITION - 12 in PRESET POSITION - ADJUSTABLE UP TO 24 in ADJUSTABLE UP TO 24 in...
-
Page 9: Wall Mount Boards
WALL MOUNT BOARDS Professional mounting techniques should be used. Stewart Filmscreen can not be liable for substandard or faulty installations. 1. Assemble frame (see page 6). 2. Lay assembled frame face down on a clean surface. 3. Fit wall boards to the outside of the brackets already attached... - Page 10 WALL MOUNT BOARDS (CONTINUED) 9. Remove the boards from the frame and attach them to the wall using the provided hardware where applicable or other such appropriate fasteners (lag bolts, wall anchors, molly bolts, wood carriage screws, etc.). Refer to Figure 7.
-
Page 11: Stage Fly (Hanging) Mount
STAGE FLY (HANGING) MOUNT Professional mounting techniques should be used. Stewart Filmscreen can not be liable for substan- dard or faulty installations. 1. Assemble frame (see page 6). 2. Attach the screen to the frame (see pages 14-15). Use the stage fly mount to suspend the screen. Eyebolts are already secured to the frame making your ScreenWall ready for installation to an appropriate surface. -
Page 12: T-Stand (Self-Supporting)
T-STAND (SELF-SUPPORTING) Professional mounting techniques should be used. Stewart Filmscreen can not be liable for substan- dard or faulty installations. 1. Assemble frame (see page 6). 2. Attach the screen to the frame (see pages 14-15). Use the T-Stand knobs provided to first attach the vertical members to each base, then to attach the finished screen (frame/screen assembly) to the T-Stands. -
Page 13: Aperture Mount
APERTURE MOUNT Professional mounting techniques should be used. Stewart Filmscreen can not be liable for substan- dard or faulty installations. The aperture mount allows you to install the screen into an opening in a wall or wall unit. 1. Prepare the aperture. 2. -
Page 14: Attaching The Screen To The Frame
ATTACHING THE SCREEN TO THE FRAME DO NOT perform this step UNTIL instructed to do so in the mounting section. Caution Be careful not to touch or scratch the viewing surface Do not use any tools to fasten the screen to the frame ... -
Page 15: Attaching The Screen To The Frame
ATTACHING THE SCREEN TO THE FRAME Attaching the Screen to the Frame 4. Place the frame over the screen (snap side down). 5. Starting with the snaps on the top corners and then horizontally along the top, while lifting the frame with one hand, snap the screen into the frame. -
Page 16: Caring For & Cleaning The Screen
CARING FOR AND CLEANING THE SCREEN With reasonable care, you may expect many years of dependable use of your Stewart projection screen. General Maintenance The surface of your screen is delicate, so we encourage you to keep your screen clean. Special attention to these instructions should be followed when cleaning. -
Page 17: Product Warranty
LIMITED ONE YEAR WARRANTY STEWART FILMSCREEN CORPORATION (Stewart) warrants its Stewart Filmscreen products to the original purchaser only, to be free from defects in materials and workmanship for a period of one (1) year from the date of purchase by the original purchaser or eighteen (18) months from date of manufacture, as defined in the serial number, provided they are properly operated and maintained according to Stewart instructions and are not damaged due to improper handling or treatment after shipment from the factory. -
Page 18: Maintenance Notes
AINTENANCE OTES... - Page 20 800.762.4999 • 310.784.5300 • Fax: 310.326.6870 August 2015 Printed in U.S.A. ©2015 Stewart Filmscreen Corporation...
Need help?
Do you have a question about the Luxus Deluxe ScreenWall and is the answer not in the manual?
Questions and answers