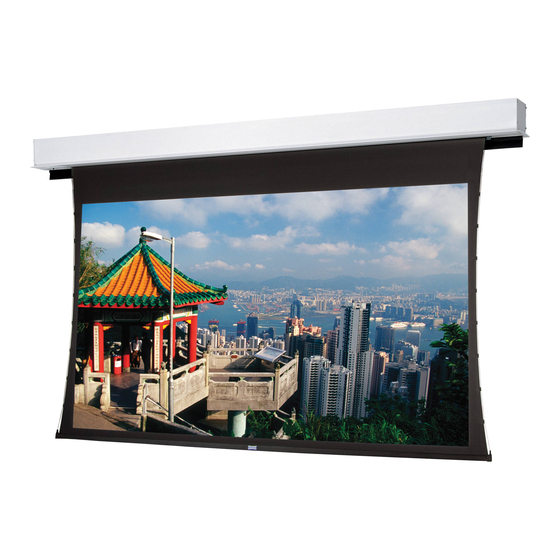
Da-Lite Large Advantage Deluxe Electrol Instruction Book
Hide thumbs
Also See for Large Advantage Deluxe Electrol:
- Instruction book (9 pages) ,
- Specification data (2 pages) ,
- Instruction book (10 pages)
Table of Contents
Advertisement
Quick Links
Advertisement
Table of Contents

Summary of Contents for Da-Lite Large Advantage Deluxe Electrol
- Page 1 INSTRUCTION BOOK FOR Large Advantage ® Deluxe Electrol ®...
-
Page 2: Important Safety Instructions
Important Safety Instructions When using your video equipment, basic safety precautions should always be followed, including the following: Read and understand all instructions before using. 6. To reduce the risk of electric shock, do not immerse this appliance in water or other liquids. Close supervision is necessary when any appliance is used by or near children. -
Page 3: Tools Required For Installation
Make sure to recheck measurement of case for proper the fabric (long strip attached). The ironing board is part of the installation clearance. screen case. Do not remove. Contact Da-Lite if the ironing board Remove any protective foam from case. is in need of adjustment. (Figure 1). -
Page 4: Case Installation
Continue to step variable position-mounting bracket may be located anywhere 4 if your Large Advantage Deluxe Electrol was ordered as a along the length of the case. It is recommended to keep the complete unit. -
Page 5: Installation
Installation (Suggested) ½" Threaded Rod (Not Screen Included) Attached Roller 9 1/8" To Mounting Bracket Audience Side 12 3/16" 11 7/16" 11" Door Roller Finished Self-Trimming Access Door Self-Trimming Ceiling Flange Flange Closing Door 10 13/16" 2 5/16" 13 1/8" 11"... - Page 6 Screen And Roller Assembly Installation If your screen was shipped with the motor and roller already installed proceed to step 7. Remove four bolts from ends of door assembly (2 bolts on Return to motor end and insert safety clip over casting bracket to secure motor end.
-
Page 7: Screen Adjustment
Surface travel is stopped automatically in the fully opened and closed positions by limit switches that are properly adjusted at Raise picture surface approximately two feet above Da-Lite. Should it be necessary to adjust for more or less drop of desired level. picture, proceed in the following manner: 2. -
Page 8: 120V Wiring Diagram
120V Wiring Diagram NOTE: 20-24 AWG wire recommended for connecting wall switch to dual motor controller. CAUTION: Do not use 3-position high voltage rocker switch with this unit! This will damage the low voltage control board. ATTENTION: N'utilisez pas un interrupteur à bascule à... -
Page 9: 240V Wiring Diagram
240V Wiring Diagram NOTE: 20-24 AWG wire recommended for connecting wall switch to dual motor controller. CAUTION: Do not use 3-position high voltage rocker switch with this unit! This will damage the low voltage control board. ATTENTION: N'utilisez pas un interrupteur à bascule à... -
Page 10: Troubleshooting
Troubleshooting Visit www.da-lite.com to find installation and troubleshooting You can contact us by email at info@da-lite.com or by phone tutorials. You will also find a link to Live Chat for interactive at 800.622.3737 or 574.267.8101 with any additional support. troubleshooting questions. - Page 11 Door will not open. No power. See above. Mis-adjusted door motor limit. Adjust door motor limit. Call Da-Lite for instruction. Door does not close. Low voltage board has no power or a blown Replace low voltage board. transformer.
- Page 12 OF EQUIPMENT, OR FOR INCIDENTAL, DIRECT, OR CONSEQUENTIAL DAMAGES OF ANY NATURE. In the event that there is a defect in materials or workmanship of a Da-Lite product, you may contact our Sales Partners at PO Box 137, Warsaw, IN 46581-0137, (574) 267-8101, (800) 622-3737.


Need help?
Do you have a question about the Large Advantage Deluxe Electrol and is the answer not in the manual?
Questions and answers