Table of Contents
Advertisement
INSTALLATION & USER INSTRUCTIONS
Focal Point Fires plc.
Christchurch, Dorset BH23 2BT
Tel: 01202 499330
Fax: 01202 499326
www.focalpointfires.co.uk
Email: sales@focalpointfires.co.uk
Questions or problems with your appliance?
Don't take it back to the store
01202 588601
just give us a call on
lines open between 9am and 5pm, Monday to Friday
Please note: Except where otherwise stated, all rights,
including copyright in the text, images and layout of this
booklet is owned by Focal Point Fires plc. You are not
permitted to copy or adapt any of the content without
the prior written permission of Focal Point Fires plc.
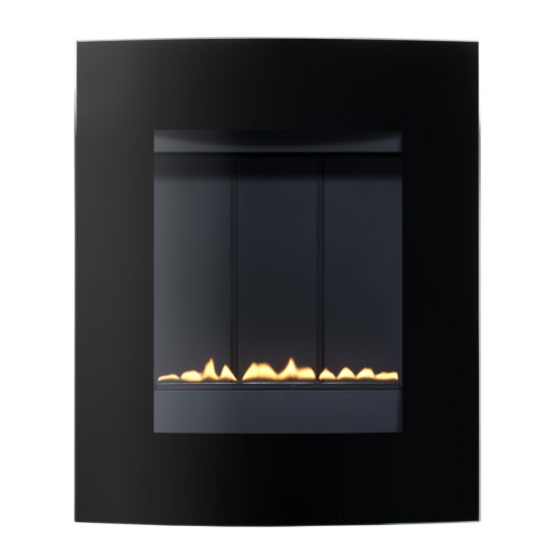
WALL MOUNTED ELECTRIC FIRE
MODELS COVERED BY THESE INSTRUCTIONS
Ebony LED Electric Fire
we're here to help
EBONY LED ELECTRIC FIRE
All instructions must be handed to the user for
1
safekeeping.
Revision A - 09/14
©
2014 Focal Point Fires plc.
GB IE
Advertisement
Table of Contents

Related Manuals for Focal Point Ebony LED Electric Fire


Summary of Contents for Focal Point Ebony LED Electric Fire
- Page 1 Please note: Except where otherwise stated, all rights, including copyright in the text, images and layout of this booklet is owned by Focal Point Fires plc. You are not All instructions must be handed to the user for permitted to copy or adapt any of the content without safekeeping.
-
Page 2: Table Of Contents
DO NOT recess any part of appliance into the wall.This appliance is suitable for installation in static holiday/park homes. © 2014 Focal Point Fires plc. -
Page 3: Component Checklist
• The minimum distance from the bottom of the appliance to the floor is 300mm • The minimum distance to the sides of the appliance is 200mm • The minimum distance to the front of the appliance is 500mm © 2014 Focal Point Fires plc. -
Page 4: Installation Wall Mounted
CAUTION: DO NOT CONNECT THE APPLIANCE TO THE WARNING ELECTRICAL SUPPLY AT THIS TIME. Focal Point Fires plc. assumes absolutely no responsibility for injuries and damages The wall where the appliance is to be that may occur due to improper installation or handling. - Page 5 2. Align the metal fixing plate (A) with the screw holes located at the back of the fire box. 3. Use two of the metal plate screws to fix the metal fixing plate to the firebox. 4. Ensure the metal fixing plate is securely attached. © 2014 Focal Point Fires plc.
- Page 6 2.The glass fascia should be secured on all four firebox hooks. 3. Check to make sure the glass fascia is securely in place. © 2014 Focal Point Fires plc.
-
Page 7: Operating The Appliance
Now you can use either buttons next to the main ON/OFF switch or remote control to control the appliance. Figure 1. 1. On/Off 2. Heater low (750W) 3. Heater high (1500W) 4. Flame effect level up 5. Heater off 6. Flame effect level down © 2014 Focal Point Fires plc. -
Page 8: Cleaning And Maintenance
Replacing the remote control battery: When the battery becomes weak, the range of the remote control becomes shorter. Replace the battery with a new CR2025 lithium battery. Note: Keep the lithium battery out of the reach of children. © 2014 Focal Point Fires plc. -
Page 9: Troubleshooting Guide
There is a higher level of noise associated with the heater motor; this is due to the air flow required when heat has been selected. Remote is not operating Check or replace batteries. 12.0 APPLIANCE DIMENSIONS Dimensions in mm © 2014 Focal Point Fires plc. -
Page 10: Guarantee - Terms And Conditions
3G Service Department to the address below. Alternatively, you can email or fax. Focal Point Fires, 3G Service Department, Reid Street, Christchurch, Dorset, BH23 2BT. Email: 3g@focalpointfires.co.uk, Fax.
Need help?
Do you have a question about the Ebony LED Electric Fire and is the answer not in the manual?
Questions and answers