Advertisement
Quick Links
Download this manual
See also:
User Manual
Easy Installation Guide
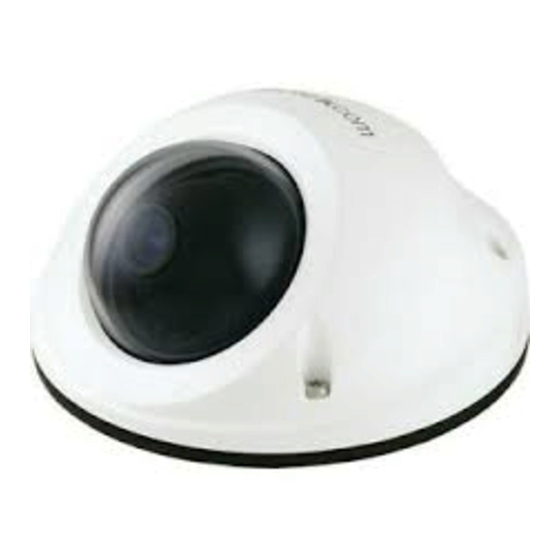
Megapixel Day & Night
Vandal Dome Network Camera
Vandal Dome Series
English
1
Advertisement

Subscribe to Our Youtube Channel
Related Manuals for Brickcom Vandal Dome Series


Summary of Contents for Brickcom Vandal Dome Series
- Page 1 Easy Installation Guide Megapixel Day & Night Vandal Dome Network Camera Vandal Dome Series English...
- Page 2 Step 1. Check Package Contents a. Network Camera (Vandal Dome series) b. Dry Bag, Strap Tie c. Product CD d. Location Sticker e. Warranty Card Screw Bag g. Terminal Block h. Allen Key Easy Installation Guide High Power PoE (Optional) Waterproof Connector: WPC-EU (M20)/ k.
- Page 3 Step 2. Hardware Installation Do not mount the camera on any soft material. The camera may fall and be damaged. A compliant waterproof connector shall be attached tightly to the conduit hole of the Vandal Dome Network Camera, and all the cables shall run through the connector for the camera to be IP67-compliant.
- Page 4 Open/Close The Conduit Hole: The conduit hole allows the air to circulate through the camera device. By default, a lid is attached to the conduit hole on the side of the camera device, and the conduit hole on the bottom of camera device is open.
- Page 5 IV. For SD/SDHC Card Installation(Optional): Insert the SD/SDHC card into the SD/SDHC card slot. The SD/SDHC card is not included in the product package and needs to be purchased separately. Dry Bag Installation: Open the silver packing of the dry bag, then place the dry bag inside the camera device and secure it using the strap tie.
- Page 6 Drill four holes as instructed on the sticker. Hammer the four plastic anchors which are provided in the product package into the four location holes. Mount the camera on the wall and position the four screw holes over the plastic anchors.
- Page 7 Step 3. Adjust The Lens (This function applies to all VD series, except the VD-***Nf and VD-***Af.) Adjust The Lens Angle The lens holder can be rotated clockwise or counter clockwise. Release the tilt screw on both side of the device to tilt the lens up or down. After completion, tighten the tilt screw.
- Page 8 Adjust The Viewing Angle and Focus Release the zoom ring controller and then slide it left or right to get the desired field of view.. After completion, tighten the zoom ring controller. Release the focus ring controller and slide it left or right to make the image in focus. After completion, tighten the focus ring controller.
- Page 9 Step 4. Install Camera and Network Devices Ethernet and DC12V Connection Connect the camera to the Ethernet switch using an RJ45 Ethernet cable, and connect the DC12V power adaptor to the camera device. Power over Ethernet (PoE) Connection Connect the camera to a PoE switch using a single Ethernet cable. Connect the camera to a non-PoE switch using the PoE Injector.
- Page 10 Enter the default user name (admin) and password (admin) in the prompt request dialogue. After connecting to the network Vandal Dome Camera, the request for installing the Brikcom ActiveX control will appear below the URL bar. Right click on the bar, and click “Install Brickcom ActiveX Control..” to permit ActiveX control installation.
Need help?
Do you have a question about the Vandal Dome Series and is the answer not in the manual?
Questions and answers