Table of Contents
Advertisement
OWNER'S MANUAL
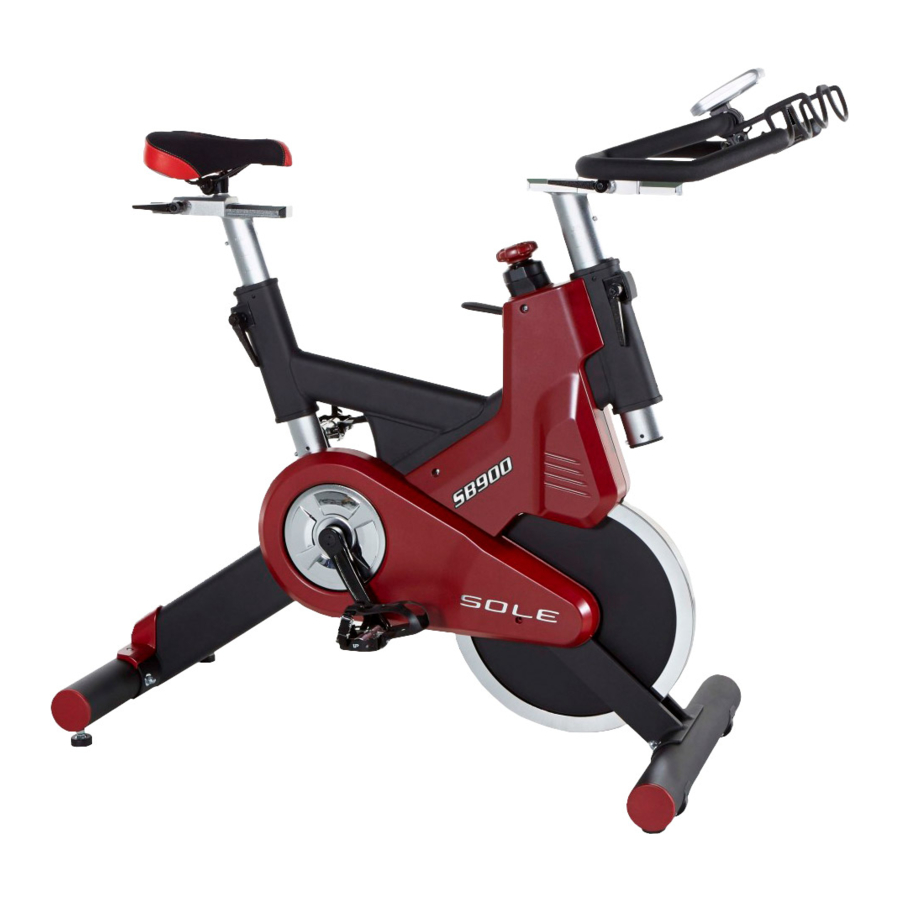
SB900 Indoor Cycle
Please carefully read this entire manual
before operating your new indoor cycle.
Before returning your Sole product to any retailer, or if you require any
assistance with assembly or technical support please call us first for
assistance at 866-697-6531. Thank you for your Sole purchase.
Advertisement
Table of Contents

Related Manuals for Sole Fitness SB900


Summary of Contents for Sole Fitness SB900
- Page 1 OWNER’S MANUAL SB900 Indoor Cycle Please carefully read this entire manual before operating your new indoor cycle. Before returning your Sole product to any retailer, or if you require any assistance with assembly or technical support please call us first for...
-
Page 2: Table Of Contents
TABLE OF CONTENTS Product Registration Important Safety Instructions Important Operation Instructions SB900 Assembly Instructions Operation of Your New Indoor Cycle Manufacturer’s Limited Warranty Before returning your Sole product to any retailer, or if you require any assistance at 866-697-6531. Thank you for your Sole purchase. -
Page 3: Product Registration
If you have any questions about your new product or questions about the warranty contact SOLE Fitness at 1-866-780-SOLE (7653). If you have a technical problem with your new indoor cycle contact SOLE technical service at 866-MYSOLE1 (1-866-697-6531). -
Page 4: Important Safety Instructions
Proper installation and regular maintenance are required to ensure user’s safety. Maintenance is the sole responsibility of the owner. SB900 INDOOR CYCLE... -
Page 5: Hardware Step
SB900 ASSEMBLY PACK CHECKLIST HARDWARE STEP 1 #82. 3/8” #81. 3/8” x 3-1/2” #83. 3/8” x 23mm Nut (4 pcs) Button Head Socket Bolt (4 pcs) Curved Washer (4 pcs) HARDWARE STEP 2 #91. M5 x 10mm Screw (2 pcs) HARDWARE STEP 3 #49. -
Page 6: Sb900 Assembly Instructions
SB900 ASSEMBLY INSTRUCTIONS PRE-ASSEMBLY Using a razor knife (Box Cutter) cut the outside, bottom, edge of box along the dotted Line. Lift Box over the unit and unpack. Carefully remove all parts from carton and inspect for any damage or missing parts. - Page 7 Flat Washer (4 pcs) #88. M8 × P1.25 × 20L Button Head Socket Bolts (4 pcs) Install the handlebars with four Button Head Socket Bolts (88), Split Washers (49) and Flat Washers (48). Tighten the bolts securely. SB900 INDOOR CYCLE...
- Page 8 25(R) 25(L) Install the Left (25L) and Right (25R) pedals to the crank arms. Please note that the Left pedal has a reverse threaded bolt and needs to be tightened stamped into the end of the bolt. SB900 INDOOR CYCLE...
- Page 9 (3). Install and slightly tighten the thumb screw (4) then adjust the console angle for optimal visibility. Once the console is adjusted, continue to tighten the screw until it is securely attached to the handle bar. SB900 INDOOR CYCLE...
-
Page 10: Operation Of Your New Indoor Cycle
The transmitter counts the number of times the magnet, which is mounted on the crank assembly, passes the sensor. The speed sensor transmitter will then send a coded signal to the console which contains the measured value (Speed and Cadence ). SB900 INDOOR CYCLE... -
Page 11: Console Operation
QUICK START When the console is in Power Saving Mode, hold down any key to wake up the console and go to the start-up screen, also called “QUICK Start” active state. POWER SAVING MODE QUICK START MODE SB900 INDOOR CYCLE... - Page 12 2. Press the right hand key to increase maxi- mum heart rate limit. After setting the max- imum heart rate, press the left hand key to adjust the minimum heart rate limit. SB900 INDOOR CYCLE...
-
Page 13: Basic Operation
2. To apply the brake, press down on the tension knob. 3. Before dismounting, apply the brake to stop flywheel, or increase resistance and let flywheel come to a stop. SB900 INDOOR CYCLE... - Page 14 Loosen the quick release under the handlebar and slide the handlebar forward or backward as desired. A suitable forward/aft position should allow the rider to comfortably grasp the handlebar with a slight bend at the elbow. Tighten the quick release to secure the handlebar assembly. SB900 INDOOR CYCLE...
- Page 15 Binding tension is adjustable and should be set so that cleat and shoe do not disengage when pedaling. Use an Allen key to turn tension adjusting screws, clockwise to increase binding tension, counterclockwise to decrease binding tension. SB900 INDOOR CYCLE...
- Page 16 1. Do not service internal parts of pedals. If they are found to be worn internally, we recommend replacing the pedal. 2. Use of lubricants or cleaning solutions other than those so specified will result in diminished performance and a shorter life span for that part. SB900 INDOOR CYCLE...
- Page 17 When the “Low Battery” indicator shows up on the display it is time to change the batteries. 1. Remove the battery cover from the back of the computer. 2. Insert 2 AAA batteries into the battery compartment and reinstall the battery cover. SB900 INDOOR CYCLE...
-
Page 18: Manufacturer's Limited Warranty
Submit all service requests including serial number, contact information and a brief description of the problem online at www.soleindoor cycles. com/technical.php?p=service. If you have any questions about your new product or questions about the warranty contact SOLE Fitness at 1-866-780-SOLE (7653). If you have a technical problem with your new indoor cycle contact SOLE technical service at 866-MYSOLE1 (697-6531). - Page 19 Before returning your Sole product to any retailer, or if you require any assistance with assembly or technical support please call us first for assistance at 866-697-6531. Thank you for your Sole purchase.
Need help?
Do you have a question about the SB900 and is the answer not in the manual?
Questions and answers