
Related Manuals for Vision CS-1600P


Summary of Contents for Vision CS-1600P
-
Page 1: Owners Manual
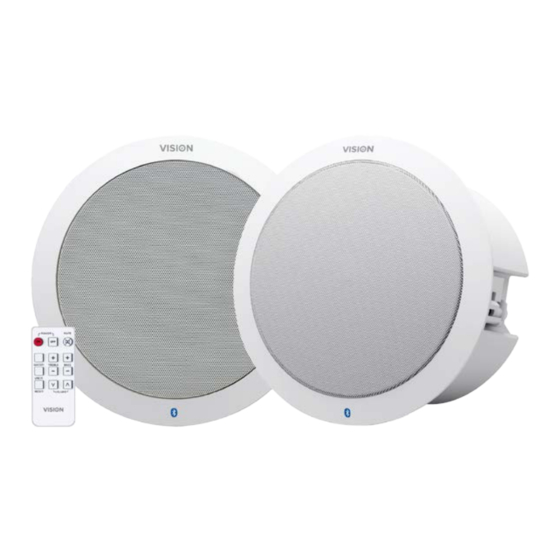
CS-1600P POWERED SPEAKERS OWNERS MANUAL www.visionaudiovisual.com/techaudio/cs-1600p CS-1600P_manual_en... -
Page 2: Declaration Of Conformity
WARNING: TO REDUCE THE RISK OF FIRE OR ELECTRIC SHOCK, DO NOT EXPOSE THIS APPLIANCE TO RAIN OR MOISTURE. All products are designed and imported into the EU by ‘Vision’ who is wholly owned by ‘Azlan Logistics Ltd.’, Registered in England Nr. 04625566 at Lion House, 4 Pioneer Business Park, Clifton Moor, York, YO30 4GH. -
Page 3: Place Of Installation
WARNING SIGNS If you detect an abnormal smell or smoke, turn this product off immediately and unplug the power cord. Contact your reseller or Vision. PACKAGING Save all packing material. It is essential for shipping in the event the unit ever needs repair. -
Page 4: Installation
INSTALLATION REMOVE GRILLES Push clamps up. The tip of the screw will push the grille up and off. CUT HOLE IN CEILING TILE Diameter 222 mm (8.74”) FIT LOUDSPEAKERS TO CEILING TILE Fix loudspeaker from the bottom of the ceiling tile and turn clamps out to hold in place. - Page 5 FIX LOUDSPEAKERS TO CEILING TILE turning clamp screws from the front of loudspeaker. The clamps will turn out and tighten. CONNECT LOUDSPEAKERS TOGETHER Use the included speaker cable. If cable provided is not long enough use unshielded speaker cable with gauge of 0.75mm or higher. “SPEAKER OUTPUT”...
- Page 6 Power Input CONNECT POWER Connect power into rear of master loudspeaker. *OPTIONAL* CONNECT MORE SETS OF CS-1600P If using more than one pair of loudspeakers in the room link them together by connecting the Audio output connector to the audio input on the second pair.
-
Page 7: Status Indicators
STATUS INDICATORS On the master loudspeaker a solid light indicates that power is on and that an input is selected: YELLOW: Cabled input selected BLUE FLASHING: Bluetooth pairing activated (cabled input still selected) BLUE NOT FLASHING: Bluetooth input selected REMOTE CONTROL Power On and Off Input Selection Tone Reset... -
Page 8: Operation
On your device turn Bluetooth on. Connect to “VISION SPEAKERS”. The yellow light will turn off, and the blue light will be on continuously to indicate the Bluetooth source is now selected. NOTE 1: If you have connected before it will automatically connect when you turn Bluetooth on. - Page 9 RS-232 CODES This product can be controlled with the included remote control or by a professional AV control system using RS-232 codes. Table 1: Control Codes HEX Codes On Remote Function 65 11 11 Bring out of standby 65 15 15 Put into standby Mute on/off (Standby activates after 30 minutes of 65 05 05...
- Page 10 65 AC AC Volume Step 12 65 AD AD Volume Step 13 65 AE AE Volume Step 14 65 AF AF Volume Step 15 65 B0 B0 Volume Step 16 65 B2 B2 Volume Step 18 65 B3 B3 Volume Step 19 65 B4 B4 Volume Step 20 65 B5 B5...
- Page 11 Table 2: Return Codes To request status send 65 65 65 Function Name Function Range Remark working standby STANDBY MUTE Mute status BD3490FV_SELECT Input select 1~28, volume has 28 BD3490FV_GAIN_GET Get volume 28(1C) steps BD3490FV_B_GAIN_GET Get bass gain 15(0F) Bass gain has 15 steps BD3490FV_T_GAIN_GET Get treble gain 15(0F)
-
Page 12: Troubleshooting
TROUBLESHOOTING If your system is not operating properly, please refer to the following information. Problem Correction Check power source and power input cable No power light Check fuse in power cable plug Check battery in remote Turn the volume up with remote. Power light on but no sound Make sure the output volume on your test device is at full and... -
Page 13: Specifications
SPECIFICATIONS PRODUCT DIMENSIONS: 260 x 180 mm / 10.2″ x 7.1″ (diameter x height for each speaker) CUTOUT SIZE: 222mm / 8.74″ PRODUCT WEIGHT: 4.9 kg / 10.8 lb (per pair) CONSTRUCTION MATERIAL: Plastic (ABS) + Sheet metal back can COLOUR: White TECHNICAL DETAILS: Amplifier Output: 2 x 30 watts (RMS) -
Page 14: Warranty
WARRANTY This product comes with a 2-year return to base warranty, effective from the date of purchase. This warranty applies only to the original purchaser and is not transferable. For the avoidance of doubt, this will be taken from the information held by the appointed national distributor at the point of sale.
Need help?
Do you have a question about the CS-1600P and is the answer not in the manual?
Questions and answers