Table of Contents
Advertisement
Quick Links
Advertisement
Table of Contents

Related Manuals for Planet Audio P395UAB


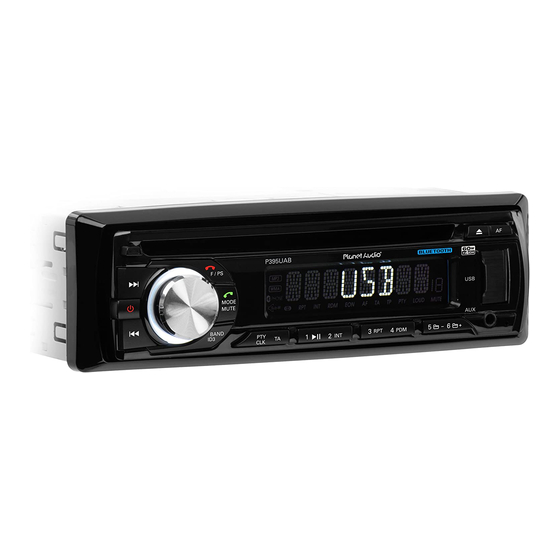
Summary of Contents for Planet Audio P395UAB
-
Page 2: Table Of Contents
Thank you for choosing PLANET AUDIO Systems! This unit will bring you years of enjoyment. CONTENTS Safety Precautions..............2-3 Installation................4-6 Wiring Connections..............7 Basic Operation................8 Radio Operation................9 CD/MP3/WMA/USB/SD Operation........10-11 Bluetooth Operation............12-13 Maintenance................14 IR Remote Control..............15 Troubleshooting Guide.............16... -
Page 3: Safety Precautions
SAFETY PRECAUTIONS Important Warnings to Take Note of BEFORE Starting the Installation Damage Caused By Incorrect Installation or Usage is NOT Covered By Warranty. PLEASE Take the Time to Read the Installation Notes Carefully. Please make all necessary connections and terminate any unused wires so they do not short. -
Page 4: Safety Precautions
SAFETY PRECAUTIONS Secure the wiring with zip ties or electrical tape. To protect the wiring, wrap adhesive tape around them where they lie against metal parts. To avoid short-circuiting, cover all disconnected lead with insulating tape. There is a possibility of short-circuiting if the leads are not insulated. Route and secure all wiring so it cannot touch any moving parts, such as the gear lever and handbrake. -
Page 5: Installation
Tools for Installation 2 removal wrenches are supplied for taking out the old unit and replacing it with your new PLANET AUDIO Systems car stereo. The following tools and supplies may also be needed for the installation: Tools for Installation: Philips Screw-drivers /Machine Screws /Wire Stripper... - Page 6 INSTALLATION WARNING! Disconnect negative battery terminal from battery before starting installation. NOTE: Mark the polarity of the existing speaker wires before discon- necting battery. NOTE: Remove the two transport screws from the top of the unit before installing. DIN Front Mount 1.
-
Page 7: Installation
DIN Rear Mount NOTE: Outer trim frame, hook, and mounting sleeve are not used for this installation This is only intended as a general guide; contact the vehicle’s manufacturer for specific instructions. This menthod of installation uses the screw holes at the sides of the unit and the holes of the existing vehicle mounting bracket. -
Page 8: Wiring Diagram
WIRING DIAGRAM Make sure You have a good chassis ground. Good ground connection will eliminate most electrical noise problems. A good chassis ground requires a tight connection to the vehicle’s metal chassis. The area around the ground connection should be clean, bare metal without rust, paint, plastic, dust, or dirt for a good ground connection. -
Page 9: Basic Operation
Basic Operation 1. Tuning the unit On / Off Press any Button to turn the unit on, the display will show a message “PLANET AUDIO” to indicate it is ready for use. Press and hold the POWER button to turn the unit off. -
Page 10: Radio Operation
Radio Operation 1. Choose Radio Band Press the SRC Button to access the radio function. The unit comes with five bands- three FM Bands (FM1, FM2, and FM3) and two MW Bands (MW1, and MW2) selects. Each of the five bands can store up to six preset stations, for a total of 30 preset memory stations. -
Page 11: Cd/Mp3/Wma/Usb/Sd Operation
CD/MP3/WMA/USB/SD Operation 1. Insert / Eject CD Insert a disc into CD slot with label side up. The disc will be automatically loaded into the unit, even when it is off or at radio mode. The word “LOAD” will blink on the display and the CD will play automatically. Press the EJECT Button to eject the disc from the slot. -
Page 12: Cd/Mp3/Wma/Usb/Sd Operation
CD/MP3/WMA/USB/SD Operation(Con’d) 9. Folder UP Press the “6 ” button once to advance one folder. 10. Search Modes There are 3 search modes to help find your favorite MP3 & WMA tracks. The search modes only works with MP3/WMA CDs, and USB flash memory with MP3/WMA files. -
Page 13: Bluetooth Operation
2. Use the mobile phone’s add a new device feature. “PLANET AUDIO” appears in the list on your mobile phone. 3. Select “PLANET AUDIO”. The unit has an auto pairing function. It will search for the Bluetooth mobile phone and pair automatically. A prompt to connect should appear on your mobile phone. -
Page 14: Maintenance
Bluetooth Operation Audio Streaming (A2DP) Note: Your mobile phone must support this function. Please refer to your mobile phone’s instruction manual. When in A2DP mode Press the PREVIOUS button on the front panel of the unit to choose the previ- ous track. -
Page 15: Ir Remote Control
IR Remote Control This unit comes with a full remote control system. The CR-2025 Lithium battery is an included item with the remote control. TO PLACE THE BATTERY: (1) Remove the cover from the back of the remote control. (2) Insert a CR-2025 Lithium battery. (3) Insert the battery holder into the back of the remote control. -
Page 16: Troubleshooting Guide
Troubleshooting Guide PROBLEM CAUSE/SOLUTION Check and make sure that the fuses did No Power not blow. Errors are displayed on the screen Unplug your car radio then plug it again or no function is active Check the connection of the antenna. No radio reception Make sure the antenna is completely extended and that it is not broken...
Need help?
Do you have a question about the P395UAB and is the answer not in the manual?
Questions and answers