Table of Contents
Advertisement
OWNER / SERVICE
Tel: (380 44) 455 41 18,
E-mail: aerosint@aerosint.kiev.ua,
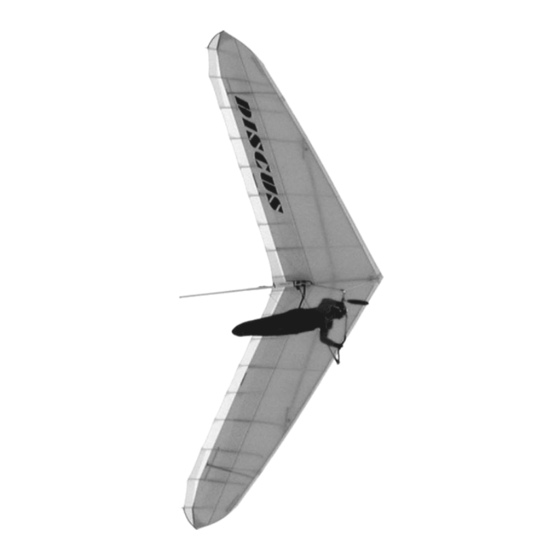
HANG GLIDER
MANUAL
Size: __________________
Date of production:
____________________
Serial number:
____________________
AEROS Ltd.,
Post-Volynskaya St. 5.,
Kiev, 03061,
UKRAINE
Fax: (380 44) 455 41 16
http://www.aeros.com.ua
Manufactured by:
Advertisement
Table of Contents


Need help?
Do you have a question about the Discus 12 and is the answer not in the manual?
Questions and answers