Subscribe to Our Youtube Channel
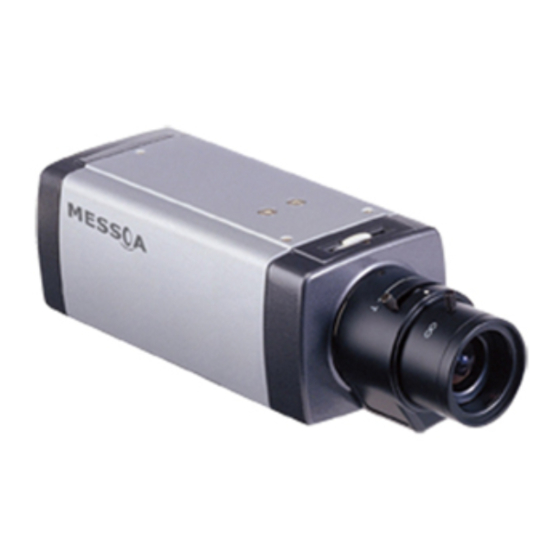
Summary of Contents for Messoa SCB267-HN5
- Page 1 700 TV lines High Resolution Camera Instructions Manual ZEIM-4000491G 267 A.2 Before attempting to connect or operate this product, please read these instructions carefully and save this manual for future use.
-
Page 3: Table Of Contents
CONTENT 1. Intro ----------------------------------------------------------------------------4 2. Part Names and Location ------------------------------------------------------5 3. OSD Menu ----------------------------------------------------------------------6 4. OSD Menu Setting -------------------------------------------------------------7 4.1 LENS ----------------------------------------------------------------------8 4.2 SHUTTER/AGC ------------------------------------------------------------8 4.3 WHITE BAL ---------------------------------------------------------------9 4.4 Backlight ---------------------------------------------------------------- 10 4.5 PICT ADJUST ----------------------------------------------------------- 10 4.6 ATR --------------------------------------------------------------------- 10 4.7 Motion Det -------------------------------------------------------------- 10 4.8 Privacy ------------------------------------------------------------------ 11 4.9 Day/Night--------------------------------------------------------------- 11... - Page 4 IMPORTANT SAFETY INSTRUCTIONS The equipment has been tested and found to comply with the limits for a Class A digital device, pursuant to Part 15 of the FCC Rules. The limits are designed to provide reasonable protection against harmful interference when the equipment is operated in a commercial environment.
-
Page 5: Intro
INTRODUCTION The box camera is ideal for indoor installation in commercial and residential environment. Before You Begin: Please read this guide carefully before you install the box camera. Keep this guide for future reference. Package Contents: Check that the items received match those listed on the order form and packing slip. The dome camera packing box include, in addition to this Install Guide: •... -
Page 6: Part Names And Location
PART NAMES AND LOCATIONS 129mm (5.07") 63.3mm (2.49") Figure 2-1 Dual-voltage model 129mm (5.07") 63.3mm (2.49") Figure 2-2 High-voltage model... - Page 7 (1) Lens mount (5) Terminal Block The camera will be forced to BW mode For the installation of CS Mount lenses only. (2) Back Focus adjustment : with external contact. This function is A.Back Focus Screw : supported ICR DN camera only. Loosen this screw before you use the Focus <Notice>...
-
Page 8: Osd Menu
OSD Setup Menu Default set Menu Set up menu AUTO AUTO/Manual Lens AUTO (High Luminance, Low Luminance)/ AUTO Shutter/AGC Manual (Mode, Shutter, AGC) ATW/Push Lock/User1/User2/Anti CR/Manual WHITE BAL OFF/BLC/HLC Backlight Mirror, Brightness, Contrast, Sharpness, Hue, Pic Adjust Gain OFF/ON (Luminance, Contrast) OFF/ON (Detect Sense, Block DISP, Motion Area, Motion Det Area Sel) -
Page 9: Osd Menu Setting
MENU Setting 4.OSD Menu Settings Entering OSD Menu Hold down on the joystick to open the Main menu. Use the UP/DOWN functions of the joystick to move the cursor to the item you want to modify. A selected menu item will be highlighted. -
Page 10: Lens
MENU SETTING Figure 4-1 Main menu LENS AUTO SHUTTER/AGC AUTO WHITE BAL BACKLIGHT PICT ADJUST MOTION DET NEXT EXIT SAVE ALL PRIVACY DAY/NIGHT AUTO CAMERA ID SYNC LANGUAGE ENGLISH CAMERA RESET BACK EXIT SAVE ALL 4.1 Lens Select Auto or Manual lens function. The default setting is AUTO(Auto Iris lens). Move the joystick control LEFT or RIGHT to select Auto or Manual Lens. -
Page 11: White Bal
MENU SETTING AUTO IRIS and SHUT+AUTO IRIS difference NOTE: • Use DC lens and setting to AUTO IRIS mode for normal condition application environments. The IRIS level will be controlled by camera brightness. • Use DC lens and setting to SHUT+AUTO IRIS mode for high light application environments. -
Page 12: Backlight
MENU SETTING If selected PUSH mode in the appropriate position, whole area will perform white balance. If selected PUSH LOCK mode in the appropriate position, WHITE BALANCE will perform once. 4.4 BACKLIGHT Set Backlight compensation function. The default is OFF. Move the joystick control LEFT or RIGHT to select OFF, BLC or HLC(Highlight Compensation) mode. -
Page 13: Privacy
MENU SETTING DETECT SENSE BLOCK DISP MONITOR AREA AREA SEL BOTTOM LEFT RIGHT 4.8 PRIVACY Set PRIVACY function. The default setting is OFF. Move the joystick control LEFT or RIGHT to select the ON mode then enter to the PRIVACY submenu. You can configure 8 privacy positions, set 8 privacy areas, choose different color zone and set transparency of 8 privacy zone. -
Page 14: Camera Id
MENU SETTING 4.10 NR You can configure the 2D DNR (Digital Noise Reduction) settings and reduce noise on the screen. Enter NR submenu as shown in the figure. Move the joystick control UP or DOWN to set NR MODE. When you enable the NR MODE to the Y(BRIGHT) / C(COLOR), C LEVEL or Y LEVEL mode, you can adjust Y LEVEL or C LEVEL depending on your environment condition. -
Page 15: Specification
SPECIFICATION Signal System NTSC Image System Image Pickup Device SONY 1/3" Exview HAD CCD II Effective Pixels(HxV) 976 (H) × 494 (V) 976 (H) × 582 (V) Electric Scanning System 2:1 Interlace V: 59.94 Hz , H: 15.734KHz 2:1 Interlace V: 50 Hz , H: 15.625 KHz Sync System Internal / linelock Horizontal Resolution...


Need help?
Do you have a question about the SCB267-HN5 and is the answer not in the manual?
Questions and answers