Table of Contents
Advertisement
Quick Links
Download this manual
See also:
User Manual
Advertisement
Table of Contents

Subscribe to Our Youtube Channel
Related Manuals for Avtech AVC791A


Summary of Contents for Avtech AVC791A
-
Page 1: Quick Start
H.264 Network DVR Quick Start GUI Display with USB Mouse Control Please read instructions thoroughly before operation and retain it for future reference. For the actual display & operation, please refer to your DVR in hand. K674_677_679_C551_A791A_798A_796A_M751_688A_686A_Quick_V1.2... -
Page 2: Connect Usb Mouse
1. GUI DISPLAY WITH USB MOUSE CONTROL 1.1 Connect USB Mouse Connect your USB mouse to one of the USB ports on the DVR front panel, and check if there’s a mouse icon ( on the screen, indicating the USB mouse is detected properly. Move your mouse to enter the DVR password with the password keypad. -
Page 3: Main Menu Structure
Main Menu Structure QUICK START GENERAL CHANNEL TITLE EVENT STATUS DATE DISPLAY IMAGE SIZE QUALITY IMAGE PER SECOND TIME SETUP DATE TIME DATE SETUP DATE INFO DISPLAY DATE OF MODE FORMAT DAYLIGHT DAYLIGHT SAVING SYSTEM TOOLS LANGUAGE ADMIN PASSWORD OPERATOR PASSWORD UPGRADE SYSTEM INFO BAUD RATE... -
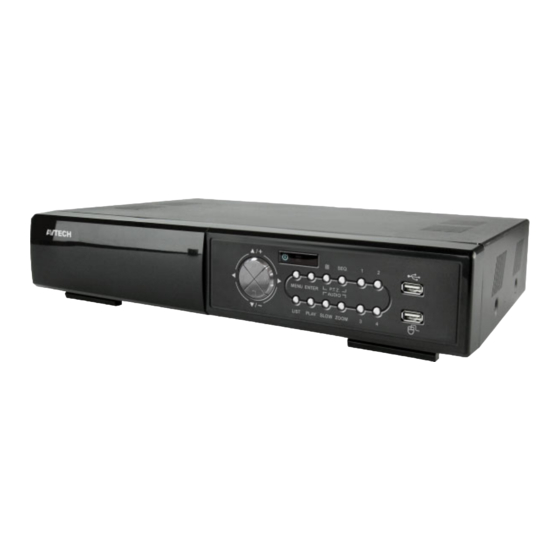
Page 4: Front And Rear Panels
2. FRONT AND REAR PANELS 2.1 Front Panel LED Indicators HDD is reading or recording. An alarm is triggered. Timer recording is on. Under playback status. DVR is powered on. (▲) / (▼) / (◄) / (►) Press ▲ / ▼ / ◄ / ► to move up / down / left / right. In the playback mode: Press “... -
Page 5: Rear Panel
14) P.T.Z. ( + SEQ) (For Selected Models Only) Press “ ” + “SEQ” at the same time to enter / exit the PTZ control mode. 15) USB port There are two USB ports on the front panel, one for connecting your USB mouse for mouse control, and the other one for connecting your USB flash drive for video backup. -
Page 6: Basic Operation
10) LAN Connect to Internet by LAN cable. 11) DC 19V Connect to the supplied adapter. Power Switch Switch to “ ” to turn on the power, and “ ” to turn off the power. 3. BASIC OPERATION 3.1 Live Page Icon Function Icon... -
Page 7: Playback Control
Note: There must be at least 8192 images of recorded data for playback to work properly. If not, the device will stop playback. For example, if the IPS is set to 30, the recording time should be at least 273 seconds (8192 images / 30 IPS) for the playback to work properly. Note: During playback, the image size of the recording (FRAME, FIELD or CIF) will be shown on the screen. -
Page 8: Video Output Switch
are allowed. The default administrator password is 0000. When the operator password is entered, will be shown on the status bar of the screen, and the main menu is NOT allowed to access. The operator user level needs to be set in the main menu “SYSTEM” “TOOLS”.
Need help?
Do you have a question about the AVC791A and is the answer not in the manual?
Questions and answers