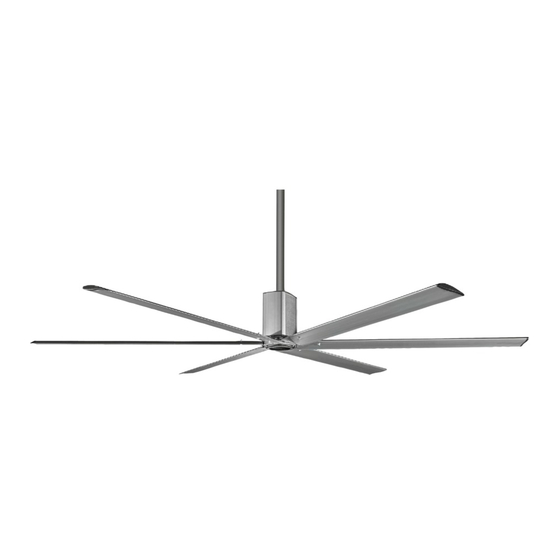
MacroAir Technologies AirStar User Manual
Hide thumbs
Also See for AirStar:
- Installation instructions manual (15 pages) ,
- Installation manual (36 pages)
Advertisement
Quick Links
Advertisement

Summary of Contents for MacroAir Technologies AirStar
- Page 1 AIRSTAR...
-
Page 3: Table Of Contents
Table Of Contents 1. Cautions And Safety 2. Package Contents 3. Tools Needed 4. Fan Clearance / Placement 5. I-beam Mounting 6. Glulam Mounting 7. Spanning Mount / Mount Assembly 8. Extention Assembly 9. Blades/ Blade Retainers 10. Blade Retainer Assembly 11. -
Page 4: Cautions And Safety
Caution and Safety READ AND FOLLOW THIS MAUAL BEFROE OPERATING THE FAN. Read these safety practices before installing, operating or servicing the fan. failure to follow these safety practices could result in death or serious injury. Be certain to follow the instructions in this manual. If you do not understand the instructions please call our Technical department for help. -
Page 5: Package Contents
Package Contents Power Unit Image of Hardware and Mount Remote pg 2. -
Page 6: Tools Required
Tools Required 1. Socket set and ractchet (deep and short wall) 2. 3/8 allen key 3. Magnetic level 4. Phillips and Flat Head Screw driver 5. Network crimping tool (if standard connection will not work.) 6. Torque Wrench (Not Shown) pg 3... - Page 7 Fan Clearance And Extension Guide Rise=?" Run=12" Roof Slope= Rise/Run Total fan height approximately19.5" Fan Diameter NO OBSTRUCTIONS IN THIS AREA (15% OF FAN DIAMETER) The extension lengths below are minimum recomendations only, based soley on roof pitch and fan diameter. Other consideration must be evaluated when determining extension requirements, such as placement of lights, sprinklers systems, HVAV systems and so on.
-
Page 8: I-Beam Mounting
I-beam Mounting For installations with I-beams use MacroAir I-beam Kit (PN 60-50106-00). To properlly install mount be sure to use hang mount along slope of the roof. I-Beam Assembly Exploded View For ease of installation the Unistrut for our I-beam mount can be installed in two differant configurations. -
Page 9: Glulam Mounting
Glulam Mounting Installation on Glulam beams will use MacroAir Glulam Mounting Kit (PN 60-50108-00). Installing the mount alonge the slope of the roof will allow the proper leveling of the fan. Glulam Assembly Exploded View Glulam Installation utilizes unistrut in conjunction with our Glulam bracket for installations containing glulam beams. - Page 10 Spanning Mount also utilizes Unistrut for spanning mount installations. Model of spanning mount Power Unit Mount Exploded View Loosely install the mount hardware prior to installing fan. Once the fan is installed and level, tighten mount hardware down. pg 7...
-
Page 11: Extention Assembly
Extension Assembly Exploded View When Extension is needed assemble between mount and power unit with provided hardware. (refer to chart on pg 4 for size recomendations) pg 8... - Page 12 Blade Retainer Installation While installing blades be sure to install the blade reatainer links by over lapping the reatainers. Refer to image above for exploded view. Blade bolts must be torqued to 23 ft lbs. pg 9...
-
Page 13: Blade Assembly
Blade Assembly Image This image represents the correct installation of the Blade and Blade reatainer links. pg 10... - Page 14 Wiring The Image above shows the cable from the top of the Fan The Image above show how to route cables through extension. When useing an extension route cables through extension. refer to the images above A coulpler may also be use to extend the length of the remote cable connection.
- Page 15 MacroAir 794 South Allen Street San Bernardino, Ca 92408 p 909.890.2270...


Need help?
Do you have a question about the AirStar and is the answer not in the manual?
Questions and answers