Table of Contents
Advertisement
Quick Links
Download this manual
See also:
Instruction Manual
Advertisement
Table of Contents

Subscribe to Our Youtube Channel
Related Manuals for Datavideo TLM-170P


Summary of Contents for Datavideo TLM-170P
- Page 1 17.3” Full HD LCD Monitor TLM-170P Instruction Manual Rev Date: 14-2-2013 P/N: G082060610E1...
-
Page 2: Table Of Contents
Disclaimer of Product and Services The information offered in this instruction manual is intended as a guide only. At all times, Datavideo Technologies will try to give correct, complete and suitable information. However, Datavideo Technologies cannot exclude that some information in this manual, from time to time, may not be correct or may be incomplete. -
Page 3: Warnings And Precautions
This product should only be operated from the type of power source indicated on the marking label of the AC adapter. If you are not sure of the type of power available, consult your Datavideo dealer or your local power company. -
Page 4: Warranty
Certain parts with limited lifetime expectancy such as LCD Panels, DVD Drives, Hard Drives are only covered for the first 10,000 hours, or 1 year (whichever comes first). Any second year warranty claims must be made to your local Datavideo office or one of its authorized Distributors before the extended warranty expires. -
Page 5: Introduction
Marker, Center Point, embedded SDI Timecode and Monitor Title. The Datavideo TLM-170P monitor can be operated from AC or 12V DC power making it flexible for use in a Studio, Gallery, Post Production Edit Suite or even in an OB Van. -
Page 6: Compatible Resolutions And Formats
The TLM-170P panel will support/display the following 60Hz computer resolutions when supplied via a standard DVI to HDMI cable. Please note the TLM-170P panel is natively 1920 x 1080 pixels so certain resolutions may be slightly edge cropped and bars/columns may be shown with other resolutions when the panel is switched between 16:9 and 4:3 using the aspect button. -
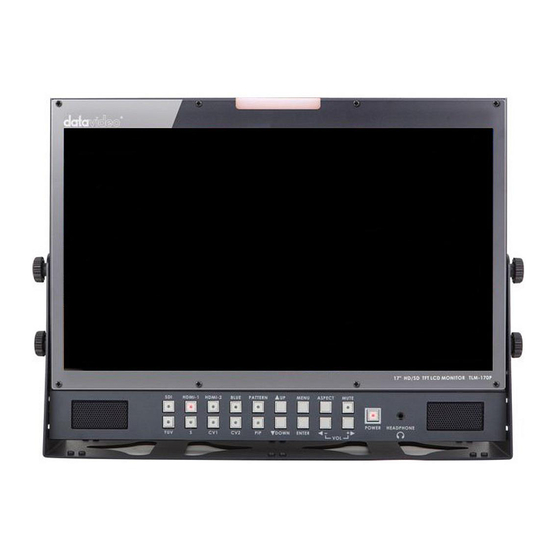
Page 7: Connections And Controls
Mute Button: Mutes the audio from the internal speakers or headphone socket. Volume Control: Adjusts the speaker / headphone volume up / down. Headphone Socket: 3.5mm headphone socket; internal speaker circuit will automatically mute when headphones are connected. N.B. Main Power On/Off switch is located on the rear of the TLM-170P. -
Page 8: Rear Panel
Rear Panel LAN Remote Control: Use a crossover Ethernet cable for direct connection between TLM-170P and the PC RJ-45 port. See Remote Control Setup section for more details. USB 2.0 Port - For firmware updates only. See Firmware Update section for more details. -
Page 9: Menus
Menus The TLM-170P is set up using an OSD menu system. To display the OSD menu press the MENU button. This menu system is navigated using the Up / Down buttons to change a value or to highlight a menu option. - Page 10 COLOR ADJUST You can choose: 6500 9300 USER COLOR 0~100 GREEN 0~100 BLUE 0~100 EXIT SCAN SETTING You can choose: UNDER SCAN full image OVER SCAN cropped image INFORMATION Display: H. FREQUENCY V. FREQUENCY RESOLUTION NTSC / PAL / SECAM This mode will display the video resolution.
- Page 11 FPGA VER: EXIT See Firmware Update Procedure section for more details. FACTORY RESET Push ENTER button to reset the TLM-170P to restore the factory settings or default settings. AUDIO CONTROL You can choose: INTERNAL AUDIO ON / MUTE / MUTE CTROL...
-
Page 12: Remote Set Up Using An Existing Dhcp Network
Remote Set Up using an existing DHCP Network The TLM-170P can be remotely set up using a computer web browser and the existing DHCP LAN. In this way a gallery of TLM-170P monitors can be set up from one computer if enough network connections exist. -
Page 13: Remote Set Up Using A Direct Computer Connection
Remote Set Up using a direct computer connection The TLM-170P can be remotely set up using a computer web browser and an Ethernet crossover cable. No existing computer network is used. The Ethernet crossover cable is connected to the TLM-170P monitor and the computer/laptop being used. -
Page 14: Firmware Update Procedure
Firmware update procedure From time to time Datavideo may release new firmware to either add new features or to fix reported bugs in the current TLM-170P firmware. Customers can update the firmware themselves if they wish or they can contact their local dealer or reseller for assistance should they prefer this method. -
Page 15: Specifications
Specifications Size 17.3'' Resolution 1920 x 1080 Top: 60 deg Bottom: 80 deg View Angle Left: 80 deg Right: 80 deg White Luminance 400cd Contrast HDMI x 2 HDMI Ver. 1.3 BNC x 1 3Gbps/ HD/SD-SDI Video INPUT BNC x3 Component BNC x 2 Composite... -
Page 16: Service And Support
It is our goal to make your products ownership a satisfying experience. Our support staff are available to assist you in setting up and operating your system. Please refer to our web site www.datavideo-tek.com for answers to common questions, support requests or contact your local office below.
Need help?
Do you have a question about the TLM-170P and is the answer not in the manual?
Questions and answers