Advertisement
Quick Links
Download this manual
See also:
Installation Manual
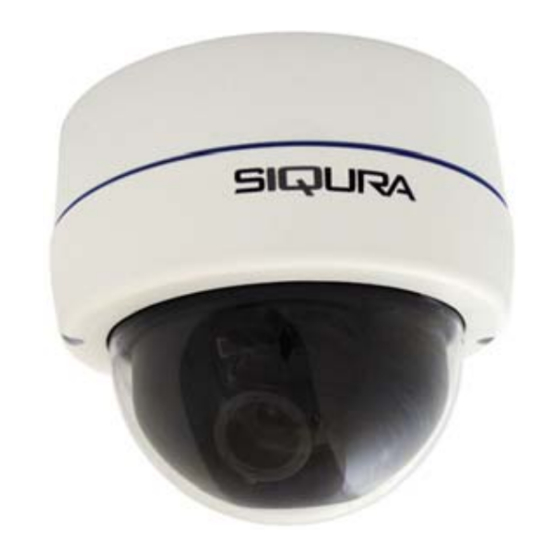
Siqura FD820M1 / FD820M1IR / FD820M1IRMP5
High-definition fixed dome IP camera
Quick Start Guide
Unpack
FD820 camera
Conduit
Power adapter
Plastic screw
Self-tapping
Rubber
anchors (x4)
screws (x4)
washers (x6)
Security torx
Siqura Product CD
Quick Start Guide
Note: Subject to modification. Actual product and accessories may differ in appearance.
Connector overview
Figure 6 FD820 Printed Circuit Board (PCB) connectors
PACKAGE CONTENTS
Alarm I/O
1
Output +
Connector
2
Output −
DC 12 V
3
Input +
4
Input −
Table 1 Alarm connector assignments
AC 24 V
Audio I/O
1
Input
Table 3 Pin definitions power terminal block
2
GND
3
Audio Out-R
Reset: Press for at least 10 seconds to
4
Audio Out-L
restore the system to its factory-default
Table 2 Audio connector assignments
settings (including network settings).
© Siqura B.V. 2014
Version 2.0 (131211-2)
FD820 QSG (MW10)
The fixed dome camera can be installed directly on a wall or ceiling.
Make sure that the provided surface has sufficient strength to support the
camera.
To remove the camera from the dome housing
1.
Make sure that the provided surface has sufficient strength to support
1.
Use the supplied security torx to
the camera.
Power terminal block
unscrew the housing cover.
adapter
2.
Open the housing cover, gently press
both sides of the inner cover (figure 2),
and then remove it from the dome unit.
3.
Using a phillips head screwdriver,
unscrew the camera-fastening screw.
White rubber
4.
Press the snap-on sides of the camera
ring
(figure 3) and detach it from the dome
housing.
To mount the dome housing
Attach the dome housing to the wall or
ceiling with the supplied screws and screw
anchors. If necessary, replace the screws
Figure 1
Package contents
with mounting screws that are more
appropriate for the mounting surface.
Connect to power and network
Connect power and network cables to the camera as indicated in
figure 6 and table 3.
To power the camera with DC 12 V or AC 24 V
Plug the 12 Vdc or 24 Vac cable into the power terminal block.
Note: The supplied DC power adapter is for indoor use only.
To connect to network
1.
Using a Cat 5 Ethernet straight-through cable that does not exceed
100 metres in length, connect one end of the cable to the RJ-45
connector of the camera. Connect the other end to the network
Pin
Definition
switch. Use crossover cable if you connect directly to a PC.
1
Power
2.
Check the status of the link indicator and activity LEDs. If the LEDs
2
Reserved
are unlit, check the LAN connection.
3
GND
- A green LINK light indicates a good network connection.
1
Power-1
- The orange ACT light flashes to indicate network activity.
2
GND
3
Power-2
To power the camera with Power over Ethernet (PoE)
Connect one end of a Cat 5 Ethernet cable to the camera as
described above. Connect the other end to an appropriate PoE
network switch.
Note: PoE cannot be used with the heater.
Install the camera
Figure 2
Figure 3
www.siqura.com
www.tkhsecurity-usa.com
Attach cabling
Attach the power, network, audio, and alarms cables to the back of
the camera.
To connect the cabling
1.
Thread the power, Ethernet, and
possibly audio and alarm device cables
through the side or back conduit entry,
using the supplied conduit and white
rubber ring as needed (figure 4).
2.
Connect the cables to the camera body
as indicated in the following sections.
3.
Snap the camera body back onto the
camera housing (figure 5) and tighten
the camera-fastening screw.
Note: Insert the SD card into the microSD card slot
before you power on the camera. If the camera is
already powered on, reboot the camera after the SD
card is inserted.
Connect audio and alarms
If microphones and speakers are implemented, the camera can be
used to provide a two-way audio channel.
Connecting an alarm device to the camera input can trigger an output
action to occur based on digital I/O settings.
To connect audio
1.
Connect the audio input and output connectors to the terminal block
on the back of the camera (figure 6 and table 2).
2.
On the camera's Audio webpage, the following options are available
for audio streaming:
- Full duplex: Talk and listen simultaneously
- Half duplex: Talk or listen (not at the same time)
- Simplex: Talk only
- Simplex: Listen only
- Disable
To connect an alarm device
Connect the alarm relay connectors to the terminal block on the
back of the camera (figure 6 and table 1).
Use the Application, Motion Detection, and Tampering webpages to
configure the alarms as desired.
Figure 4
Figure 5
Advertisement

Subscribe to Our Youtube Channel
Related Manuals for Siqura FD820M1


Summary of Contents for Siqura FD820M1
-
Page 1: Quick Start Guide
Siqura FD820M1 / FD820M1IR / FD820M1IRMP5 High-definition fixed dome IP camera Quick Start Guide Unpack Install the camera Attach cabling Attach the power, network, audio, and alarms cables to the back of The fixed dome camera can be installed directly on a wall or ceiling. -
Page 2: Adjust The Lens
Manually adjust the Pan/Tilt/Spin holders of the camera to point the lens for the desired camera view (figure 11). Use Siqura Viewer to check the image quality and the field of view as you make changes. To change the network settings 10.50.3.145...
Need help?
Do you have a question about the FD820M1 and is the answer not in the manual?
Questions and answers