Sign In
Upload
Download
Table of Contents
Contents
Add to my manuals
Delete from my manuals
Share
URL of this page:
HTML Link:
Bookmark this page
Add
Manual will be automatically added to "My Manuals"
Print this page
×
Bookmark added
×
Added to my manuals
Manuals
Brands
Sharkoon Manuals
Power Supply
WPM Bronze 400
Manual
Sharkoon WPM Bronze 400 Manual
Wpm bronze series
Hide thumbs
1
Table Of Contents
2
3
4
5
6
7
8
9
10
11
12
13
page
of
13
Go
/
13
Contents
Table of Contents
Troubleshooting
Bookmarks
Table of Contents
Table of Contents
1 Features
2 Specifications
Overview
Temperature Range and Humidity
Mains Voltage and Protective Functions
Safety Standards
Warranty Period
3 Parts and Accessories
4 The Modular System of the PSU
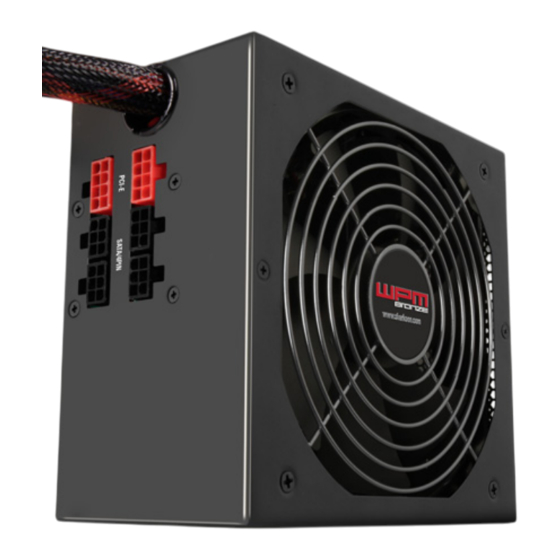
The Terminals on the PSU
The Modular Cables
Cable Lengths
5 Installation
Installing the PSU into a PC Case
Connecting Mainboard and Graphics Card(S)
Connecting Optical Drives and Other Peripherals Devices
Connecting the Cables to the PSU
Checking All Connections
6 Troubleshooting
Legal Disclaimer
Advertisement
Quick Links
1
Overview
2
The Modular Cables
3
The Terminals on the Psu
4
The Modular System of the Psu
Download this manual
Manual
WPM BRONZE SERIE
1
Table of
Contents
Previous
Page
Next
Page
1
2
3
4
5
Advertisement
Table of Contents
Need help?
Do you have a question about the WPM Bronze 400 and is the answer not in the manual?
Ask a question
Questions and answers
Related Manuals for Sharkoon WPM Bronze 400
Power Supply Sharkoon WPM Series Manual
Modular atx 2.0 power supply (13 pages)
Power Supply Sharkoon WPM400 Manual
Modular atx 2.0 power supply (13 pages)
Power Supply Sharkoon WPM500 Manual
Modular atx 2.0 power supply (13 pages)
Power Supply Sharkoon WPM600 Manual
Modular atx 2.0 power supply (13 pages)
Power Supply Sharkoon WPC Bronze Series Manual
(8 pages)
Power Supply Sharkoon WPM Bronze 500 Manual
Wpm bronze series (13 pages)
Power Supply Sharkoon WPM Bronze 600 Manual
Wpm bronze series (13 pages)
Power Supply Sharkoon WPM Bronze 700 Manual
Wpm bronze series (13 pages)
Power Supply Sharkoon SilentStorm SFX Bronze 350 Manual
(14 pages)
Power Supply Sharkoon SHP BRONZE Manual
(33 pages)
Power Supply Sharkoon SilentStorm SFX Bronze 450 Manual
(14 pages)
Power Supply Sharkoon REBEL P30 Gold Manual
Atx 3.0 power supply unit (13 pages)
Power Supply Sharkoon SHP550 Manual
Atx 2.3 (9 pages)
Power Supply Sharkoon Silent Storm SHA460-135A User Manual
(14 pages)
Power Supply Sharkoon SilentStorm Cool Zero 650 Manual
(13 pages)
Power Supply Sharkoon QP500 User Manual
Atx 2.3 power supply (10 pages)
This manual is also suitable for:
Wpm bronze 500
Wpm bronze 600
Wpm bronze 700
Table of Contents
Print
Rename the bookmark
Delete bookmark?
Delete from my manuals?
Login
Sign In
OR
Sign in with Facebook
Sign in with Google
Upload manual
Upload from disk
Upload from URL


Need help?
Do you have a question about the WPM Bronze 400 and is the answer not in the manual?
Questions and answers