Advertisement
IR Done Camera User Manual
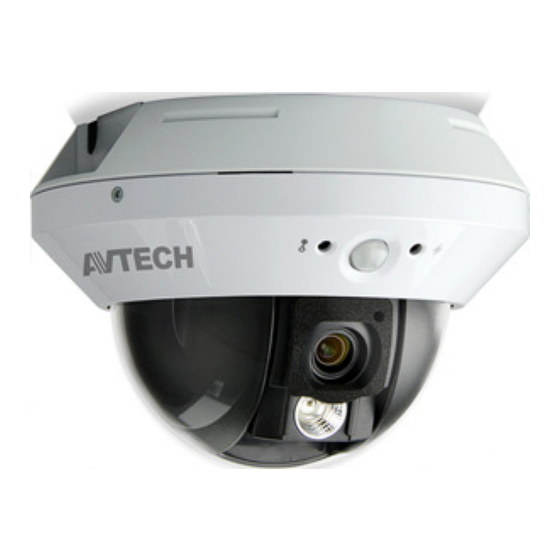
The product image shown above may differ from the actual product.
Please use this camera with a DVR which supports HD video recording.
Please read the instructions thoroughly before using the product.
C
A
U
T
I
O
N
:
C
A
U
T
I
O
N
:
To reduce the risk of electric shock, do not expose this apparatus to rain or moisture.
Only operate this apparatus from the type of power source indicated on the label.
The company shall not be liable for any damages arising out of any improper use, even if we have been advised of the possibility of
such damages.
The lightning flash with arrowhead symbol, within an equilateral triangle, is intended to alert the user to the presence
of uninsulated "dangerous voltage" within the product's enclosure that may be of sufficient magnitude to constitute a
risk of electric shock to persons.
This exclamation point within an equilateral triangle is intended to alert the user to the presence of important
operating and maintenance (servicing) instructions in the literature accompanying the appliance.
ROHS Announcement
All lead-free products offered by the company comply with the requirements of the European law on the Restriction
of Hazardous Substances (RoHS) directive, which means our manufacture processes and products are strictly
"lead-free" and without the hazardous substances cited in the directive.
The crossed-out wheeled bin mark symbolizes that within the European Union the product must be collected
separately at the product end-of-life. This applies to your product and any peripherals marked with this symbol. Do
not dispose of these products as unsorted municipal waste.
CE Mark
This apparatus is manufactured to comply with the radio interference.
The company does not warrant that this manual will be uninterrupted or error-free. We reserve the right to revise or
remove any content in this manual at any time.
C
A
U
T
I
O
N
C
A
U
T
I
O
N
R
R
I
I
S
S
K
K
O
O
F
F
E
E
L
L
E
E
C
C
T
T
R
R
I
I
C
C
S
S
H
H
O
O
C
C
K
K
669z
t503s_V0.9
Advertisement
Table of Contents

Subscribe to Our Youtube Channel
Related Manuals for Avtech IR Done Camera


Summary of Contents for Avtech IR Done Camera
- Page 1 669z IR Done Camera User Manual The product image shown above may differ from the actual product. Please use this camera with a DVR which supports HD video recording. Please read the instructions thoroughly before using the product. To reduce the risk of electric shock, do not expose this apparatus to rain or moisture.
- Page 2 FEATURES 1/2.8” CMOS Sensor with 1080P video output With motorized 316-degree pan, the camera can achieve a wide range of view, giving users more comprehensive control over the monitored site Sequence setup with up to 16 preset points for area patrol External alarm I/O device connection WDR to increase image recognizability in overexposure and dark areas Solid Light series featuring better overexposure prevention (Advanced Smart Light Control), automatic...
- Page 3 INSTALLATION Step 1: Separate the dome cover from the camera. Step 2: Make sure the screw holes on the plate are aligned with the holes on the camera base. If not, slightly loosen the two screws on the plate and rotate it. Step 3: Mark the locations of the two screw holes on the ceiling or wall, and drill a hole for each on the ceiling or wall.
- Page 4 CAMERA PARAMETERS On the DVR, right-click to show the main menu, and go to “ADVANCED CONFIG” “DCCS”. In “DCCS”, select the channel which connects this camera, and click “SETUP” to enter the menu of camera parameters. ADVANCED CONFIG CAMERA DETECTION MENU SETUP...
- Page 5 MOTORIZED PAN AND SEQUENCE SETUP On the DVR live view, click the channel which connects this camera to display in the full screen mode, and select to show the control panel: NOTE: Not all functions in the panel are supported for this camera. Please see the description below. Left / Right Click to move your selection up / down / left / right, or change settings.
- Page 6 Step5: Return to the live view, and right click to show the main menu. Select “ADVANCED CONFIG” “DCCS”. Then, select the channel which connects this camera, and click “SETUP” to enter the menu of camera parameters. ADVANCED CONFIG CAMERA DETECTION MENU SETUP...
- Page 7 CAMERA GUARD This function is used to lock the camera to a fixed point and no pan action could be made until the lock mode is disabled. Before using this function, make sure: You have an iOS or android mobile device with our free app, EagleEyes, installed. ...
- Page 8 Step4: Return to the address book of EagleEyes, and enable “Guard”. The camera will fix at the point after the time specified in Step2 unless the “Guard” status is disabled.
Need help?
Do you have a question about the IR Done Camera and is the answer not in the manual?
Questions and answers