Ubiquiti airCam Mini Quick Start Manual
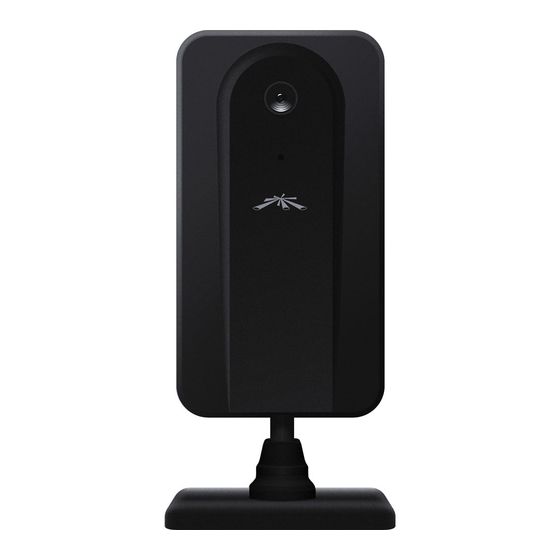
Desktop security camera
Hide thumbs
Also See for airCam Mini:
- User manual (31 pages) ,
- Quick start manual (17 pages) ,
- Quick start manual (17 pages)
Table of Contents
Advertisement
Quick Links
Advertisement
Table of Contents

Related Manuals for Ubiquiti airCam Mini


Summary of Contents for Ubiquiti airCam Mini
- Page 1 Desktop Security Camera...
-
Page 3: Package Contents
Introduction Introduction Thank you for purchasing the Ubiquiti Networks ™ airCam Mini. This Quick Start Guide includes the warranty ™ terms and is designed to guide you through the installation of the airCam and show you how to access the Camera Configuration Interface. -
Page 4: Hardware Overview
airCam Mini ™ Hardware Overview Front Focus Reset Ring Reset Button Microphone microSD Card Slot Ethernet Port Desktop Stand Back Camera body Base pivot joint rotates 360˚ rotates 360˚... - Page 5 Hardware Overview Adjustable Camera Positions 30° 60° Camera can be angled to lean 60° forward or 30° backward. 50° 50° Maximum side-to-side tilt is 50° off vertical...
-
Page 6: Hardware Installation
airCam Mini ™ LEDs Ethernet The Ethernet LED will light steady green when an active Ethernet connection is made and flash when there is activity. Power The Power LED will light steady orange when the airCam is connected to a power source. Note: LED operation may be disabled using the Camera Configuration Interface. - Page 7 Hardware Installation Insert the Anchor into the hole and secure the Wall Mount Bracket with the Screw. Detach the airCam Mini from the Desktop Stand.
- Page 8 airCam Mini ™ Attach the airCam Mini to the Wall Mount Bracket. microSD Installation (Optional) Insert a microSD card into the slot on the side of the airCam Mini until it locks into the slot. To remove the microSD card, push the card in to release the lock, then pull the card out.
-
Page 9: Connecting The Power
Connecting the Power Connecting the Power Connect an Ethernet cable to the Ethernet port on the airCam Mini. Connect the other end of the Ethernet cable from the airCam Mini to the Ethernet port labeled POE on the PoE Adapter. Connect an Ethernet cable from your LAN to the Ethernet port labeled LAN on the PoE Adapter. - Page 10 airCam Mini ™ Connect the power cord to the power port on the PoE Adapter. Connect the other end of the power cord to a power outlet. airVision Download and install the latest version of the airVision software at downloads.ubnt.com/airvision. The airVision auto management feature should automatically detect and install your new camera.
-
Page 11: Camera Configuration Interface
Camera Configuration Interface Camera Configuration Interface Access the Camera Configuration Interface if you have not yet installed airVision, or plan to use the airCam as a stand‑alone camera without airVision. Make sure that your host machine is connected to the same LAN as the airCam Mini. -
Page 12: Limited Warranty
(the “Product(s)”) shall be free from defects in material and workmanship for a period of one (1) year from the date of shipment by UBIQUITI NETWORKS under normal use and operation. UBIQUITI NETWORKS’ sole and exclusive obligation and... -
Page 13: Limitation Of Liability
DELAYS, CANCELLATIONS, DELIVERY FAILURES, DATA LOSS, CONTENT CORRUPTION, PACKET LOSS, OR OTHER DAMAGE RESULTING FROM ANY OF THE FOREGOING. In addition, UBIQUITI NETWORKS does not warrant that the operation of the Products will be error‑free or that operation will be uninterrupted. In no event shall UBIQUITI NETWORKS be responsible for damages or claims of any nature or description relating to system performance, including coverage, buyer’s selection... -
Page 14: Industry Canada
airCam Mini ™ Compliance This device complies with Part 15 of the FCC Rules. Operation is subject to the following two conditions: 1. This device may not cause harmful interference, and 2. This device must accept any interference received, including interference that may cause undesired operation. - Page 15 Compliance RoHS/WEEE Compliance Statement English European Directive 2002/96/EC requires that the equipment bearing this symbol on the product and/or its packaging must not be disposed of with unsorted municipal waste. The symbol indicates that this product should be disposed of separately from regular household waste streams.
- Page 16 airCam Mini ™ Français La directive européenne 2002/96/CE exige que l’équipement sur lequel est apposé ce symbole sur le produit et/ou son emballage ne soit pas jeté avec les autres ordures ménagères. Ce symbole indique que le produit doit être éliminé dans un circuit distinct de celui pour les déchets des ménages.
-
Page 17: Declaration Of Conformity
Declaration of Conformity Declaration of Conformity Česky UBIQUITI NETWORKS tímto prohla uje, e tento UBIQUITI NETWORKS device, je ve shod se [Czech] základními po adavky a dal ími p íslu n mi ustanoveními sm rnice 1999/5/ES. Dansk Undertegnede UBIQUITI NETWORKS erklærer [Danish] herved, at følgende udstyr UBIQUITI NETWORKS... - Page 18 Mini ™ Íslenska Hér me l sir UBIQUITI NETWORKS yfir ví a UBIQUITI [Icelandic] NETWORKS device, er í samræmi vi grunnkröfur og a rar kröfur, sem ger ar eru í tilskipun 1999/5/EC. Italiano Con la presente UBIQUITI NETWORKS dichiara che [Italian] questo UBIQUITI NETWORKS device, è...
- Page 20 Support community.ubnt.com Community downloads.ubnt.com Downloads w w w . u b n t . c o m © 2011‑2013 Ubiquiti Networks, Inc. All rights reserved.
Need help?
Do you have a question about the airCam Mini and is the answer not in the manual?
Questions and answers