Sign In
Upload
Download
Table of Contents
Contents
Add to my manuals
Delete from my manuals
Share
URL of this page:
HTML Link:
Bookmark this page
Add
Manual will be automatically added to "My Manuals"
Print this page
×
Bookmark added
×
Added to my manuals
Manuals
Brands
Ubiquiti Manuals
Security Camera
UniFi Protect
Quick start manual
Ubiquiti UniFi Protect Quick Start Manual
Hide thumbs
1
2
3
4
5
6
7
8
9
10
11
12
13
14
15
16
17
18
19
20
21
22
23
24
25
26
27
28
Table Of Contents
29
page
of
29
Go
/
29
Contents
Table of Contents
Bookmarks
Table of Contents
Package Contents
Installation Requirements
Hardware Overview
Installation Overview
Hardware Installation
Pole Mount
Connecting Power over Ethernet
Adjusting the Camera View
Specifications
Safety Notices
Electrical Safety Information
Limited Warranty
Declaration of Conformity
Online Resources
Advertisement
Quick Links
1
Installation Overview
2
Connecting Power over Ethernet
3
Adjusting the Camera View
4
Specifications
Download this manual
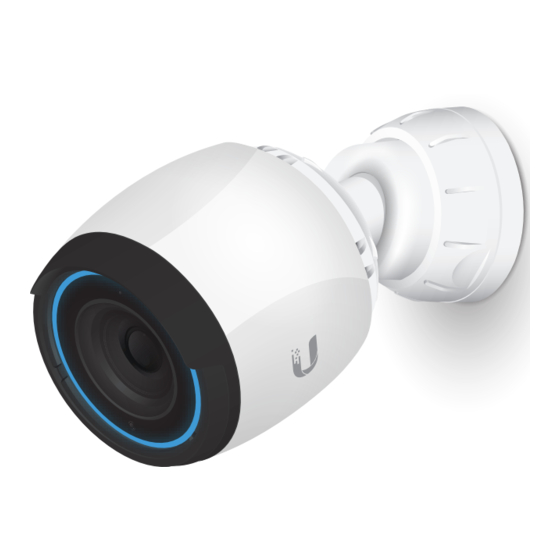
4 K I n d o o r / O u t d o o r
I P C a m e r a w i t h I n f r a r e d
a n d O p t i c a l Z o o m
M o d e l : U V C - G 4 - P R O
Table of
Contents
Previous
Page
Next
Page
1
2
3
4
5
Advertisement
Table of Contents
Need help?
Do you have a question about the UniFi Protect and is the answer not in the manual?
Ask a question
Questions and answers
Related Manuals for Ubiquiti UniFi Protect
IP Camera Ubiquiti UVC-G4-PRO Manual
(33 pages)
Security Camera Ubiquiti UniFi UVC-G4-PRO Manual
(33 pages)
Security Camera Ubiquiti UniFi UVC-G4-PRO Quick Start Manual
Protect, 4k indoor/outdoor, ip camera with infrared and optical zoom (29 pages)
Security Camera Ubiquiti UVC-G4-PRO Quick Start Manual
(19 pages)
Ubiquiti UniFi G3 Flex UVC-G3-F-C Manual
(article)
Security Camera Ubiquiti UVC-G3-DOME-3 Quick Start Manual
Wide-angle 1080p dome ip camera with infrared (33 pages)
Security Camera Ubiquiti UniFi G3 PRO Quick Start Manual
1080p indoor/outdoor ip camera with infrared (29 pages)
Security Camera Ubiquiti UVC-G3-LED Quick Start Manual
(21 pages)
Security Camera Ubiquiti UniFi UVC-G3-Flex Quick Start Manual
1080p indoor/outdoor ip camera with infrared and 802.3af support (27 pages)
Security Camera Ubiquiti UniFi G3 Dome User Manual
Ip camera/nvr management system (56 pages)
Security Camera Ubiquiti UVC-G3-DOME-5 Quick Start Manual
Wide-angle 1080p dome ip camera with infrared (33 pages)
Security Camera Ubiquiti UVC G3 Quick Start Manual
(38 pages)
Security Camera Ubiquiti UVC-G3-BULLET Quick Start Manual
(18 pages)
Security Camera Ubiquiti UVC-G3-BULLET Quick Start Manual
(24 pages)
Security Camera Ubiquiti UVC-G3-PRO Quick Start Manual
(16 pages)
Security Camera Ubiquiti UVC-G3-AF Quick Start Manual
(29 pages)
This manual is also suitable for:
Uvc-g4-pro
Uvc-g4-pro-3
Table of Contents
Save PDF
Print
Rename the bookmark
Delete bookmark?
Delete from my manuals?
Login
Sign In
OR
Sign in with Facebook
Sign in with Google
Upload manual
Upload from disk
Upload from URL


Need help?
Do you have a question about the UniFi Protect and is the answer not in the manual?
Questions and answers