Advertisement
I
N
I
N
For Customer Service, please contact: support@sunnyhealthfitness.com
D
O
O
R
D
O
O
R
O
W
N
O
W
N
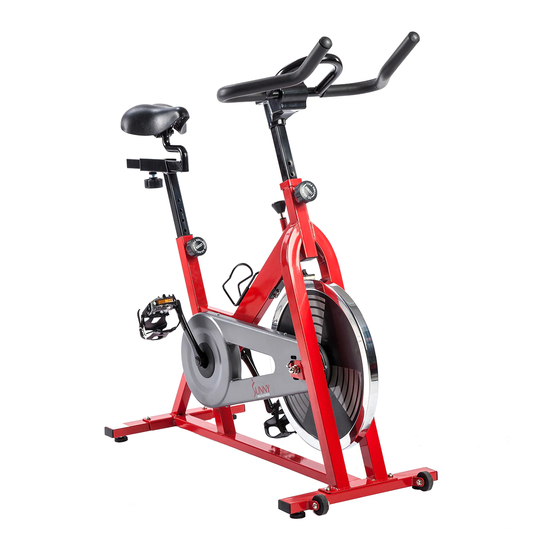
The specifications of this product may
vary from this photo and are subject to
change without notice.
C
Y
C
L
I
C
Y
C
L
I
S
F
-
B
1
0
0
1
S
F
-
B
1
0
0
1
E
R
'
S
M
A
N
E
R
'
S
M
A
N
N
G
B
I
K
N
G
B
I
K
U
A
L
U
A
L
E
E
Advertisement
Table of Contents

Related Manuals for Sunny Health & Fitness SF-B1001


Summary of Contents for Sunny Health & Fitness SF-B1001
- Page 1 ’ ’ The specifications of this product may vary from this photo and are subject to change without notice. For Customer Service, please contact: support@sunnyhealthfitness.com...
-
Page 2: Important Safety Notice
IMPORTANT SAFETY NOTICE Make sure you fully understand the following precautions before assembling and operating the machine: 1. Once fully assembled, please check that all hardware parts such as bolts, nuts and washers are positioned and secured firmly. 2. Please check regularly that the safety chain guard that protects the moving parts of the machine is secured and in good order. -
Page 3: Exploded Diagram
EXPLODED DIAGRAM... -
Page 4: Parts List
PARTS LIST Part No. Description Part No. Description Main frame Square cap Phillips tapping Front stabilizer Rear stabilizer Hex nut M10 Water bottle Handlebar h ld Seat post Nylon nut Seat slider Foam grip Saddle End cap Pop-pin knob Allen bolt 9L/R Pedal 1each... -
Page 5: Assembly Instructions
ASSEMBLY INSTRUCTIONS Step A: Install the Front stabilizer (2) and Rear stabilizer (3) to the Main frame (1) with the Bolts (14) and Flat washers (13). Please make sure that the Leveler feet are on the bottom and the transportation wheels are facing up and towards the front of the bike. - Page 6 Step C: Lock the Saddle (7) on the Seat slider (6) tightly with wrench. Adjust the front & back distance of Seat slider (6), then lock the Seat slider (6) on the Seat post (5) tightly with Pop-pin knob (8). Insert the Seat post (5) to the rear upright tube of Main frame (1), then adjust the height properly and lock them tightly with Pop-pin knob (8).
-
Page 7: Operation
OPERATION Leveling the Bike This bike can be leveled to compensate for uneven surfaces. level the bike, please raise or lower four leveler feet located on the underside of the front and rear stabilizers (Fig.1). Resistance Adjustment Pedaling resistance is controlled by the tension control knob (Fig.2). To increase resistance turn the tension control knob clockwise (+). -
Page 8: Handlebar Adjustment
Handlebar Adjustment Loosen and pull the pop pin (Fig.5), then raise or lower the handlebar to the desired position for a more efficient & comfortable ride. Make sure the pop pin settles into the desired hole and then secure it firmly. Pedal Strap Adjustment Place the ball of each foot in the toe clip until the front of the shoe fits snugly in the toe clip cage.
Need help?
Do you have a question about the SF-B1001 and is the answer not in the manual?
Questions and answers