Table of Contents
Advertisement
Quick Links
Download this manual
See also:
Installation Manual
Quick Guide
XX268-30-01
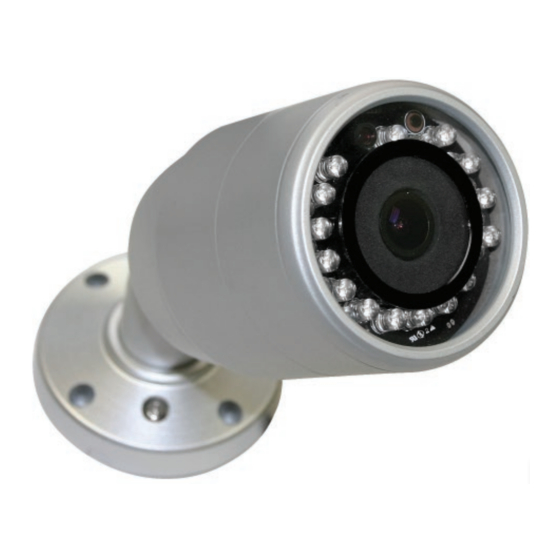
CE102B Network Outdoor
Bullet Camera
Vicon Industries Inc.
Tel: 631-952-2288 Fax: 631-951-2288 Toll Free: 800-645-9116
24-Hour Technical Support: 800-34-VICON (800-348-4266) UK: 44/(0) 1489-566300
Vicon Industries Inc. does not warrant that the functions contained in this equipment will meet your requirements or that the
operation will be entirely error free or perform precisely as described in the documentation. This system has not been designed
to be used in life-critical situations and must not be used for this purpose.
www.vicon-security.com
Document Number: 8009-8268-30-01
Issued: 614
Product specifications subject to change without notice.
Copyright © 2014 Vicon Industries Inc. All rights reserved.
Advertisement
Table of Contents

Related Manuals for Vicon CE102B


Summary of Contents for Vicon CE102B
-
Page 1: Bullet Camera
24-Hour Technical Support: 800-34-VICON (800-348-4266) UK: 44/(0) 1489-566300 Vicon Industries Inc. does not warrant that the functions contained in this equipment will meet your requirements or that the operation will be entirely error free or perform precisely as described in the documentation. This system has not been designed to be used in life-critical situations and must not be used for this purpose. -
Page 2: Quick Installation Guide
Quick Installation Guide 1. Description The information in this manual provides quick installation and setup procedures for the CE102B-NIR Bullet Camera. These units should only be installed by a qualified technician using approved materials in conformance with federal, state, and local codes. Read these instructions thoroughly before beginning an installation. -
Page 3: Camera Installation
Quick Installation Guide 2. Installation 2.1 Camera Installation Base Installation 1. Create a hole in the mounting surface for the cables. Route the necessary cables to the mounting location. 2. Secure the camera mounting base to the wall or ceiling using the screws supplied in the accessory kit. - Page 4 Quick Installation Guide Camera Dimension See the diagrams below for the exact dimension Dimensions Unit: mm 2.2 Connections • Connection Cable Name Description Power Cable Cable for Power source (DC 12V) Ethernet Cable Cable for Ethernet (POE)
- Page 5 Quick Installation Guide • Connecting to the RJ-45 Connect a standard RJ-45 cable to the network port of the network camera. Generally a cross-over cable is used for directly connection to PC, while a direct cable is used for connection to a hub or switch.
-
Page 6: Network Connection And Ip Assignment
Quick Installation Guide 2.2 Network Connection and IP assignment The network camera is designed for use on an Ethernet network and requires an IP address for access. Most networks today have a DHCP server that automatically assigns IP addresses to connected devices. -
Page 7: Operation
Quick Installation Guide 3. Operation The network camera can be used with Windows® operating system and browsers. The recommended browsers are Internet Explorer®, Safari®, Firefox®, Opera® and Google® Chrome® with Windows. Note: To view streaming video in Microsoft® Internet Explorer, set your browser to allow ActiveX controls. -
Page 8: Access From The Internet
Quick Installation Guide 3.2. Access from the internet Access from the internet once connected, the Network Camera is accessible on your local network (LAN). To access the network camera from the Internet you must configure your broadband router to allow incoming data traffic to the network camera. To do this, enable the NAT-traversal feature, which will attempt to automatically configure the router to allow access to the network camera. -
Page 9: Control Toolbar
Quick Installation Guide The protocol drop-down list allows you to select which combination of protocols and methods to use depends for your viewing requirements and on the properties of your network. 2) Control toolbar The live viewer toolbar is available in the web browser page only. It displays the following buttons: The Stop button stops the video stream being played. -
Page 10: Resetting To The Factory Default Settings
Quick Installation Guide 3.5 Network Camera Setup This section describes how to configure the network camera, and is intended for product Administrators, who have unrestricted access to all the Setup tools; and Operators, who have access to the settings for Basic, Live View, Video & Image, Event, and System Configuration. You can configure the network camera by clicking Setup in the top right-hand corner of the Live View page. -
Page 11: More Information
Quick Installation Guide Switch off the network camera by disconnecting the power adapter. Remove the front cap of the camera. Press and hold the Reset button while reconnecting the power. Keep the Reset button pressed for at least 2 seconds. Release the Reset button. - Page 12 Vicon Industries Inc. Internet Address: www.vicon-security.com CE102B Network Outdoor Bullet Camera 50303748B...
Need help?
Do you have a question about the CE102B and is the answer not in the manual?
Questions and answers