Table of Contents
Advertisement
Quick Links
INSTALLATION MANUAL
MODEL: FSR-3000
English
Français
2−13
15−26
Safety Instructions .............................................................................................. 2
Name of Parts ..................................................................................................... 4
Size & Dimensions .............................................................................................. 4
Range Hood Location ......................................................................................... 5
Installation ........................................................................................................... 6
1. Preparation ................................................................................................. 6
2. Range Hood Mounting ............................................................................. 10
3. Connecting Power Supply Wires .............................................................. 11
4. Final Assembly and Check ....................................................................... 12
Explanation to the End User ............................................................................. 13
Circuit Diagram ................................................................................................. 13
READ AND SAVE THESE INSTRUCTIONS.
Keep this manual in a convenient place for future reference.
FUJI INDUSTRIAL CO., LTD.
Range Hood
FSR-3600
FSR-4200
Español
28−39
TABLE OF CONTENTS
41−52
1U030383
Advertisement
Table of Contents

Subscribe to Our Youtube Channel
Related Manuals for Fujioh FSR-3000


Summary of Contents for Fujioh FSR-3000
-
Page 1: Table Of Contents
Range Hood INSTALLATION MANUAL MODEL: FSR-3000 FSR-3600 FSR-4200 English Français Español 2−13 15−26 28−39 41−52 TABLE OF CONTENTS Safety Instructions ....................2 Name of Parts ..................... 4 Size & Dimensions ....................4 Range Hood Location ..................5 Installation ......................6 1. -
Page 2: Safety Instructions
SAFETY INSTRUCTIONS Before installation and operation, read these instructions carefully and use this product only in the manner described by the manufacturer in the operation manual. The instructions shown below are used to alert you to potential personal injury and property damage hazards. - Page 3 CAUTION 1. For general ventilating use only. Do not use to exhaust hazardous or explosive material and vapors. 2. To reduce the risk of fire and to properly exhaust air, be sure to duct air outside. Do not vent exhaust air into spaces within walls, ceilings or into attics, crawl spaces or garages. 3.
-
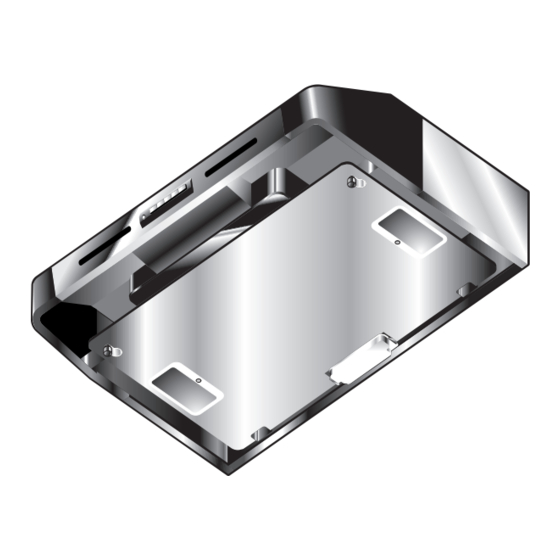
Page 4: Name Of Parts
Duct Joint (rectangular) Accessories Screw Soft Tape Cover Plate Washer Head (× 4 pcs.) (× 1 pc.) (× 1 pc.) Wood Screw (× 6 pcs.) SIZE & DIMENSIONS Dimensions (in inches) Model FSR-3000 29-7/8" FSR-3600 35-7/8" FSR-4200 41-7/8" (Unit : inch) -
Page 5: Range Hood Location
The minimum distance from the cooking surface to the bottom of the range hood must be 24". The total weight of the FSR series range hoods are: FSR-3000 ---------- 35 lbs. (16 kg) FSR-3600 ---------- 37 lbs. (17 kg) FSR-4200 ---------- 40 lbs. (18 kg) Power requirements are: AC120 V, 60 Hz, 1.9 Amp... -
Page 6: Installation
INSTALLATION 1. PREPARATION WARNING : • If the range hood is not installed properly, it could become detached and fall off. • Ensure that the metal duct does not touch other metal housing materials, otherwise fire or electric shock could result. This range hood can discharge upward or backward. - Page 7 3¼" × × × × × 10" Horizontal Ducting 7" Round Vertical Ducting...
- Page 8 Run house wiring between service panel and hood location. Prepare the range hood. (1) If you want to use the rectangular duct 7" Round Duct Joint joint, remove the 7" round duct joint on the top plate of the body by removing 2 fixing screws.
- Page 9 In Case of 3¼"× × × × × 10" Vertical Discharge Soft Tape Mount the supplied 3¼"×10" rectangular duct joint on the top plate with 4 screws (2 pieces: removed in Step 4-1, the others: The wider supplied). side comes in front Then attach the supplied soft tape around the duct joint.
-
Page 10: Range Hood Mounting
2. RANGE HOOD MOUNTING Referring to “SIZE & DIMENSIONS”, insert 4 washer head wood screws into the bottom plate of the cabinet. Marking before screwing is recommended. Allow about ¼" between the bottom plate and screwheads for hanging the hood body. While inserting the duct joint into the duct end, hook the temporary fixing holes of the body on the screws, then... -
Page 11: Connecting Power Supply Wires
3. CONNECTING POWER SUPPLY WIRES WARNING : • Electrical wiring should be done by a qualified person(s) in accordance with all-applicable codes and standards, including fire-rated construction. An unqualified person doing the work could result in fire, electric shock or injury. •... -
Page 12: Final Assembly And Check
Connect the electrical wires as follows: Connect wires tightly and securely using wire connectors (not supplied). Range Hood Conduit • Black to Black • White to White • Green to Green Wire Connector (not supplied) Wire Wire (unit side) (conduit side) Make sure that all wires are connected properly and enclosed inside of the wiring compartment. -
Page 13: Explanation To The End User
Explanation to the End User (1) Referring to the Operation Manual, explain the operation of this range hood to end users. (2) The Installation Manual and Operation Manual should be given to the end user. CIRCUIT DIAGRAM Indicating Lamp Control Switch AC125V 3A Lock Lock Release...
Need help?
Do you have a question about the FSR-3000 and is the answer not in the manual?
Questions and answers