Table of Contents
Advertisement
Quick Links
Advertisement
Table of Contents

Subscribe to Our Youtube Channel
Related Manuals for Fujioh FR-SD2290V


Summary of Contents for Fujioh FR-SD2290V
- Page 1 Cooker Hood Instruction Manual FR-SD2290V...
-
Page 2: Table Of Contents
Warning Contents ● This appliance is not intended for use by persons (including children) with reduced physical, Warning sensory or mental capabilities, or lack of experience and knowledge, unless they have been given supervision or instruction concerning use of the appliance by a person responsible for their safety. -
Page 3: Safety Warning
Packing list Safety warning The appliance is not intended for use by young children or infirm The following product components are attached to the product package.Please check them after opening. If they are not persons without supervisions. complete,please contact the service center or dealers. ... -
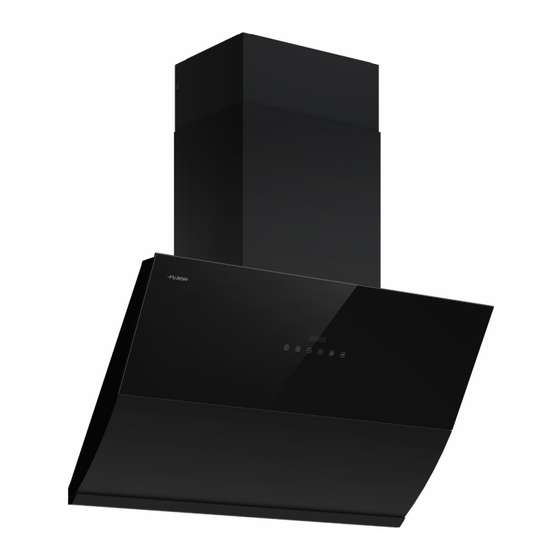
Page 4: Product Structure Schematic
Product structure schematic Installation guide To determine the location (unit: mm) The range hood machine should be installed horizontally and Slide duct cover above the cooker. The installation diagram is as follows. Duct cover Main unit Control switch LED light Oil tray Installation precautions Outline dimension... - Page 5 Slide duct cover fixing bracket Center line Plastic expansion pipe Plastic expansion pipe Screws Screws Center line Plastic expansion Hanging bracket pipe Cooker hood buttom Cooker hood buttom Use 2 ST5x50 screws to attach the slide duct cover fixing bracket to the wall. Drill holes with 10mm diameter and 55mm depth on the 4 Slide duct cover ST5x50 screws...
- Page 6 Warning Place gasket at exhaust outlet (may need to remove Do not connect the power cable to the surface of the flexible tube duct. screws in advance) as shown below. Make sure the Otherwise, fire or electric shock may occur. gaskets are aligned correctly.
-
Page 7: Control Panel Operation
Control panel operation Long press "Heat clean" button for 3s in standby state to start heat clean. The button will flash and screen will display 30 minutes count down. The process is 10mins heating→5mins F01 running→10mins heating→5mins Heat Clean F01 running. When finished, the cooker hood will turn off. Timer High Power... -
Page 8: Maintenance
2. When cleaning the grease filter, do not use strong alkaline detergent. It is recommended to clean the NOTE: grease filter at least once a month. Any electrical repairs to this appliance must conform to your local, state and federal laws. Please contact the service centre Oil tray cleaning if in any doubt before undertaking any of the above actions. -
Page 9: Electrical Schematic Diagram
Electrical schematic diagram L Brown N Blue E Yellow and green motor Specifications Rated voltage Power consumption Air flow Sound Speed (m³/h) (dB) Boost 1020 Boost 1025 Boost 1025 LED light information Max Power Voltage Picture Lamp Cap Square / Dimension: 170mm x 23mm ——...
Need help?
Do you have a question about the FR-SD2290V and is the answer not in the manual?
Questions and answers