Table of Contents
Advertisement
Quick Links
Owner's Manual
Manual Del Propietario
Vacuum Cleaner
®
Aspiradora
Model, Modelo
116.34722
116.34723
CAUTION:
Read and follow all
safety and operating
instructions
before first
use of this product.
CUIDADO:
Lea y sigua todas las
instrucciones
de operaci6n
y seguridad antes del uso de
este producto.
Sears, Roebuck and Co., Hoffman
Estates, IL 60179 U.S.A.
www.sears.com
Impreso en Mexico
Part No. CO1ZCGY10U00
- KCO1ZCGYZOU0
Printed in Mexico
Advertisement
Table of Contents

Related Manuals for Kenmore ASPIRADORA 116.34722


Summary of Contents for Kenmore ASPIRADORA 116.34722
- Page 1 Owner's Manual Manual Del Propietario Vacuum Cleaner Aspiradora 116.34722 Model, Modelo 116.34723 CAUTION: Read and follow all safety and operating instructions before first use of this product. CUIDADO: Lea y sigua todas las instrucciones de operaci6n y seguridad antes del uso de este producto.
-
Page 2: Table Of Contents
You will need the complete model and serial numbers when requesting um's model and serial numbers are located on the Model and Serial Number Plate. Use the space below to record the model number and serial number of your new Kenmore vacuum. Model No. -
Page 3: Important Safety Instructions
Yoursafety is important to us.To reduce the risk of fire, electrical to persons or damage when using your vacuum cleaner, follow basic safety pre- cautions including the following: Read this manual before assembling using your vacuum cleaner. Use your cleaner only as described this manual. -
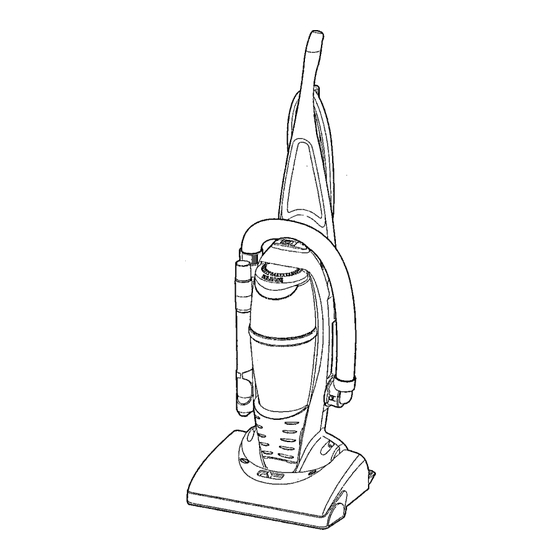
Page 4: Parts And Features
Item Part No. In U.S. Exhaust Filter 20-86880 Headlight Bulb 20-5248 Belt 20-5275 Brush Release Button Motor Protector Release Pedal Part No. It is important cleaner's parts and features to assure In Canada its proper and safe use. Review these 20-86880 before using your cleaner. -
Page 5: Operating Instructions
Make sure the power cord is placed into the locking notch. This helps keep the power cord out from under the vacuum cleaner agitator. "click" Wrap the power cord around the upper and lower cord hooks and... -
Page 6: Some Models
SOME MODELS To select a pile height setting: Turn off cleaner. Select a pile height setting by tilting the cleaner back until front wheels are lifted slightly off the floor as illustrated. Slide the adjustment lever to the correct setting, Models with no selector adjust automatically for varying carpet heights. -
Page 7: Attachments
The attachments can be added to the hose if the item to be cleaned is not far from the cleaner. • CAUTION DO NOT pull the vacuum cleaner around the room by the hose. Property damage could result. ATTACHMENT DUSTING... -
Page 8: Vacuuming Tips
Carpet edges Guide either side or the front of the nozzle along a baseboard. The full width agitator brushes help remove dirt at carpet edges. Note: When using attachments sure the cleaner is in the upright position. , WARNING Personal Injury Hazard Use care if vacuum cleaner is placed on stairs. -
Page 9: Vacuum Cleaner Care
VACUUM CLEANER CARE Always follow all safety precautions cleaning and servicing the vacuum cleaner. Operating _oI Position Handle Release Button Position Storage Unplug cord from wall outlet. Clean exterior using a clean, soft cloth that has been dipped in a solution of mild liquid detergent and water, then wrung dry. -
Page 10: Dust Bin Cleaning
Always empty the dust bin when dirt level reachesthe "MAX FILL" line. WARNING Electrical Shock And Personal Injury Hazard Always unplug power cord from elec- trical outlet before performing service on vacuum. TO REMOVE DUST Remove dust bin assembly from cleaner by lifting the release lever as shown. -
Page 11: Dust Bin Assembly
Primary Filter The Lid houses the filter. Filter Filter traps dirt and debris that is picked up by the suction motor. Filter Screen The filter screen traps larger particles of dirt and debris from reachLng the filter. Dust Bin Captures dirt and debris picked up from the suction motor. -
Page 12: Dust Bin Filter Changing/Cleaning
Check primary filter frequently and clean when dirty. Remove the dust bin assembly as outlined in the DUST BiN CLEANING section and empty contents of dust bin. Make sure dust bin is empty before filter is removed. Grasp filter screen, rotate counter-clockwise and lift out. -
Page 13: Filter Replacement
/--Primary Lid -- Filter Scree_ Exhaust \__l Before replacing the filter it is a good idea to clean the inside of the dust bin and lid area. Rotate filter clockwise until slots lock onto tabs in lid. NOTE: Under normal use and care, your fil- ter can be expected to last up to 3 years. -
Page 14: Replacing Headlight Bulb
Light Lens Ensure ON-OFF switch is OFE Disconnect power cord from electrical Press handle release pedal and rotate the handle down so the cleaner is laying flat on the floor. Pry out light lens at slots. Remove old bulb from the socket by pulling from socket. Replace bulb by pressing into socket. - Page 15 Carefully remove any residue that may exist in the belt area. • WARNING ersonal injury Hazard Always unplug the vacuum cleaner before cleaning the brush area as agitator may suddenly restart. Failure to do so can result in per- sonal injury.
- Page 16 Remove the agitator to check for string and hair build-up. NOTE: In order to keep cleaning efficiency high and to prevent damage to your vacu- um, the aqitator must be cleaned every time the belt is chanqed. The agitator must also be cleaned accord- ing to the following schedule: Vacuum...
-
Page 17: Cleaning Exterior
Disconnect wand from connector pipe and nozzle hose, check the wand and hose. Plug in vacuum cleaner and turn on. Disconnect wand and stretch hose in and out to remove clog. If clog still exists, turn... -
Page 18: Troubleshooting
Review this chart to find do-it-yourself needed, other than those described service center. WARNING Electrical Disconnect electrical to do so could result POSSIBLE CAUSE PROBLEM Cleaner will 1. Unplugged at wall outlet. not run. 2. ON-OFF switch not turned on. 3. - Page 19 For repair - in your home - of all major brand appliances, lawn and garden equipment, no matter who made it, no matter For the replacement parts, accessories and owner's manuals that you need to do-it-yourself. i!iiiiiii!ii!ii!_ _;_._; For Sears professional _;_ii_ and items like garage door openers 1-800-4-MY-HOME ®...
Need help?
Do you have a question about the ASPIRADORA 116.34722 and is the answer not in the manual?
Questions and answers