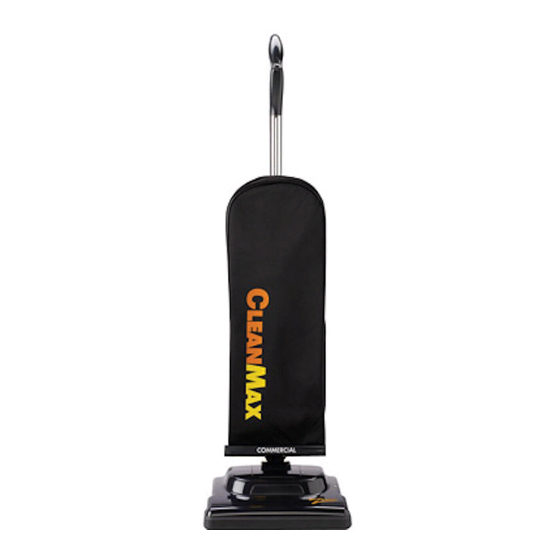
Summary of Contents for CleanMax Zoom
- Page 1 LEAN PRO-SERIES LEAN LEAN LEAN Owner’s Manual for the LEAN models ZM-200, ZM-400 and ZM-600...
- Page 3 Please fill out warranty information located on the Owner’s Information Section and keep it for your records. Key Replacement Parts Genuine Zoom HEPA Vacuum Bags: CMZM-H6 Genuine Zoom Paper Vacuum Bags: CMZM-P6 Genuine Zoom Vacuum Belts: CMZM-B2...
-
Page 4: Table Of Contents
Contents Getting Started Important Safety Instructions Grounding Instructions Assembling the Vacuum Vacuum Features On/Off Switch Edge Cleaning Automatic Carpet Height Adjustment Bare Floor Cleaning Jam Indicator How To Change the Vacuum Bag Remove/Install the Bottom Plate Change the Belt 14-15 Replace the Squeegee Reset the Circuit Breaker Owner’s Information... -
Page 5: Important Safety Instructions
IMPORTANT SAFETY INSTRUCTIONS When using an electrical appliance, basic precautions should always be followed, including the following: READ ALL INSTRUCTIONS BEFORE USING THIS APPLIANCE WARNING: The manufacturer cannot accept responsibility for damage caused when the appliance is not used according to the instructions, or for uses other than those for which it was intended. -
Page 6: Grounding Instructions
Grounding Instructions This vacuum cleaner must be grounded. If it should malfunction or break down, grounding provides a path of least resistance for electric current to reduce the risk of electric shock. This vacuum cleaner is equipped with a cord having an equipment-grounding conductor and grounding plug. -
Page 7: Assembling The Vacuum
Assembling the Vacuum Nozzle Cloth bag Power cord ZM-200 Handle ZM-400 and ZM-600 Handle Important Note Under no circumstances should you plug in the vacuum cleaner prior to complete assembly. Model ZM-200 The vacuum cleaner handle is packed as a separate component that requires assembly. - Page 8 Assembling the Vacuum Model ZM-200 cont. 3. Place the handle bracket back into position (Fig. 3). 4. Secure with two screws removed in step 1. Positioning the Power Cord Fig. 3 1. Loosen, but do not remove, the screw holding the upper cord hook (Fig.
- Page 9 Assembling the Vacuum Models ZM-400 and ZM-600 The vacuum cleaner handle is packed as a separate component that requires assembly. Fig. 7 Fig. 6 Installing the Handle 1. Release the handle bracket from the handle tube by removing the two screws (Fig.
-
Page 10: Vacuum Features
Vacuum Features On/Off Switch NOTE: There are two different on/off switch configurations depending on the model you own. Identify your vacuum cleaner model and see the corresponding on/off switch operating instructions below. Model ZM-200 – On/Off switch on base Fig. 10 Locate the switch on the back side of the nozzle to the left of the handle tube (see Fig. -
Page 11: Edge Cleaning
Turn vacuum back on. If the brushroll is free of any object and the “brushroll warning” light is still lit, it’s Fig. 14 likely the clogged condition is located in the vacuum motor fan. If so, please return to the place where you purchased your CleanMax vacuum for assistance. -
Page 12: How To
How To Change the Vacuum Bag CAUTION: First, unplug the vacuum cleaner from the electrical outlet. 1. Unzip outer cloth bag (Fig. 15). 2. Remove used bag by pressing the bag holder tab and pulling bag off vacuum (Fig. 16). Discard Fig. -
Page 13: Remove/Install The Bottom Plate
How To Remove/Install the Bottom Plate CAUTION: First, unplug the vacuum cleaner from the electrical outlet. To remove bottom plate 1. After unplugging the power cord, turn the vacuum cleaner over, exposing the Fig. 18 underside. 2. Press the two holding tabs inward (Fig. -
Page 14: Change The Belt
How To Change the Belt – Model ZM-200 and ZM-400 CAUTION: First, unplug the vacuum cleaner from the electrical outlet. 1. Turn the unit over and remove the bottom plate (see “How to Remove Bottom Plate”). Fig. 20 2. Remove the brushroll and the worn or broken belt from the brushroll pulley and the motor drive shaft (Fig. -
Page 15: Change The Belt
How To Change the Belt – Model ZM-600 CAUTION: First, unplug the vacuum cleaner from the electrical outlet. 1. Turn the unit over and remove the bottom plate (see “How to Remove the Bottom Plate”). 2. Remove the brushroll and the worn or Fig. -
Page 16: Replace The Squeegee
“How to Install Bottom Plate”), reset the circuit breaker by pressing the Circuit Breaker Reset Button (Fig. 27), plug in power cord, and turn unit on. If the unit fails to turn on, return to the place where you purchased your CleanMax vacuum for assistance. -
Page 17: Owner's Information
Telephone _______________________________________________________ Your CleanMax vacuum cleaner is a product of high quality materials and superior workmanship. We urge you to read these operating instructions carefully before you use this vacuum cleaner, in order to obtain the full performance and satisfaction it can offer you. -
Page 18: Warranty
This warranty covers any defects in material and workmanship in your new CleanMax vacuum. How Long Coverage Lasts: Warranty coverage for your CleanMax vacuums lasts one year. 1 Year Belt Warranty - Model ZM-600 only: Your vacuum belt is covered with a 1 year warranty. Should the belt break, simply bring your vacuum or the broken belt to the place where you purchased your CleanMax vacuum. - Page 19 Notes...
- Page 20 PRO-SERIES LEAN LEAN CleanMax Vacuum Cleaners PO Box 730 Fenton, MO 63026 LEAN B503-3600B...


Need help?
Do you have a question about the Zoom and is the answer not in the manual?
Questions and answers