Table of Contents
Advertisement
Advertisement
Table of Contents

Summary of Contents for CleanMax zoom
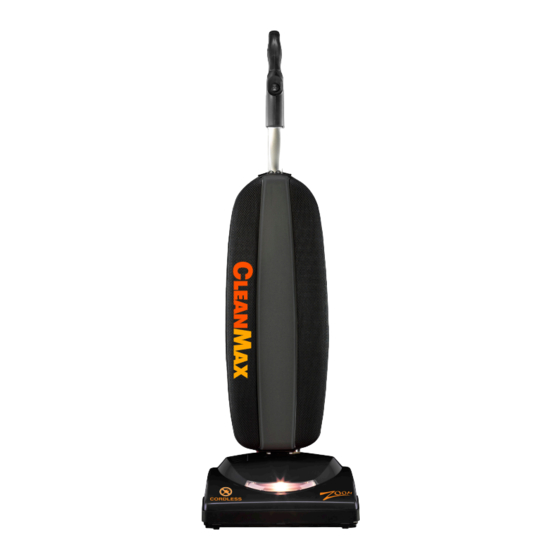
- Page 1 Owner’s Manual for the Cordless Cordless Model ZM-800...
- Page 2 Congratulations! You have purchased a vacuum cleaner that will provide efficient, dependable service. Your CleanMax vacuum cleaner is made using high quality materials and superior workmanship. Please read these operating instructions carefully before you use your vacuum. IMPORTANT: To activate your warranty, within 30 days of purchase, please register your warranty online at cleanmaxvacuums.com.
-
Page 3: Table Of Contents
CONTENTS Getting Started Important Safety Instructions Polarization Instructions Description of the Vacuum Assembling the Vacuum Operation Battery Charging Battery Life Display Reclining the Handle On/Off Switch Edge Cleaning Automatic Carpet Height Adjustment Bare Floor Cleaning Vacuuming Under Furniture Maintenance and Care Replacing the Vacuum Bag Removing and Reinstalling the Battery Removing and Reinstalling the Bottom Plate... -
Page 4: Important Safety Instructions
Authorized CleanMax Retailer for service. • Do not charge the unit outdoors. • Do not pull or carry charger by cord, use cord •... -
Page 5: Polarization Instructions
POLARIZATION INSTRUCTIONS Power Cord, 2-Wire Polarized Cord This product is equipped with a polarized alternating current line plug (a plug having one blade wider than the other). This plug fits into the power outlet only one way. This is a safety feature. -
Page 6: Description Of The Vacuum
DESCRIPTION OF THE VACUUM Ergonomic Handle TACONY CORPOR MATERIAL FINISH On/Off Power Switch 1760 Gilsinn Lane, Fenton, MO 63026 DRAWN DATE Bag Compartment UNLESS OTHERWISE SPEC ISSUED DATE .5 mm RADII X.X .5mm Vacuum Nozzle X.XX .25mm X.XX .25mm X.XXX .12mm MACHINE SURFACE SCALE X.XXXX... -
Page 7: Assembling The Vacuum
ASSEMBLING THE VACUUM Attaching the Handle to the Vacuum NOTE: Do not turn on the vacuum until it is completely assembled. The vacuum cleaner and the handle are packed separately and require assembly. • Remove the handle bracket by removing the two screws (Fig. -
Page 8: Operation
OPERATION Battery Charging • The battery is located on the back of the vacuum. It can be charged while installed on the vacuum, or the battery can be removed from the vacuum and charged independently (see Removing and Reinstalling the Battery (page 10). Fig. -
Page 9: On/Off Switch
OPERATION On/Off Switch • Turn the switch On to use the vacuum. If the vacuum doesn’t turn on, check that the battery is charged (see page 6). • Always unplug the charger from the Charge Point before use. Edge Cleaning The edge cleaning feature provides improved cleaning near walls and stationary furniture. -
Page 10: Bare Floor Cleaning
OPERATION Bare Floor Cleaning Your vacuum is equipped with a squeegee to improve its effectiveness in cleaning bare floors (Fig. 1). Vacuuming Under Furniture MATERIAL DRAWN Your vacuum will lay flat on the floor for effective Fig. 1 ISSUED SCALE cleaning under beds and tables. -
Page 11: Maintenance And Care
MAINTENANCE AND CARE Replacing the Vacuum Bag NOTE: Turn the vacuum off and remove the battery. • Unzip the bag compartment. • Remove the used vacuum bag by pulling the green bag collar tab away from the vacuum (Fig. 1). Slide the Fig. -
Page 12: Removing And Reinstalling The Battery
MAINTENANCE AND CARE Removing and Reinstalling the Battery NOTE: Turn the vacuum off. If the battery charger is plugged into the charge point on the vacuum, remove the charger from the charge point before removing the battery. The battery can be removed and charged independently from the vacuum. -
Page 13: Removing And Reinstalling The Bottom Plate
MAINTENANCE AND CARE Removing and Reinstalling the Bottom Plate WARNING! To Reduce the Risk of Electrical Shock or Injury from Moving Parts, Turn the Vacuum Off and Remove the Battery Before Servicing or Cleaning the Vacuum. To Remove the Bottom Plate: •... -
Page 14: Replacing The Vacuum Belt
MAINTENANCE AND CARE Replacing the Vacuum Belt WARNING! To Reduce the Risk of Electrical Shock or Injury from Moving Parts, Turn the Vacuum Off and Remove the Battery Before Servicing or Cleaning the Vacuum. NOTE: To ensure maximum cleaning efficiency, the belt should be checked regularly to be sure it is in good condition. -
Page 15: Replacing The Squeegee
If your squeegee splits or begins to look worn, simply slide the worn squeegee from its track and slide a new one into the track. If you have MATERIAL trouble installing the new squeegee, please DRAWN visit an Authorized CleanMax Retailer for help. ISSUED SCALE 0.250... -
Page 16: For Best Performance
Owner’s information (keep this for your records) The model and serial number of this product may be found on the bottom of the unit. You should note the model and serial number of your unit in the spaces provided below, and retain this book as a permanent record of your purchase. -
Page 17: Warranty
This warranty covers any defects in material and workmanship in your new CleanMax vacuum. How Long Coverage Lasts: Warranty coverage for your CleanMax vacuum lasts one year. What is Not Covered: • Damage to the vacuum which occurs from neglect, abuse, alterations, accident, misuse or improper maintenance. - Page 20 CleanMax Vacuum Cleaners PO Box 730 Fenton, MO 63026 B503-0300...


Need help?
Do you have a question about the zoom and is the answer not in the manual?
Questions and answers
My cordless self propelled clean max won’t self propell