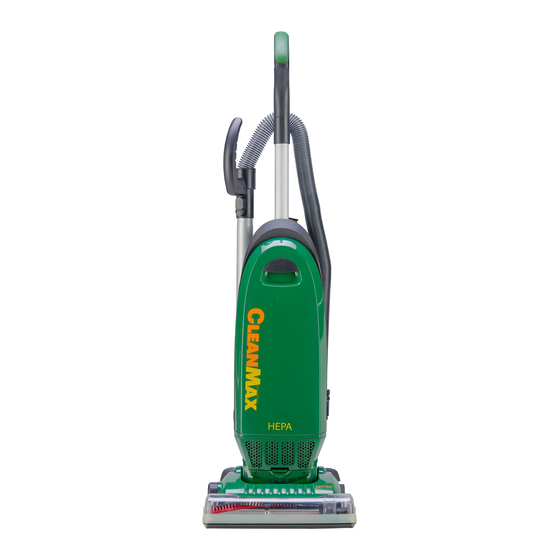
Summary of Contents for CleanMax CMNR-QD
- Page 1 LEAN OPERATING INSTRUCTIONS FOR C NITRO LEAN UPRIGHT VACUUM MODEL : CMNR-QD Before operating the vacuum, please read these instructions completely.
-
Page 2: Table Of Contents
For Best Performance Warranty Owner’s Information Save These Instructions Before you plug in your CleanMax vacuum cleaner, make sure the voltage indicated on the rating plate located on the back of the vacuum cleaner is the same as your local supply. -
Page 3: Important Safety Instructions
IMPORTANT SAFETY INSTRUCTIONS SAVE THESE INSTRUCTIONS. WARNING! To reduce the risk of fire, electric shock, or injury: 1. Do not leave appliance unattended when plugged in. Unplug from outlet when not in use and before servicing. 2. WARNING: ELECTRIC SHOCK COULD OCCUR IF USED OUTDOORS OR ON WET SURFACES. 3. -
Page 4: Grounding Instructions
Grounding Instructions This appliance must be grounded. If it should malfunction or break down, grounding provides a path of least resistance for electric current to reduce the risk of electric shock. This appliance is equipped with a cord having an equipment-grounding conductor and grounding plug. The plug must be plugged into an appropriate outlet that is properly installed and grounded in accordance with all local codes and ordinances. -
Page 5: Parts Identification
• Genuine CleanMax Belts • Genuine CleanMax Paper Bags Part # CMNR-B2, 2 per package Part # CMP-12, 12 per package • Genuine CleanMax Filter Set • Genuine CleanMax HEPA Media Bags Part # CMNR-F Part # CMH-6, 6 per package... -
Page 6: How To Assemble And Operate The Vacuum
How to Assemble and Operate the Vacuum How to Attach the Handle to the Vacuum Cleaner The vacuum and the handle are packed separately. 1. After first removing the handle screw, slide the handle into the slot on top of the vacuum cleaner. 2. -
Page 7: How To Attach The Extension Power Cord
How to Attach the Extension Power Cord How to Attach the Extension Power Cord to the Cord Lock 1. Connect the extension power cord to the pigtail cord on the vacuum. 2. Snap the extension power cord into the slot on the end of the cord lock. -
Page 8: How To Change The Filters
How to Change the Filters Your vacuum cleaner is equipped with a secondary filter and a HEPA media filter. These filters capture fine dust particles and protect the motor from dirt. Accumulated dirt in the bag compartment will be collected on the filters and may restrict motor performance. -
Page 9: How To Replace The Vacuum Belt
cleaner face down, in a flat position on a soft ensuring th Removing brush bar and belt surface (eg. carpet). Pass the rot belt. Using a cross-headed screwdriver, unscrew the 5 ensuring the Removing brush bar and belt screws on the base of the cleaner to release the belt. -
Page 10: Thermal Motor Protection
Thermal Motor Protection Your CleanMax vacuum cleaner is equipped with a thermal protector designed to protect your vacuum cleaner from overheating due to restricted airflow (i.e. clogged hose). Should this situation occur, the thermal protector will automatically shut off the motor to prevent damage. -
Page 11: Troubleshooting
• Replace the bag when it is 2/3 full. • Replace the filters once a year or as needed. • Always use genuine CleanMax filters and parts, as use of other products may result in poor cleaning or filtration performance. CleanMax filtration products are designed for maximum performance. -
Page 12: Warranty
How to Get Service: Warranty service can only be obtained by presenting the vacuum to a CleanMax Service Center. A proof-of- purchase and product serial number will be required before service is rendered. THIS WARRANTY IS EXCLUSIVE AND IN LIEU OF ANY AND ALL OTHER WARRANTIES WHETHER WRITTEN, ORAL, EXPRESSED OR IMPLIED, (INCLUDING ANY WARRANTY OF MERCHANTABILITY OR FITNESS FOR A PARTICULAR PURPOSE).


Need help?
Do you have a question about the CMNR-QD and is the answer not in the manual?
Questions and answers