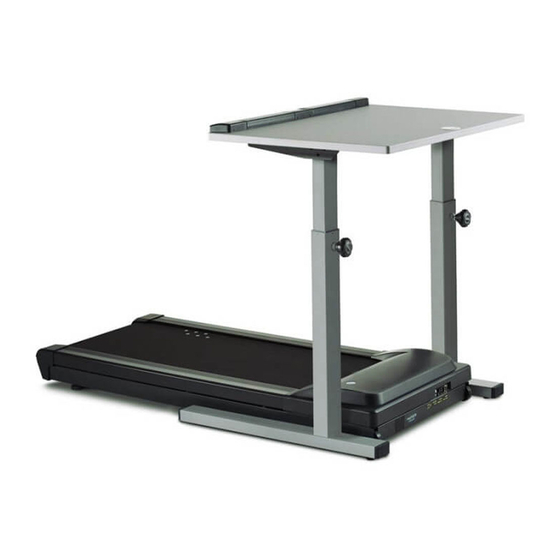
LifeSpan Workplace DT-3 Owner's Manual
Treadmill/bike desks
Hide thumbs
Also See for Workplace DT-3:
- Owner's manual (36 pages) ,
- Quick start (2 pages) ,
- Owner's manual (16 pages)
Table of Contents
Troubleshooting

Related Manuals for LifeSpan Workplace DT-3


Summary of Contents for LifeSpan Workplace DT-3
-
Page 1: Table Of Contents
Assembly Instructions Desk Leveling and Height Adjustment DT-7 Desk Assembly Instructions Desk Leveling and Height Adjustment OWNERS MANUAL DT-5 Manual Treadmill Desk Assembly Treadmill/Bike Desks: DT-3/DT-5/DT-7 DT-7 ElectricTreadmill Desk Assembly DT-3 Console Assembly Treadmill Desk Operations Console Overview Innovative Features Troubleshooting... -
Page 2: Welcome
The periods above are based on the date of purchase. During these your desk at home or are adding another workspace in the office, periods, LifeSpan will repair or replace any defective part. Free labor is the LifeSpan Workplace products are a great way to add included for the first year on all parts that are not normally assembled movement to an otherwise sedentary activity. - Page 3 • This warranty is nontransferable from original owner. Registration (U.S. and Canada Only) You must register your LifeSpan product before a warranty claim can be processed. To complete your registration online, go to www.LifeSpanFitness.com and click on product registration or fill out the warranty card provided and mail today.
-
Page 4: Desk Assembly
Assembly Instructions DT-5 Desk: Assembly Instructions At LifeSpan we strive to make our equipment easy to assemble and start using. Parts that can be pre-assembled are always assembled and tested on the product line. Prior to starting the assembly process, take all the parts out of the box, remove plastic bags and lay everything out on the floor to become familiar with the components. -
Page 5: Desk
DT-5 Desk: DT-5 Desk: Assembly Instructions Assembly Instructions Step 1: Lift Frame Assembly Step 3: Desktop Assembly A. Position the lift frame (1), left A. Make sure the extension tube (B) is at level 15 (done in step 2C). base foot (3) and right base B. -
Page 6: Desk Leveling And Height Adjustment
DT-5 Desk: DT-5 Desk: Assembly Instructions Desk Leveling and Height Adjustment Step 4: Attach the Wire Cover to the Right Extension Tube Desk Leveling The desk needs to be leveled prior to use. The desk comes with two A. Simply snap the cover (11) over the right extension tube (B). The adjustable feet that can be used bottom of the cover will be resting on top of the stop bumper (D). - Page 7 DT-7 Desk: Assembly Instructions Assembly Instructions At LifeSpan we strive to make our equipment easy to assemble and start using. Parts that can be pre-assembled are always assembled and tested on the product line. Prior to starting the assembly process, take all the parts out of the box, remove plastic bags and lay everything out on the floor to become familiar with the components.
- Page 8 DT-7 Desk: DT-7 Desk: Assembly Instructions Assembly Instructions Step 1: Lift Frame Assembly Step 3: Desktop Assembly A. Position the lift frame (1), NOTE: It is a good idea to use two people for this portion of the left base foot (3) and right assembly in order to be sure wires are properly routed and do not get base foot (4) as shown in the pinched while installing the desktop.
-
Page 9: Desk
DT-7 Desk: DT-7 Desk: Assembly Instructions Desk Leveling and Height Adjustment Desk Leveling Step 4: Height Adjustment/Console Harness Connections The desk needs to be leveled prior to use. The desk comes with two A. Remove the two upper adjustable feet that can be used screws (13) attaching the to level the desk and eliminate access panel for the height... -
Page 10: Assembly Instructions
DT-5 Manual Treadmill Desk: DT-7 Electric Treadmill Desk: Assembly Instructions Assembly Instructions Treadmill to DT-5 Desk Assembly Treadmill to DT-7 Desk Assembly A. Position the pre-assembled treadmill as shown below. A. Position the pre-assembled treadmill as shown below. B. Lift the rear of the treadmill and roll it forward under the desk until B. -
Page 11: Console Assembly
Weight NOTE: Do not plug the power cord into the equipment until the console is connected. NOTE: All desk and DT-3 connectors plug into the bike D-connector the same way. Safety Key When using the DT-3 with a treadmill use safety key (F). - Page 12 Treadmill Desk Specifications Treadmill Desk Specifications Console DT-3 DT-5 DT-7 Readouts Time, Steps, Calories, Distance, Time, Steps, Calories, Distance, Time, Steps, Calories, Distance, Speed Speed Speed Display Bluetooth Mechanics and Performance DT-3 DT-5 DT-7 Speed Range 0.4 - 4.0 mph 0.4 - 4.0 mph...
-
Page 13: Console Overview
Treadmill Desk Console Overview Treadmill Desk Console Overview Starting the Treadmill Desk DT-3 1. Turn the On/Off switch located on the front right corner of the treadmill to the on position. 2. Make sure the safety key is installed on the console. -
Page 14: Innovative Features
The Intelli-Guard feature does not replace the Charging Port (DT-3 Only) – This port can be used to charge your use of your safety key or taking proper precaution in stopping the wireless mobile devices. -
Page 15: Troubleshooting
Treadmill Desk Troubleshooting Treadmill Desk Troubleshooting The LifeSpan Treadmill Desk is designed and manufactured to be Problem “Uart” appears in the display. reliable and easy to use. However, if you have a problem, these Solution Turn the treadmill desk power switch off. Unplug and troubleshooting steps may help you find the cause. -
Page 16: Personal Settings
LifeSpan reserves the right to make changes and improvements to our products without incurring any obligations to similarly WARNING – The audible alert is turned on from the alter any product purchased. -
Page 17: Bike Desk Operations
BIKE DESK OPERATIONS... - Page 18 Bike Desk Specifications Bike Desk Specifications Console DT-3 DT-5 DT-7 Readouts Time, Level, Calories, Distance, Time, Level, Calories, Distance, Time, Level, Calories, Distance, Speed Speed Speed Display Bluetooth Mechanics and Performance DT-3 DT-5 DT-7 Resistance Level 16 Levels 16 Levels...
-
Page 19: Console Overview
2. Enter/Mode – Press to switch between display readings (time, level, calories, distance, and speed). Holding the Enter/Mode button will Charging Port (DT-3 Only)– This port can be used to charge your wireless initiate a scan mode that rotates between display readouts every mobile devices. -
Page 20: Troubleshooting
Solution Unplug the power from the bike desk. Disconnect and Solution Log into your LifeSpan Fitness Club account. Click on the reconnect the console cable going into the bike desk. Frequently Asked Questions link located at the bottom Make sure the thumb screws are properly tightened. Plug of the homepage. -
Page 21: Personal Settings
NOTE: Depending on the firmware the console has will determine if all of the options listed above will be available. LifeSpan reserves the right to make changes and improvements to our products without incurring any obligations to similarly alter any product purchased.
Need help?
Do you have a question about the Workplace DT-3 and is the answer not in the manual?
Questions and answers