Table of Contents
Advertisement
Quick Links
Advertisement
Table of Contents

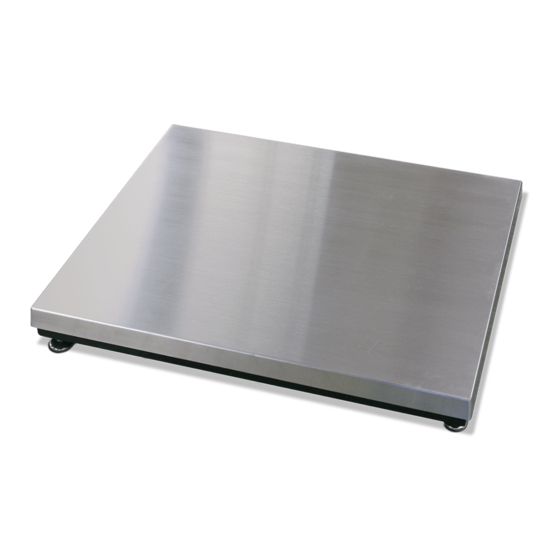
Summary of Contents for Rice Lake Benchmark LP
- Page 1 Benchmark LP Low-Profile Bench Scale Installation Manual 104742...
-
Page 3: Table Of Contents
Course descriptions and dates can be viewed at www.ricelake.com or obtained by calling 715-234-9171 and asking for the training department. © 2008 Rice Lake Weighing Systems. All rights reserved. Printed in the United States of America. Specifications subject to change without notice. - Page 4 Benchmark LP Manual...
-
Page 5: About This Manual
These procedures are to be performed by qualified service personnel only. Introduction The Benchmark LP is a four-cell, low-profile scale. Model Designations The model identification label is located on the side of Features include: the frame. Include both model number and serial •... -
Page 6: Installation
8. Replace the black scale cover and use the four mounting screws to secure it in place. 9. If necessary, perform a corner correction. See Section 3.2 on page 5. 10. Replace the summing board cover. 11. Replace the black center cover. 12. Set the stainless steel cover on the scale. Benchmark LP Manual... -
Page 7: Summing Board Security
Summing Board Security After an NTEP inspector has examined the unit, he/she will install security cables on the summing board cover. These cables prevent the summing board from being tampered with by an unauthorized individual. If these cables are removed, NTEP Certification will become void. Figure 2-2. - Page 8 2. If necessary, trim corners as described in Section 3.2 on page 5. 3. Check all strain relief for tightness. Figure 2-4. Homerun cable wired to summing board and secured with nylon ties Benchmark LP Manual...
-
Page 9: Adjustments And Calibration
Adjustments and Calibration Mechanical Adjustments To accommodate minor floor unevenness, scale feet can be used to adjust scale height up or down a fraction of an inch. Adjust the feet by hand (lift the scale corner slightly with a pry bar) until all feet are contacting the floor equally. -
Page 10: Calibration Procedure
2. With no load on the scale, place the indicator in its calibration mode and perform a zero calibration. 3. Place test weights on the platform not exceeding the scale's full capacity. If several weights are used, they should be evenly distributed around the platform. 4. Perform a span calibration. Benchmark LP Manual... -
Page 11: Service Information
Service Information Troubleshooting Guide Periodic Maintenance System does not operate—no display The space beneath the platform must be periodically cleaned to prevent debris buildup. • Power disconnected: Check and reconnect. Do not attempt to use scales with load • Indicator fuse blown. Replace fuse. Check for Caution cells that are not hermetically sealed in cause. -
Page 12: Load Cell Wiring To Summing Board
Load Cell corner numbering system shown in Figure 4-3 and the coloring code in Table 4-1. 100 lbs 96823 100272 250 lbs 96824 104645 500 lbs 96825 100273 1000 lbs 96826 100274 Table 4-2. Replacement load cells Benchmark LP Manual... -
Page 13: Benchmark Lp Limited Warranty
Benchmark LP Limited Warranty Rice Lake Weighing Systems (RLWS) warrants that all RLWS equipment and systems properly installed by a Distributor or Original Equipment Manufacturer (OEM) will operate per written specifications as confirmed by the Distributor/OEM and accepted by RLWS. All systems and components are warranted against defects in materials and workmanship for two years.


Need help?
Do you have a question about the Benchmark LP and is the answer not in the manual?
Questions and answers