Table of Contents
Advertisement
Quick Links
®
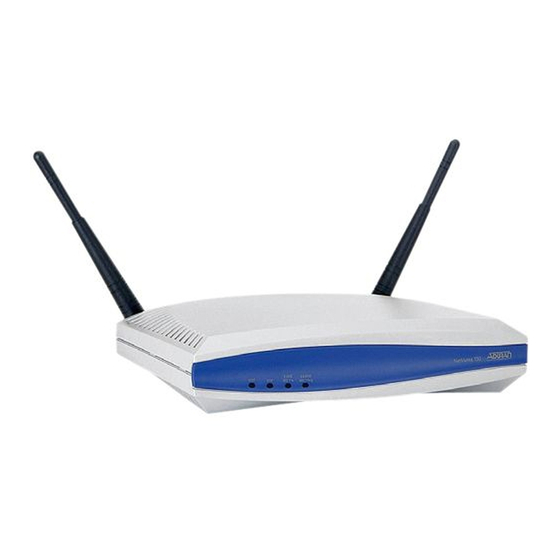
NetVanta 150 Wireless Access Point
Quick Start Guide
N
V
150 F
P
ET
ANTA
RONT
ANEL
N
V
150 R
P
ET
ANTA
EAR
ANEL
I
A
NSTALLING THE
NTENNAS
The NetVanta 150 unit ships with two dual-band RP-SMA detachable antennas. These must be
installed before operating the unit.
1.
Place either of the two antennas directly onto the antenna port on the rear panel labeled
Antenna 1. See Rear Panel figure above to locate the ports on the rear panel.
2.
Twist the antenna onto the threads until it is secure.
3.
Repeat step 2 with the second antenna, attaching it to the Antenna 2 port.
S
P
N
UPPLYING
OWER TO THE
The NetVanta 150 unit can be powered either by the Power over Ethernet (PoE) connection or
through the 12 VDC external supply. The external supply is not included in shipment of this unit but
can be requested from ADTRAN or your reseller.
C
N
V
ONNECTING TO THE
ET
ANTA
Using the provided Ethernet cable, connect the ETH 0/1 port on the back of the NetVanta 150 unit
to the Ethernet port of the NetVanta controlling unit or to an Ethernet port on a unit that is
accessible by the controlling unit .
Quick Start Guide, 61700412E1-13A, December 2006
Factory Default Switch
V
150 U
ET
ANTA
NIT
150 U
NIT
For more detailed documentation, visit us online at www.adtran.com.
The 10/100BaseT Ethernet interface (ETH 0/1) MUST NOT be metallically connected
to interfaces that connect to the Outside Plant (OSP) or its wiring. This interface is
designed for use as an intrabuilding interface only. The addition of primary protectors
is not sufficient protection to connect this interface metallically to OSP wiring.
A
C
CCESSING THE
ONFIGURATION
The web-based graphical user interface (GUI) for your NetVanta controlling unit contains a
configuration wizard that leads the user through the basic configuration of the dynamically
discovered access points. Refer to the Quick Start Guide shipped with your NetVanta controlling
unit for instructions on accessing the GUI and configuring the unit's IP address. From the initial GUI
screen, expand the Data tab on the right side of the screen. Select AC/AP under the Wireless
menu. Select the Wizard button next to the desired discovered access point.
P/N 1700412E1
W
IZARD
Wizard
Copyright © 2006 ADTRAN, All Rights Reserved
Advertisement
Table of Contents

Related Manuals for ADTRAN 1700412E1


Summary of Contents for ADTRAN 1700412E1
- Page 1 For more detailed documentation, visit us online at www.adtran.com. ® NetVanta 150 Wireless Access Point P/N 1700412E1 Quick Start Guide The 10/100BaseT Ethernet interface (ETH 0/1) MUST NOT be metallically connected to interfaces that connect to the Outside Plant (OSP) or its wiring. This interface is designed for use as an intrabuilding interface only.
- Page 2 ACTORY EFAULT WITCH More detailed documentation for configuring your ADTRAN unit is provided on the ADTRAN OS • If the factory default switch is pressed once, the unit will reboot. System Documentation CD included in the shipment of your NetVanta controlling unit. For more •...
Need help?
Do you have a question about the 1700412E1 and is the answer not in the manual?
Questions and answers