Table of Contents
Advertisement
Quick Links
Advertisement
Table of Contents

Related Manuals for Zavio D3100


Summary of Contents for Zavio D3100
- Page 1 86085H9000000...
-
Page 2: Table Of Contents
Zavio D3100/D3200 Quick Installation Guide Please follow the installation steps below to set up D3100 / D3200 Fixed Dome IP Camera. Check the package contents against the list below. See P.1 Physical overview. See P.2 I/O Terminal Block Circuit. See P.3 I/O Terminal Block Pin Definition. -
Page 3: Physical Overview. See
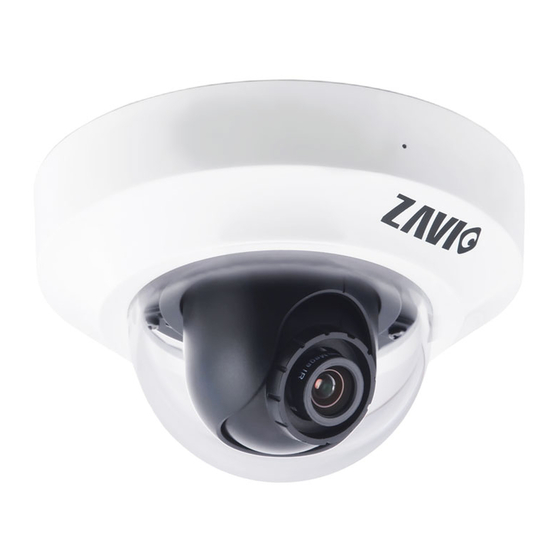
Physical overview Slide cover Built-in Microphone Top cover Dome bubble Routing hole Leave the slide cover if you would like to plug in cables through Mounting hole the side of top cover and through a hole on the ceiling or wall. External I/O connector Focus Adjustment Ring Ethernet / PoE... -
Page 4: I/O Terminal Block Circuit. See
I/O Terminal Block Circuit I/O Terminal Block Pin Definition This Camera provides a external I/O terminal block which is used to connect input/ output devices. The pin definitions are described below. Definition Description Max. V/A Ground 5V DC + 5V DC 0.5W Unbalanced, 1.4Vp-p, 1Vrms, terminal block AUDIO_In(+) -
Page 5: Led Indicator Definition. See
Power PoE (IEEE802.3af) with Class 3 Requirement PoE Mode Power D3100: 2.5W Consumption D3200: 5W Install the hardware and connect all cables a. Hardware Installing 1) Before connecting the Ethernet cable, please use one hand to hold top cover and another hand to press the bottom of camera. - Page 6 b. Wall mounting and Ceiling mounting 1) Attached the drill template to the wall. Drill three holes into the wall, which two for screws and one for cable (if you want to route cables through conduit hole). Then hammer the supplied plastic anchors into the screw holes and secure the plate with supplied screws.
- Page 7 c. Lens focus range Rotate 360° Tilt 79° Rotate Notice: DO NOT rotate the lens over 2 rounds. Doing so will damage the camera lens module. Pan 344° d. Completion The camera has only Power over Ethernet (PoE) built-in. (there is no DC connector inside.) 1.
-
Page 8: Access The Ip Camera Using Intelligent Ip Installer. See
e. Connect cables and power supply 1) Clean the dome bubble to remove the dust and finger print. 2) Align the slide cover down to the U-shape position. 3) Tighten the dome cover to the clockwise direction and make slide cover reaching the routing hole. Microsoft OS:Use the software CD to install Intelligent IP Installer Power on your PC and insert the CD-ROM. - Page 9 2. Click the Intelligent IP Installer Icon on your desktop. The main page will show up listing all active camera and video server devices. Select the relevant IP camera from the list and click Link to IE. 3. Enter your Username and Password to login to the IP Camera.
-
Page 10: Mac Os Using Safari Browser. See
7. Live video displays in the centre of your web browser. Mac OS using Safari Browser 2. Click Bonjour function and select the camera 1. Select Safari icon you wish to access. 3. Enter name and password to login to the IP 4. -
Page 11: Change The Web Interface Into Your Preferred Language. See
Lighting environment setting The default setting of lighting environment is Auto. However, you may also select 50 or 60 Hz upon the lighting environment of your country. Go to “Setting > Live View > Camera Setting > Image Setting”, select the environment setting you wish. Change the Web Interface into your preferred language Use the settings screen to set the language of the Web Interface. -
Page 12: Application Of Ip Camera. See
Application of IP Camera...
Need help?
Do you have a question about the D3100 and is the answer not in the manual?
Questions and answers