Advertisement
Table of Contents
- 1 Table of Contents
- 2 Install the Hardware and Connect All Cables. See
- 3 Use the Software CD to Install Intelligent IP Installer. See
- 4 Access the IP Camera Using Intelligent IP Installer. See
- 5 Change the Web Interface into Your Preferred Language. See
- 6 Microsoft Live Messenger Setting. See
- Download this manual
See also:
User Manual
Advertisement
Table of Contents

Subscribe to Our Youtube Channel
Related Manuals for Zavio D510E


Summary of Contents for Zavio D510E
-
Page 2: Table Of Contents
Zavio D510E Quick Installation Guide Please follow the installation steps below to set up your D510E IP Camera. Check the package contents against the list below. See P.1 Physical overview. See P.1 Install the hardware and connect all cables. See P.2 Use the software CD to install Intelligent IP Installer. -
Page 3: Install The Hardware And Connect All Cables. See
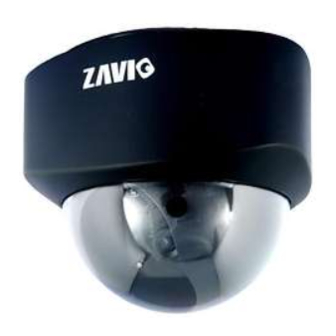
Install the hardware and connect all cables a. Wall mounting and Ceiling mounting 1. Unfasten the cover of the Dome IP Camera 2. Use the 2 supplied screws to fix the base of the IP Camera to a flat surface. (vertical or horizontal) 3. -
Page 4: Use The Software Cd To Install Intelligent Ip Installer. See
Use the software CD to install Intelligent IP Installer Power on your PC and insert the CD-ROM. The setup page will show up automatically. Please follow those steps to install the firmware. Select “Intelligent IP Installer” and follow the installation process to complete the installation. Access the IP Camera using Intelligent IP Installer 1. - Page 5 (Default is admin / admin) 4. When accessing the IP Camera for the first time, a yellow information bar appears below the address bar: This website wants to install the following add-on: ‘AxvideoView.cab from ‘Zavio Inc’. D510E IP Camera 5. Click the information bar, and select Install ActiveX control.
-
Page 6: Change The Web Interface Into Your Preferred Language. See
7. Live video displays in the centre of your web browser. D510E IP Camera Change the Web Interface into your preferred language Use the settings screen to set the language of the Web Interface. Go to “Setting → Basic → System → Initialize”. -
Page 7: Microsoft Live Messenger Setting. See
Microsoft Live Messenger Setting Live video of the IP Camera can be displayed using Microsoft Live Messenger, whilst providing its public IP address to users for access via the web browser. This feature is useful especially when the IP address of the camera is dynamically assigned. - Page 8 Access to the Internet a. Internet connectivity of the IP camera can be established by inputting the cameras IP information within the Information section. (Please go to Setting → → → → Basic → → → → Network→ → → → Information) Internet Connectivity of the IP Camera can be established through PPPoE (Point-to-Point Protocol over the Ethernet) by inputting the username and password from your Internet Service Provider (ISP) within the PPPoE section...
- Page 9 c. Internet Connectivity of the IP Camera can be established if your router is UPnP (Universal Plug and Play) enabled. The IP camera is automatically detected and added to “My Network Places” on your computer. Please note that only Home Routers manufactured after 2006 support the UPnP function. c1.
Need help?
Do you have a question about the D510E and is the answer not in the manual?
Questions and answers