Advertisement
Quick Links
Download this manual
See also:
Installation Manual
Please read this booklet and keep for future reference for the safe
installation of your:
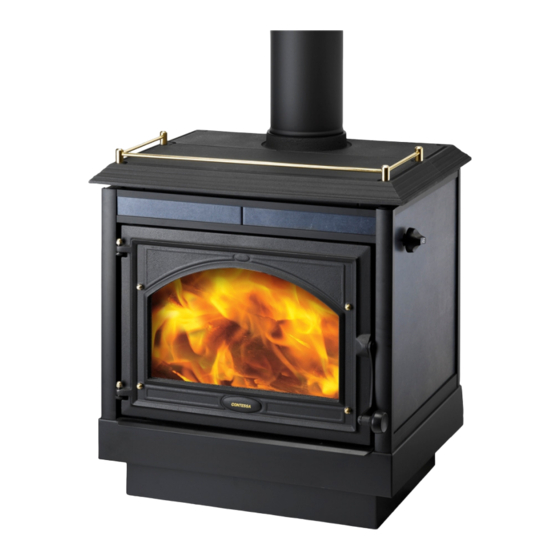
FREESTANDING CLEAN AIR WOODBURNER
This fire conforms with Ecan Requirements
All installations must be in accordance with these instructions. Consult
with the building authority having jurisdiction to determine the need for a
permit prior to commencing the installation. Failure to follow these
instructions may also void your fire insurance and warranty.
Advertisement

Related Manuals for Firenzo Contessa AG10 WET


Summary of Contents for Firenzo Contessa AG10 WET
- Page 1 Please read this booklet and keep for future reference for the safe installation of your: FREESTANDING CLEAN AIR WOODBURNER This fire conforms with Ecan Requirements All installations must be in accordance with these instructions. Consult with the building authority having jurisdiction to determine the need for a permit prior to commencing the installation.
- Page 2 INDEX Page No: Item No: Topic Warnings Installation Responsibilities Floor Protector Requirements Installation Clearances Assembly Instructions Fitting Seismic Restraints Hot Water Booster Position of Triangular Baffles Flue Installation Minimum Height of Flue Exit Edited 14/11/2012 Contessa AG10 Wet...
- Page 3 THIS APPLIANCE SHOULD BE MAINTAINED AND OPERATED AT ALL TIMES IN ACCORDANCE WITH THESE INSTRUCTIONS. The Contessa AG10 WET is tested to N.Z. Standards AS/NZS 2918:2001. If this heater is incorrectly installed a house fire may result. For your safety follow the installation instructions carefully.
-
Page 4: Installation Responsibilities
20mm of an approved insulation material i.e. 2 sheets of 10mm micorboard or superlux, 10mm tile backing board and 10mm tiles or similar on the top surface. All joints on the upper surface should be sealed to prevent spilt ash from contacting any heat-sensitive material. Contessa AG10 Wet... -
Page 5: Installation Clearances
*Clearance A, F & K: Can be reduced BY 30mm provided a Contessa cooktop grill is fitted onto the rear cast top of the fire. If the heater is to be placed on or within 500mm of a heat sensitive floor an insulated floor protector will be required. Contessa AG10 Wet... -
Page 6: Assembly Instructions
15. Fit door knob as shown »» »» 16. Fit the control knob - place the flat on the knob to the flat on the air control shaft situated on the right hand side of the fire. Press home firmly. Contessa AG10 Wet... - Page 7 LEG MODELS 1. Place firebox on leg assembly and fit brackets. 2. Locate as per appropriate clearances 3. Secure both the floor protector and the appliance to the floor, using a dyna bolt or similar. Contessa AG10 Wet...
- Page 8 6. WETBACK The Contessa AG10 Wet is fitted with a wetback to supplement the hot water system. Looking at the FRONT of the fire the left side is the cylinder to wetback pipe and the right pipe is the hot water flowing back from the wetback to the cylinder.
- Page 9 CONTESSA AG 10 WET IMPORTANT BAFFL UPON INSTALLATION CHECK THAT THE TRIANGULAR BRICK ON TOP OF THE BAFFLES IS PLACED AS SHOWN Contessa AG10 Wet...
- Page 10 Where such action is considered the manufacturer should be consulted in the first instance. WARNING: The appliance and flue system shall be installed in accordance with AS/NZS 2918:2001 and the appropriate requirements of the relevant building code or codes. Contessa AG10 Wet...
- Page 11 Contessa AG10 Wet...
- Page 12 HEWITSONS LIMITED Manufacturers of: Lady Kitchener Contessa Coaster Bronte Dante Royale Viking Encore Zealandia Aqualux Athena Forte Plaza Deco 98 Niven Street PO Box 3231 Onekawa Napier Phone: 06 8438260 Fax: 06 8430505 Email: hothouse@firenzo.co.nz Website: www.firenzo.co.nz Contessa AG10 Wet...
Need help?
Do you have a question about the Contessa AG10 WET and is the answer not in the manual?
Questions and answers