Subscribe to Our Youtube Channel
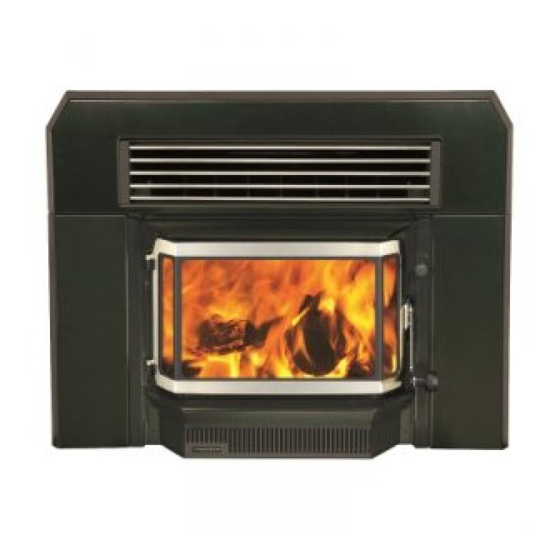
Summary of Contents for Firenzo Athena Bay AG
- Page 2 Please leave this manual with the owner after installation. Your warranty card is enclosed and may be completed and returned to us. INDEX DIAGRAMS: Page 4 Firebox, Fascia & Floor Protector Dimensions Page 6 Builtin Fire Canopy Dimensions Page 7 Builtin Fire Canopy Assembly Page8,9,10,11 Builtin Fire Canopy Framing Guide Page 13, 14...
- Page 3 THIS APPLIANCE SHOULD BE MAINTAINED AND OPERATED AT ALL TIMES IN ACCORDANCE WITH THESE INSTRUCTIONS. The Forte Bay AG and the Athena Bay AG has been tested to N.Z. Standards AS/NZS 2918:2001. If this heater is incorrectly installed a house fire may result. For your safety follow the installation instructions carefully.
- Page 4 Bay AG Installation...
-
Page 5: Floor Protector Requirements
2. FLOOR PROTECTOR REQUIREMENTS If the heater is to be placed on or within 500mm of a heat sensitive floor, an insulated floor protector will be required. The insulated floor protector needs to extend under the heater and in front of the door. See dimensions for floor protector. - Page 6 3. BUILT IN FIRE CANOPY A Built In Fire Canopy is required if the fire is not being installed into a masonry fire place. For Built In Fire Canopy installations see the following pages 6,7,8,9,10,11,12,13,14. Bay AG Installation...
- Page 7 Bay AG Installation...
- Page 8 BUILT IN FIRE CANOPY INSTRUCTONS NON-MASONARY INSTALLATION Bay AG Installation...
- Page 9 Bay AG Installation...
- Page 10 Bay AG Installation...
- Page 11 Bay AG Installation...
- Page 12 Bay AG Installation...
- Page 13 Bay AG Installation...
- Page 14 Bay AG Installation...
- Page 15 Built In Fire Canopy Instructions Bay AG Installation...
-
Page 16: Pre-Installation
4. PRE - INSTALLATION (Refer diagram page 4) In a Masonry Fireplace: Before installing your Firenzo Insert it is important to check the condition of your masonry chimney. Ensure any cracks are sealed, loose masonry repaired and the chimney swept. - Page 17 5. ASSEMBLY INSTRUCTIONS Carefully remove all packaging. If installation is into a MASONRY ENCLOSURE: Remove firebricks as necessary to fit the firebox into the opening. The firebox front when installed must be flush with the finished fireplace surround and on a level base of the same height as the finished floor protector.
- Page 18 6. INSERT FLUE SYSTEM For Installation in a Masonry Fireplace WARNING; The appliance and flue system must be installed in accordance with AS/NZS 2918:2001 and the appropriate requirements of the relevant building code or codes. 1. Position heater in fireplace. Extend plumb line from top of chimney, ensuring heater spigot is in line with top of chimney.
- Page 19 Bay AG Installation...
- Page 20 Bay AG Installation...
- Page 21 7. FASCIA ASSEMBLY & INSTALLATION ATHENA WITH BAY DOOR Remove screws fixed to lugs on firebox side. Place pre assembled cast fascia against firebox and replace screw. Remove 4 self tapping screws from below door opening and fit ash hearth. Fit lower grill over screws and tighten.
- Page 22 HEWITSONS LIMITED Manufacturers of: Lady Kitchener Contessa Coaster Bronte Viking Zealandia Royale Athena Forte Deco Plaza Aqualux 68 Austin Street PO Box 3231 HB Mail Centre Napier 4142 Phone: 06 8438260 Fax: 06 8430505 Website: www.firenzo.co.nz email: hothouse@firenzo.co.nz Bay AG Installation...


Need help?
Do you have a question about the Athena Bay AG and is the answer not in the manual?
Questions and answers